Solar carports are massively advantageous for commercial and retail developments. But did you know that it’s possible to build your very own DIY solar carport?
Building a DIY solar carport can provide shade for your vehicles and electricity for your home. In fact, building a solar carport can save you up to 75% on electricity bills depending on your system size.
We’ve done some research and compiled everything you need to know into this step-by-step guide!
So get out some paper and a pen; it’s time to get planning!
Table of Contents
How Does A DIY Solar Carport Work?

Source: bluetopsolar
Solar carports protect your car from the sun while producing electricity. They do this by using solar panels as the roof of the carport. Panels are mounted onto a steel or timber frame and then wired into your solar system, charging your system’s batteries.
“But why not just add solar panels to your garage or the roof of your home?”
Advantages Of A Solar Carport
Solar carports have certain advantages that roof-mounted panels don’t. For example, they’re easier to install and maintain.
That’s because solar carports use ground-mounted panels. Some advantages of ground-mounted panels are:
- Optimised orientation and positioning.
- More efficient than roof-mounted panels.
- Easier to install and DIY friendly.
- Easy-to-reach maintenance.
Additionally, you can build solar carports over land that has already been developed. So instead of needing a large lawn to place your panels, you can place them above your driveway.
Tools And Components Needed For DIY Solar Carport
Tools

Power Screwdriver
You’ll need a power screwdriver to fix the timber to the anchor bases and other fixings.

Paint Brushes
You’ll need a power screwdriver to fix the timber to the anchor bases and other fixings.

Other Equipment
You’ll also need some other tools for the DIY solar carport.
- A wheelbarrow and spade will be needed to mix your cement and sand together to create the concrete.
- You’ll also need the spade to dig the holes for your concrete footings.
- We haven’t included small components such as bolts and screws. These will depend on the type of fixings you use.
Fixtures
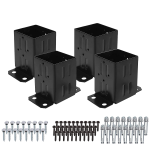
4×4 Wood Fence Post Anchor Base
You’ll use this anchor base to fix the timber posts to the concrete footing.
Timber
It would be best if you sourced your timber locally. You’ll find both timber posts and rafters at your local homeware depot/hardware store.
Timber Posts
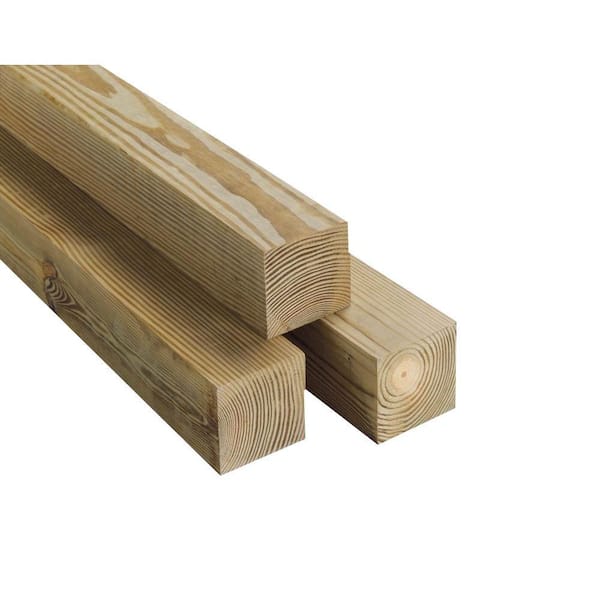
Source: homedepot.com
We recommend 4″ x 4″ inch timber posts for a 12″ x 20″ carport. You’ll need 6 x 7ft posts.
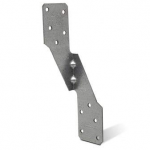
Timber Rafters

Source: benhardtconstruction
This is the tricky part.
It’s hard to determine which rafters you’ll need. There is a range of different sizes, wood types, and lengths.
The rafters you buy will depend on the span (the space between the beams) of your carport and how many solar panels you plan on using.
We recommend asking your local supplier what size would be best whilst buying your rafters. Alternatively, getting a professional opinion from a contractor would help.
Timber Beams
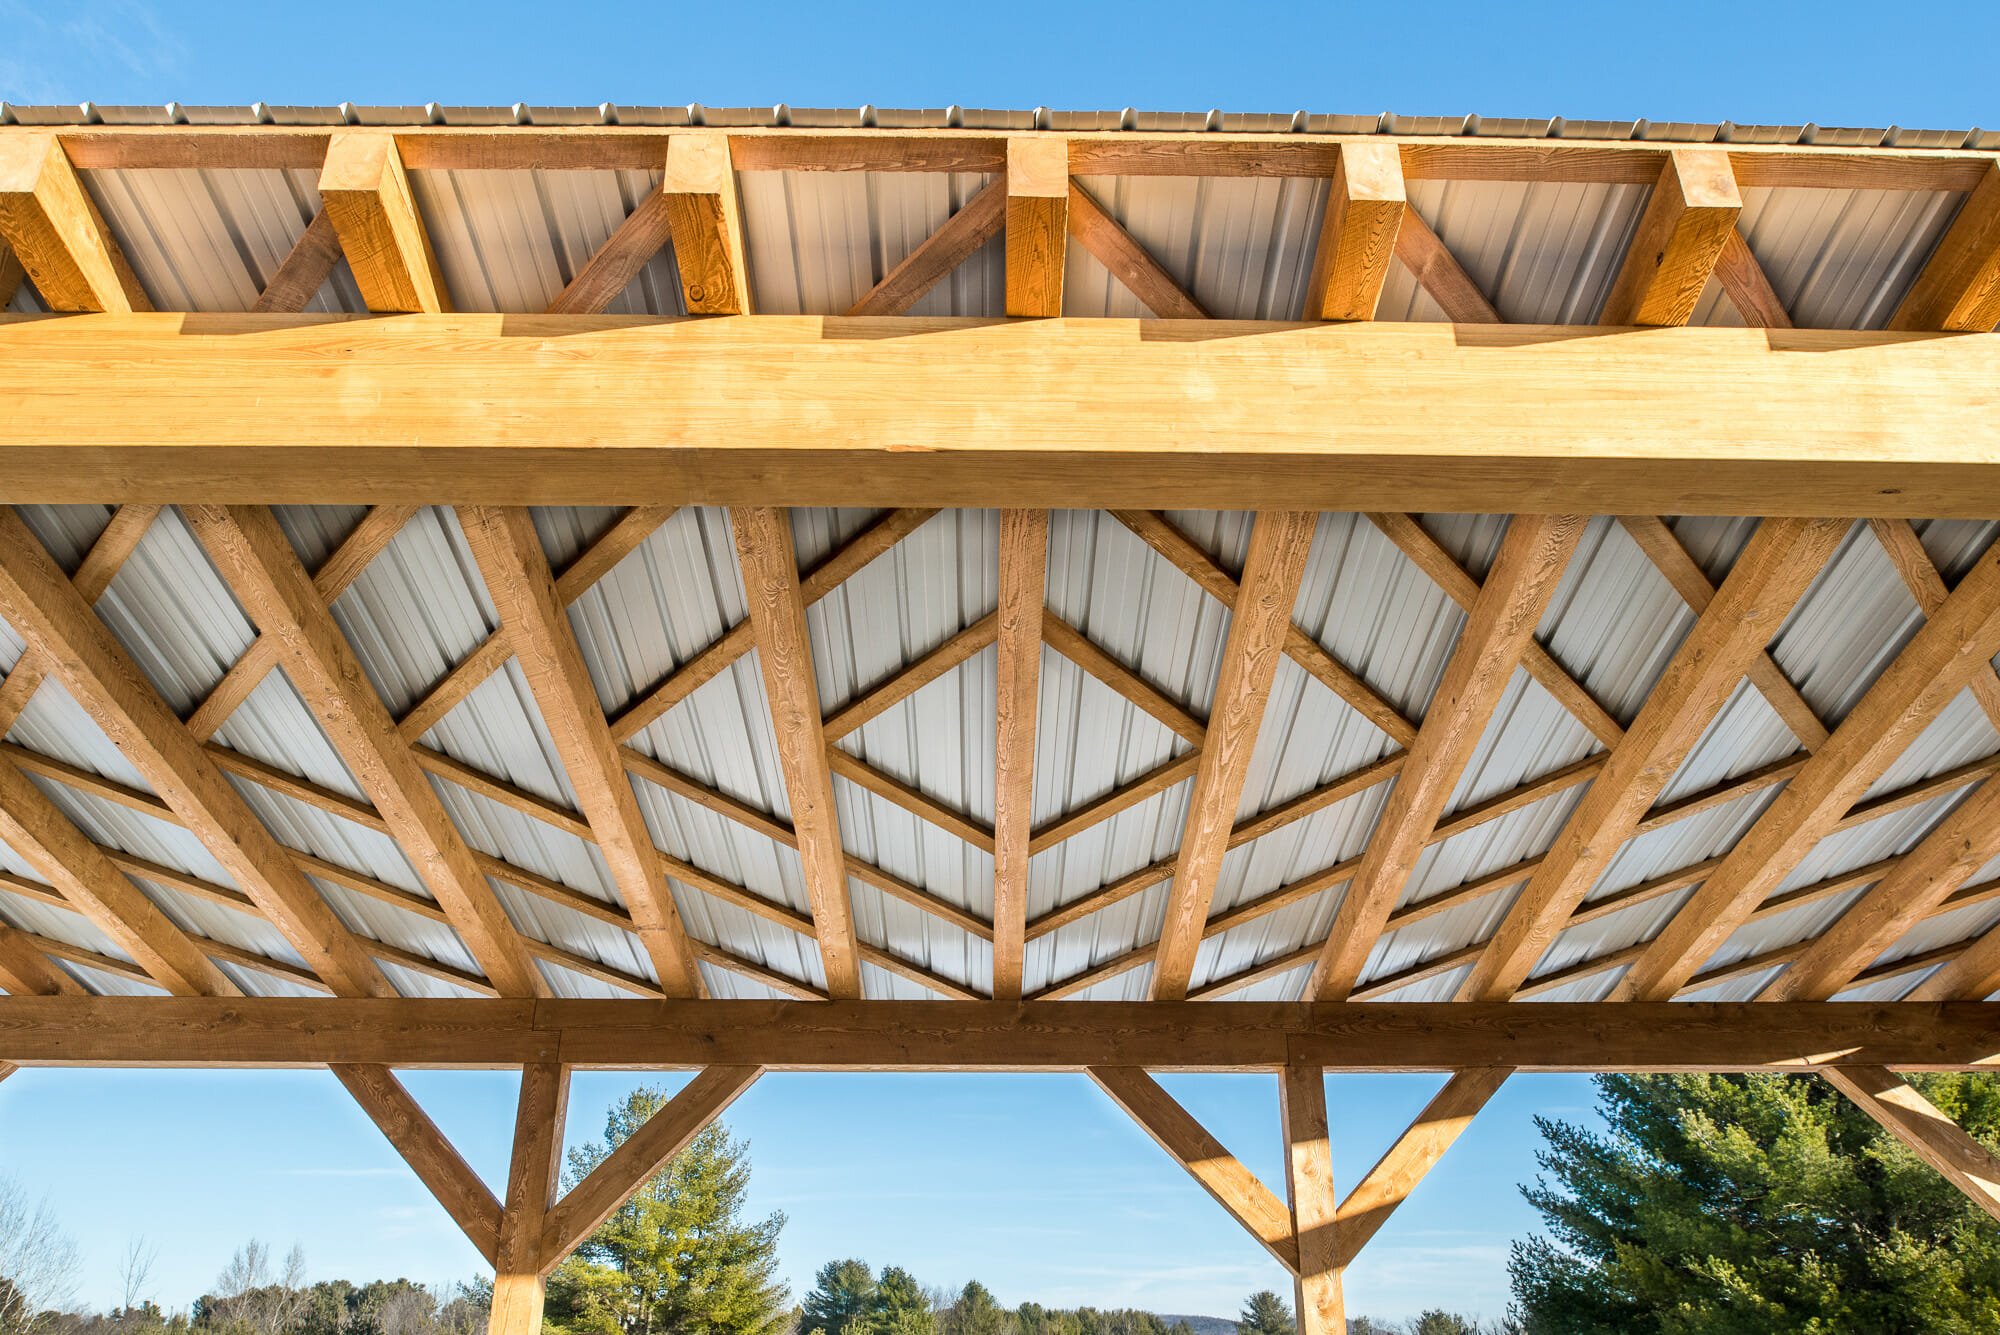
Source: vermonttimberworks
The timber beams will rest upon the timber posts and support the rafters.
Again, the size you require will depend on your build – we recommend speaking to someone at your home depot/hardware store or a contractor.
Concrete Footings
Cement
You can buy cement in 60lbs or 80lbs bags from your local hardware store.
For six holes (2.3ft deep and 8″ wide), you’ll need 8 x 80lbs bags of cement.
We used this nifty calculator to determine how many bags of cement you’ll need.
River Sand
For medium strength concrete, the ratio of cement to sand is 1:2
This means that for every 80lbs of cement, you’ll need 160lbs of river sand.
It’s best to buy the river sand from your closest hardware store.
Solar Panels
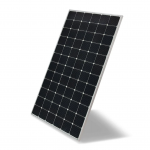
400w Solar Panels
We used 400w solar panels in this project because they’re an outstanding balance between yield and price.
Finishes
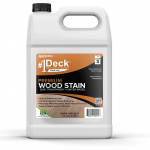
Wood Stain
Wood stain comes in different colors. You should choose the one that you think looks best.
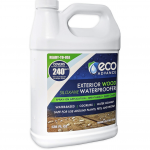
Wood Sealer
To prevent the wood from warping or rotting, you should use a sealer to make the timber waterproof.
How Much Does It Cost To Build A Homemade Solar Carport?

Source: wikimedia.org
Before we delve into how much this DIY solar carport will cost, you need to ask yourself a few questions.
- How big do you want your solar carport to be?
- What material would you like to build it from?
- How many solar panels will you need?
How Big Should Your Solar Carport Be?
The size of your carport should be determined by how many cars you need to shelter.
A standard carport is 12ft by 20ft. This fits one car and is the average size of a single garage.
A double carport is around 20ft x 20ft. You’ll be able to park two cars under your carport comfortably at this size.
The size of your carport will determine how much structural material you’ll need.
The next step in calculating how much your DIY solar carport will cost is choosing your building material.
Which Material Should You Use?
There are two main materials to choose from when it comes to carports.
- Timber framed carports
- Steel framed carports
The most significant differences between them are cost, structural strength, and aesthetics.
Steel-framed carports have greater structural strength. That means that steel frames would be your best option if you plan to build a larger carport.
On the other hand, timber frames are cheaper and still have enough structural strength to support your solar panels.
Below, you’ll find a table that breaks the prices down for timber and steel framed carports:
| Material | 12ft x 20ft Carport | 20ft x 20ft Carport |
| Timber | $5,400 | $9,000 |
| Galvanised Steel | $6,000 | $10,000 |
Source: Fixr.com
How Many Solar Panels Will You Need?
The amount of solar panels you’ll need for your DIY solar carport depends on how large your carport will be.
The easiest way is to determine the carport area and divide it by the area of the solar panel you’ve chosen.
For example:
Area of 12ft x 20ft solar carport = (12 x 20)
= 240ft.sq.
Area of 400w solar panel = (6.5 x 3.25)
= 21ft.sq.
Amount of solar panels = 240/21
= 11.4 (Rounded to 11 solar panels)
400w solar panels cost around $300 each. That means that you should expect to pay around $3,300 for the panels.
However, just because you can fit 11 panels on the carport does not mean you have to use all 11. Often carports can have small gaps between the panels, especially if you’re on a budget.
What Does It All Add Up To?
| Material | Cost |
| Concrete Footings | $50 |
| Timber | $5,400 |
| Fixtures | $80 |
| Solar Panels | $3,300 |
| TOTAL | $8,830 |
How To Build a DIY Solar Carport (Step-By-Step)
Now that we have all the calculations and estimations out the way, it’s time for the fun part!
We can break the DIY process into four parts:
- Concrete footings
- Timber posts
- Beams and rafters
- Installing the solar panels
Part 1 – Concrete Footings
To stabilize the solar carport, you’ll need to cast concrete footings to hold up the timber posts.
It’s essential to plan out where your carport will go. Mark each spot where a post will go and ensure that the holes will be in line.
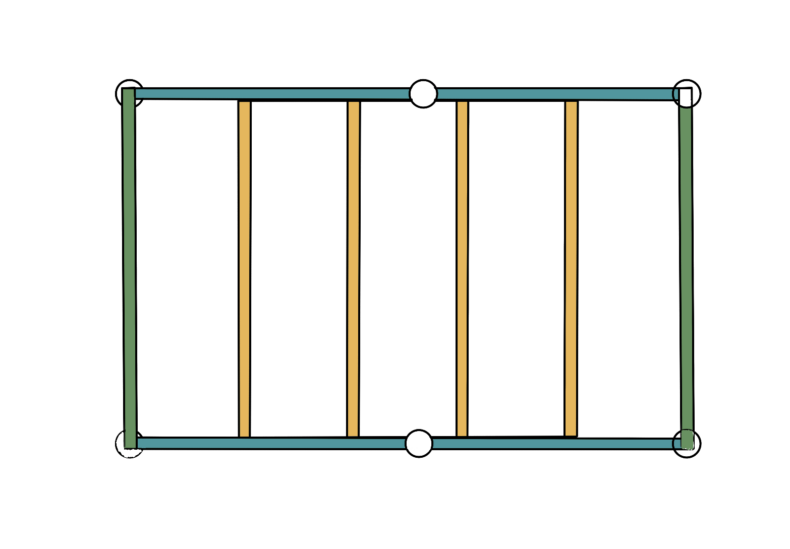
Your plan should look something like this:
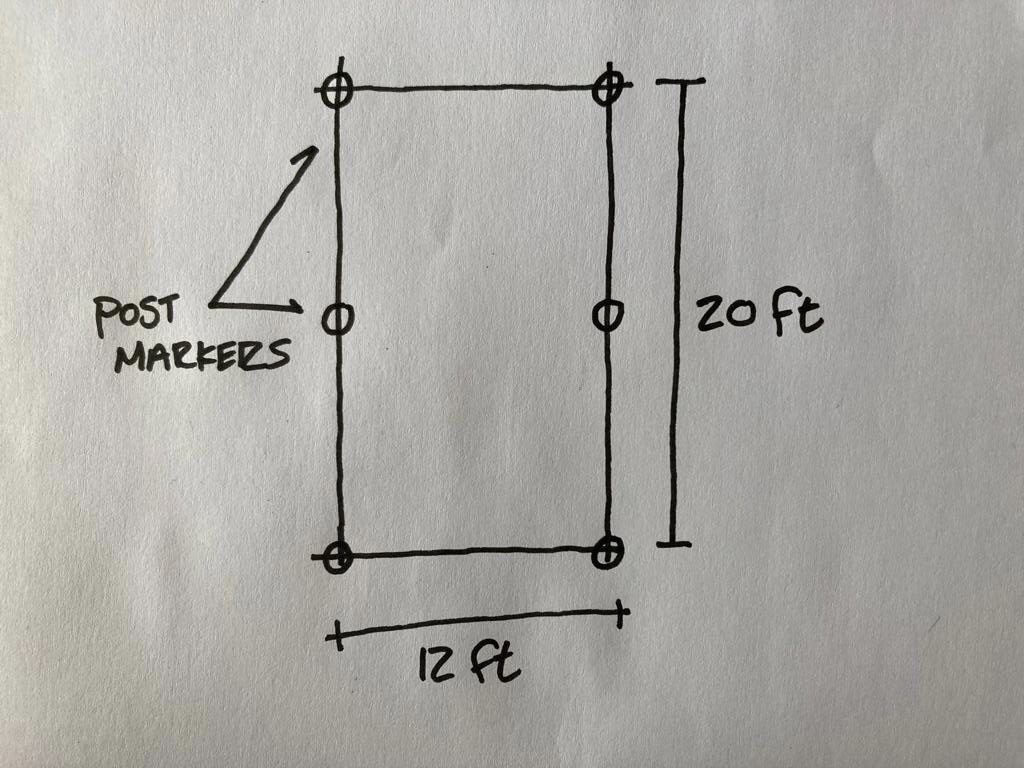
The general rule for concrete footings is that their depth is 1/3rd of the length of the post. They are also double the width of the post.
So for this build, the concrete footings will be the following dimensions:
The carport will be 7ft tall. This means that 1/3 of the footings will be 2.3ft deep.
Since we’re using 4″x4″ posts, the total width of the footings will be 8″.
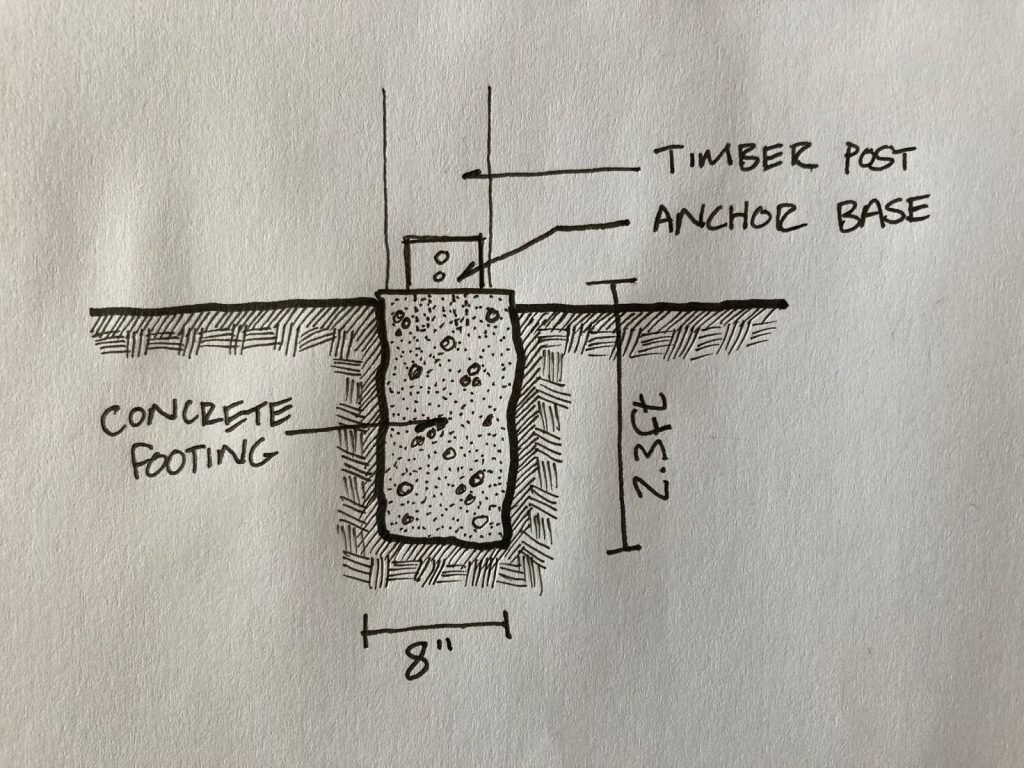
Source: Climatebiz
Method
- Dig the holes for the footings. Don’t worry about smoothing the edges out, it will only give the posts more friction resistance.
- Mix the sand and cement with water in the wheel burrow. The ration is 1:2:0.5.
This means 1 part cement, 2 parts sand, and 0.5 parts water. - Using gloves, pour the concrete mix into your holes. It’s important to do all the pouring in one day, so make sure you have enough cement and sand.
- If you’ve used quick set cement, the concrete should dry in 48hrs. If not, it can take at least 7 days to dry properly.
Part 2 – Timber Posts
Once the concrete footings have dried, you can attach the anchor bases. Do this by bolting them into the concrete.

Source: vladeko.cz
Then, sand and insert your 4″ x 4″ posts into the anchor bases and fasten them with screws.
It’s essential to make sure that the posts are steady. If they’re not, it could lead to the structure collapsing. If necessary, add additional braces.
This part seems easy, but holding the posts steady and exactly vertical can prove to be a challenge.
Part 3 – Beams and Rafters
Before attaching the beams to the posts, we need to create a datum line. This ensures that the beams will be level.
Start with a post that’s at 7ft (measure it to double-check). Then, with a spirit level and string, make marks on the other posts, ensuring they are the same level.
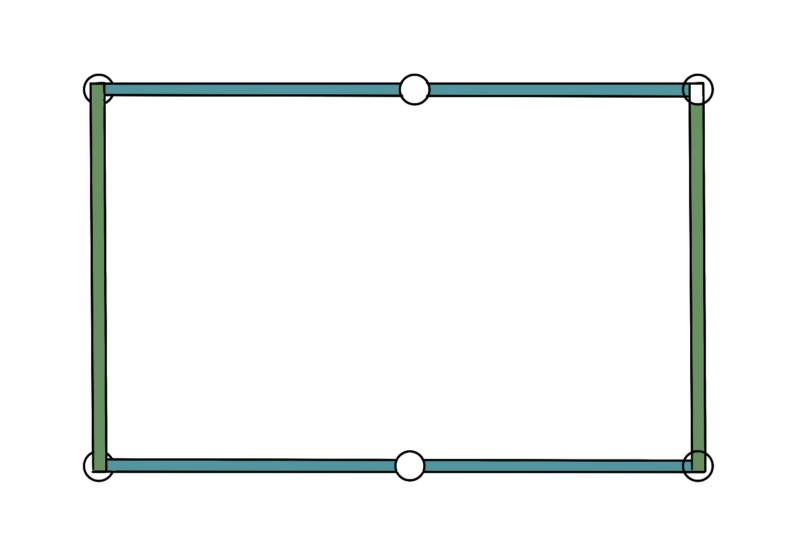
With the posts back up, take your beams and fix them to the timber posts.
You can use timber housing for this. The metal housing allows the beams to rest and attach to the posts.
You should need 4 x 9.6 ft and 2 x 12 ft beams.
Source: Climatebiz
Here’s the tricky part. You want there to be a slight slope to the roof. This will cause the rain to flow off the panels instead of pooling up damaging the panels.
At the end where you’d like the water to run off, measure 0.15 inches from the top of the beam downwards.
Then, attach string from the 0.15-inch mark to the top of the opposite beam (along the 20 ft side). Refer to the drawing below:
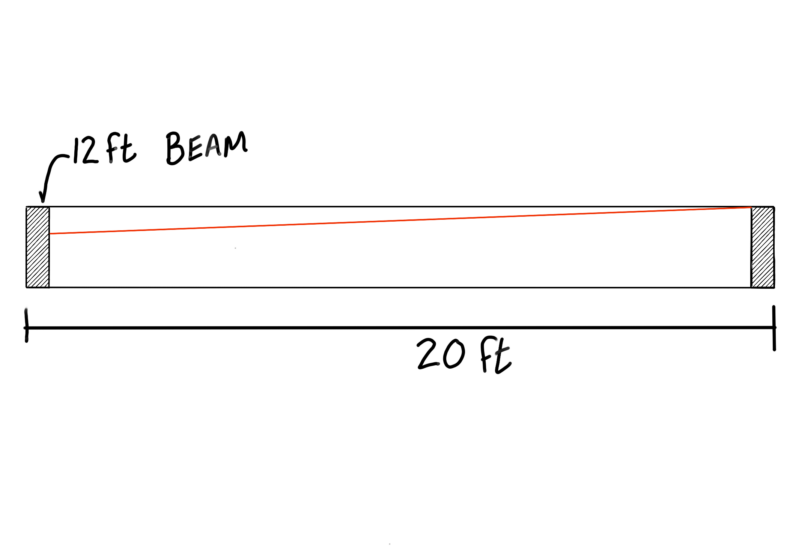
Source: Climatebiz
Next, using the rafter anchors, attach the rafters to the beams. Finally, space the rafters out, measuring 4 ft from the center of one to the other.
The top of each rafter should be in line with the string you put up in the previous step.
Source: Climatebiz
Install Your Solar Panels
The final step to building your DIY solar carport is installing the solar panels and connecting them to your solar system.
Since solar carports use ground-mounted solar panels, we refer you to this article. It explains in-depth how to install ground-mounted solar panels.
Just keep in mind that you’ll be installing them onto rafters and that they are already sloped.
To learn how to wire solar panels, you can read our article here.
You can also read here to learn how to set up a solar system for your home.

Source: solarpowerauthority
Final Thoughts
Setting up a DIY solar carport is not an easy task.
If you’re new to DIY, you should get some help. Whether it’s a professional or just a handy friend, they would help a lot.
However, once it’s been built, you won’t regret it!
Solar carports are more effective than roof-mounted solar panels and can save you up to 75% of your electricity bill.
A bonus is that you can connect your solar carport to an EV charging station.
Let us know if you’re planning to build this compact solar system and share any progress pics you might have!