Solar lights have become an increasingly popular choice for many homeowners and businesses looking to reduce their carbon footprint and save on electricity bills. These eco-friendly devices harness the power of the sun to illuminate our spaces once darkness falls. However, to ensure they function optimally, it’s crucial to charge them correctly the first time. This article delves into the step-by-step process of charging solar lights for their inaugural run.
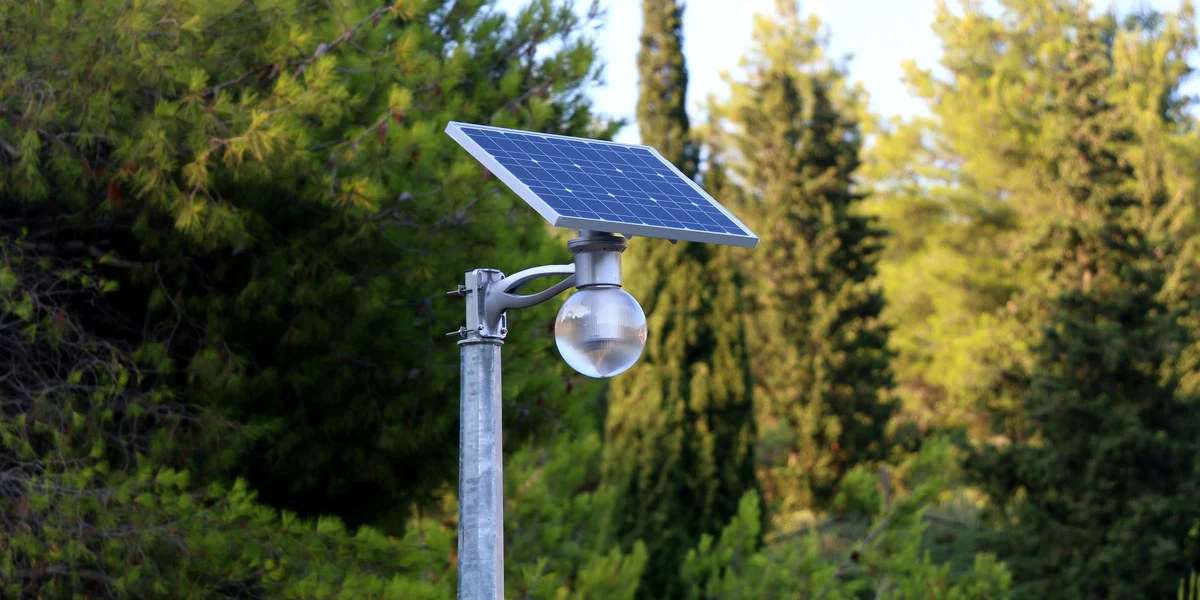
Solar lights, in recent years, have become a beacon of sustainable energy solutions. But what exactly makes them tick? At the heart of these devices are three primary components: the solar panel, a battery, and an LED light.
The solar panel plays the pivotal role of capturing sunlight and converting it into electrical energy. This energy, rather than being used immediately, is stored in the battery. As night approaches and the sun sets, the stored energy in the battery is then utilized to power the LED light, providing illumination in the absence of natural light.
Table of Contents
The First Steps:
- Unpacking with Precision:
The excitement of receiving a new product often leads to hasty unboxing. However, with solar lights, it’s crucial to be meticulous. As you unpack, ensure that every component is not only present but also free from any visible damage. - Assembly – A Step-by-Step Approach:
Not all solar lights are ready to use straight out of the box. Some require a bit of assembly. If this is the case with yours, ensure you have the manufacturer’s instructions at hand and follow them to the letter. This will ensure the longevity and efficiency of your lights. - Picking the Perfect Spot:
Before you even think about setting them up, it’s essential to decide on the perfect location for your solar lights. The ideal spot is one that bathes in sunlight for the majority of the day, ensuring maximum charging capability. - Gearing Up for the First Charge
Activating the Battery
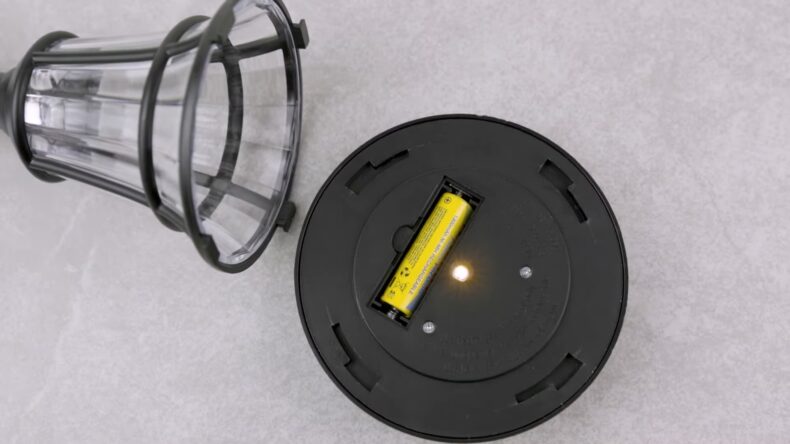
Solar lights, like many electronic devices, often come with safety features to ensure their longevity and optimal performance. One such feature is the battery protection tab. Manufacturers incorporate this tab as a safeguard to prevent any unintentional battery discharge during transportation or while the product sits on store shelves. This is especially crucial for solar lights, as they rely on a charged battery to function effectively once they’re set up.
The battery protection tab acts as a barrier, preventing the battery from connecting with the device and thus conserving its stored energy. Before you embark on the journey of setting up and charging your solar lights, it’s essential to locate this tab.
It’s typically easy to find and is often brightly colored or labeled. Once located, carefully remove it to activate your battery. By doing so, you’re ensuring that your solar light’s battery is ready to receive and store the sun’s energy.
The ‘OFF’ Switch
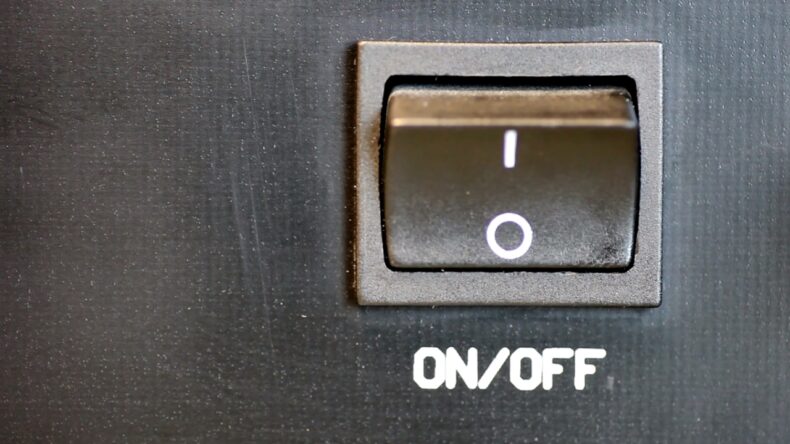
At first glance, the ‘ON/OFF’ switch on solar lights might seem like a basic feature, but its role is paramount, especially during the initial charging phase. Solar lights are designed to illuminate once they detect low light conditions, and if the switch is in the ‘ON’ position during the day, the light might mistakenly turn on if there’s a sudden change in ambient light, like a passing cloud or an overhanging shadow.
By ensuring the switch is in the ‘OFF’ position before the first charge, you’re allowing the battery to focus solely on charging. This undivided attention to charging ensures that the battery receives a full charge without any interruptions or energy diversions to power the light.
Once the battery is fully charged and ready for use, you can then switch it to the ‘ON’ position, confident in the knowledge that your solar light has the energy it needs to shine brightly throughout the night.
Charging Lights
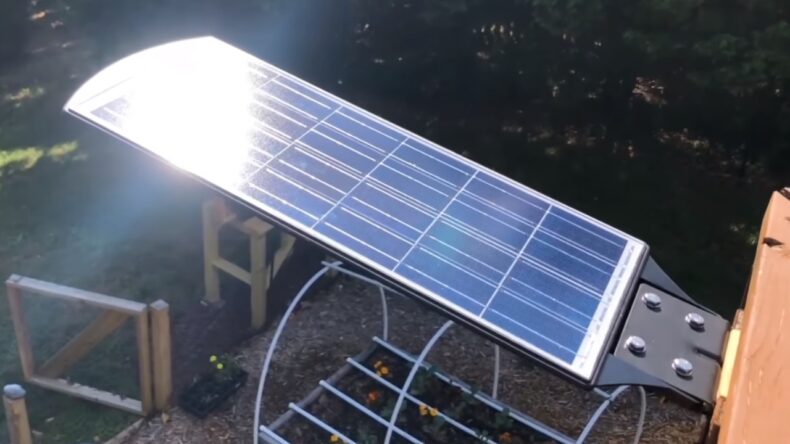
Sunlight is undeniably the lifeline of solar lights. To harness the sun’s energy effectively, it’s imperative to position your solar lights in a spot where they can revel in direct sunlight. This might seem straightforward, but it’s essential to be wary of shaded areas or locations where potential obstructions, such as trees or tall buildings, might block the sun’s rays.
Moreover, technology has advanced, and with it, so have the features of solar lights. Some of the more sophisticated models now allow users to adjust the angle of the solar panel. If you’re fortunate enough to have such a model, it’s beneficial to set the panel at an angle where it can absorb the maximum amount of sunlight. However, a word of caution: this optimal angle isn’t static. It can vary based on your geographical location and even the time of year.
When it comes to the initial charge, a virtue comes into play: patience. It’s tempting to set up your solar lights and expect them to work wonders immediately. However, for the best results, it’s recommended to let them charge for at least two full sunny days. This extended charging period ensures that the battery is fully energized, paving the way for the best performance.
Post-Charging Rituals and Observations
After you’ve allowed your solar lights to charge adequately, the next step is quite exhilarating. It’s time to bring them to life. By switching them to the ‘ON’ position, you set the stage for them to illuminate as darkness descends. But the process doesn’t end there.
The first-night post-charge is crucial. It’s a time for keen observation. Monitor how long the lights stay on and the intensity of their glow. This observation isn’t just out of curiosity; it provides valuable insights. It helps determine if the lights received a sufficient charge and are functioning as they should.
Navigating Through Common Challenges
Even with the best preparations, sometimes things don’t go as planned. For instance, if you notice that your solar lights aren’t shining as brightly as you expected, it could be an indication that they didn’t get enough sunlight. In such cases, it’s worth reassessing their position to ensure they’re optimally placed for maximum sun exposure.
Similarly, if the lights extinguish sooner than anticipated, the culprit might be an undercharged battery. Before jumping to conclusions, give them another day or two in the sun to see if that rectifies the issue.
In the unfortunate event that your solar lights don’t turn on at all, a systematic approach is needed. Begin by inspecting the battery. Ensure it’s correctly installed, and any protective tabs that might have been present are removed. Additionally, a simple but often overlooked step is to double-check the ‘ON’ switch.
Longevity and Maintenance of Solar Lights
Maintaining solar lights isn’t a strenuous task, but it does require attention to detail. For instance, the solar panel, being exposed to the elements, is prone to gathering dust and debris. This seemingly innocuous accumulation can significantly reduce its efficiency. A simple wipe-down with a soft cloth periodically can work wonders in ensuring the panel’s effectiveness.
Battery health is another aspect that can’t be ignored. All batteries, regardless of their type, have a lifespan. Over time, their capacity to hold charge diminishes. To ensure your solar lights continue to perform optimally, it’s wise to consider battery replacements every couple of years.
Lastly, the winter months pose a unique challenge for solar lights. With shorter days and the sun not being as intense, charging becomes a bit of a challenge. During these colder months, it might be beneficial to relocate your lights to a location that still receives a decent amount of sunlight. Alternatively, allowing them to charge for an extended period can also help in ensuring they function as intended.
FAQs
Can solar lights be charged on cloudy days?
Yes, solar lights can still be charged on cloudy days, but the efficiency might be reduced. The solar panels can capture diffused sunlight, but the charging process will be slower compared to bright, sunny days.
How long do solar lights typically last each night when fully charged?
When fully charged, most solar lights can last between 8 to 12 hours. However, this duration can vary based on the battery’s capacity, the efficiency of the solar panel, and the power consumption of the LED light.
Is it possible to overcharge the batteries of solar lights?
Most modern solar lights come with a built-in mechanism that prevents overcharging. Once the battery is fully charged, the system automatically stops drawing power, ensuring the battery’s longevity.
Can I use regular batteries in my solar lights if needed?
While it’s technically possible to use regular batteries, it’s not recommended. Solar lights are designed to work with rechargeable batteries that can handle the charge and discharge cycles. Using non-rechargeable batteries can lead to reduced performance and might even damage the light.
Do solar lights require any special maintenance or cleaning solutions?
Generally, solar lights are low maintenance. However, it’s good practice to clean the solar panels with a soft cloth and mild soapy water occasionally to remove dust and debris. Avoid using abrasive materials or harsh chemicals.
How do I store my solar lights if I don’t want to use them for an extended period?
If you’re planning to store your solar lights, first ensure they are fully charged. Then, switch them off and store them in a cool, dry place. Before using them again, place them in direct sunlight for a day or two to recharge.
Conclusion
Solar lights are a fantastic, environmentally-friendly lighting solution. However, their performance largely depends on how they’re initially charged and maintained. By following the steps outlined in this guide, you can ensure your solar lights shine bright and last long. Whether you’re illuminating a garden path or brightening up a patio, taking the time to charge and care for your solar lights will make all the difference.