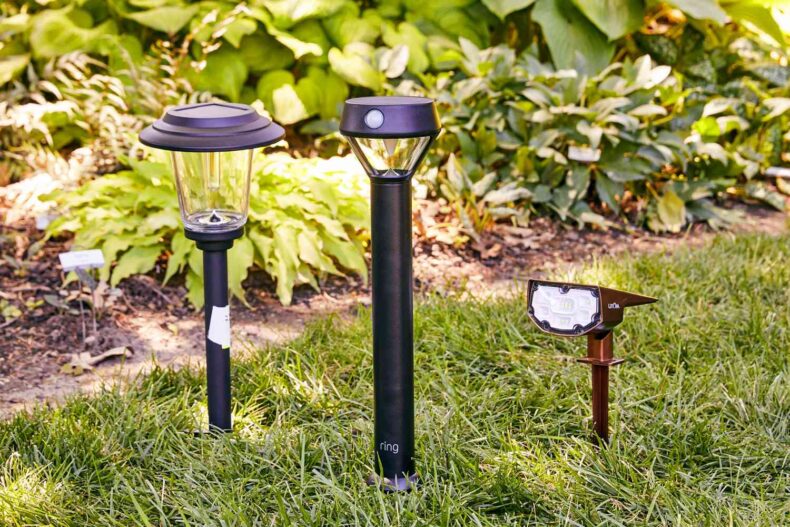
Solar lights have become a staple in many gardens, pathways, and patios, offering a sustainable and eco-friendly way to illuminate spaces. At the heart of them are the batteries, which store energy from the sun during the day and release it as light during the night.
Over time, these batteries can wear out, leading to dimmiing or even those that don’t turn on at all. But fear not! With a little know-how, you can replace these batteries and restore your solar lights to their former glory.
Table of Contents
Replacement Preparation
Before we jump into the battery replacement process, it’s essential to prioritize safety. After all, we’re dealing with electrical components.
- Safety Gear: Always wear gloves to protect your hands from any sharp edges or electrical components. Safety goggles are also a good idea to shield your eyes from any unexpected debris.
- Choosing the Right Replacement: Not all batteries are created equal. Ensure you’re selecting the right type and size. Typically, they use rechargeable NiMH (Nickel Metal Hydride) batteries, but always check the manufacturer’s recommendation.
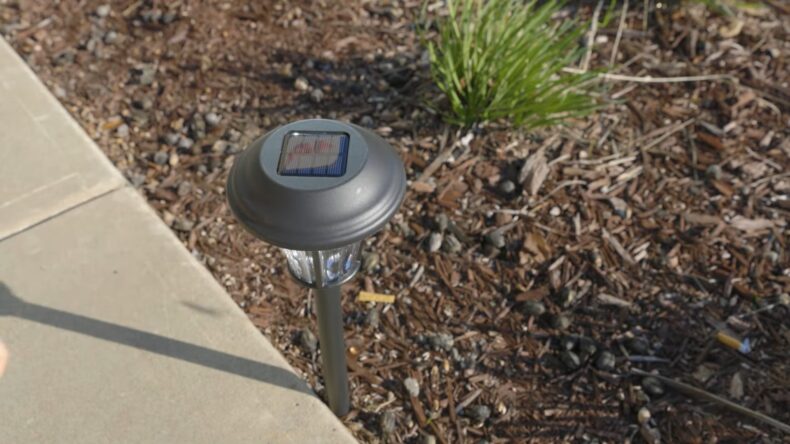
- Identifying Types: Solar lights come in various designs, from stake to wall-mounted units. Knowing your type will help you understand how to access the battery compartment.
Tools and Materials
Gathering the right tools and materials beforehand will make the battery replacement process smooth and efficient.
- List of Necessary Tools: A basic set of screwdrivers is usually sufficient. Depending on your model, you might also need pliers or a small wrench.
- Types of Replacement: As mentioned earlier, NiMH are commonly used. However, some models might use NiCd (Nickel-Cadmium) or even Lithium-ion. Always check the label on your old battery or the user manual.
- Where to Buy Replacement: Most hardware stores carry a range of rechargeable batteries suitable for solar lights. You can also find them online on e-commerce platforms.
Step-by-Step Battery Replacement
Preparation
Let’s get our solar lights ready for their battery makeover!
- Turn it Off: This might seem obvious, but it’s an essential first step. Turning off ensures you’re working safely.
- Remove the Fixture: Depending on your type, this might involve unscrewing the top or detaching it from its base.
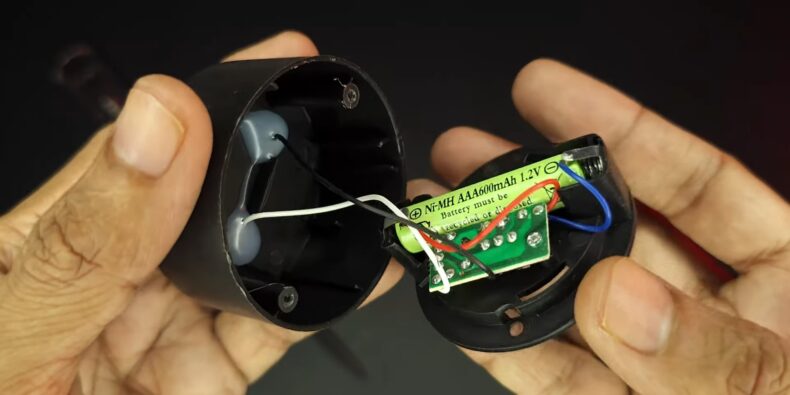
- Open the Battery Compartment: Typically, this is secured with small screws. Use your screwdriver to open it up.
Removing Old Batteries
Once you’ve accessed the battery compartment, it’s time to remove those old units.
- Carefully Extract: Gently take out the old batteries, ensuring you don’t damage any surrounding components.
- Dispose Properly: Batteries contain chemicals that can be harmful to the environment. Always dispose of them at a designated recycling center. It’s not just about replacing; it’s about responsible disposal!
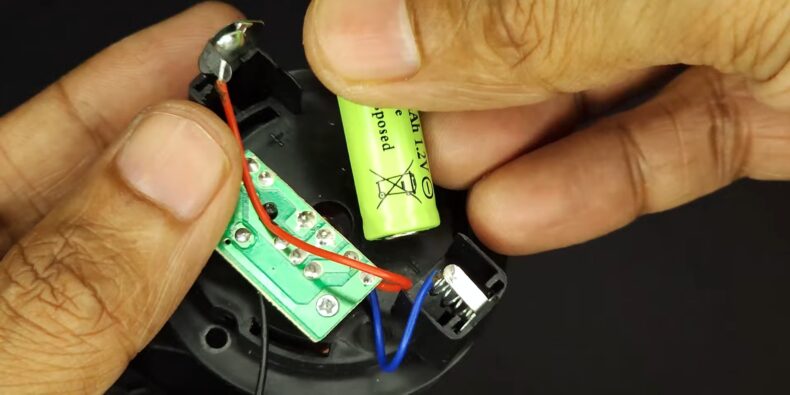
Installing New
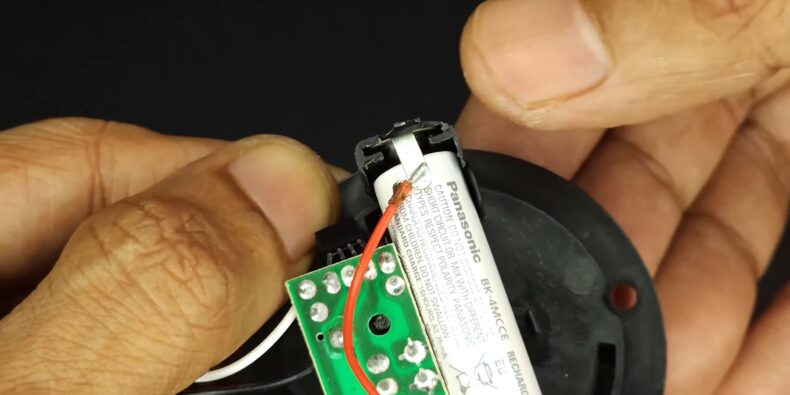
With the old batteries out, it’s time to give your solar lights a new lease of life.
- Insert New Batteries Correctly: Ensure you’re placing them in the right direction. Most compartments will have a + and – sign to guide you.
- Ensure Proper Polarity: This can’t be stressed enough. Incorrect polarity can damage your solar light. Always double-check!
- Close the Battery Compartment: Once the new units are in place, securely close the compartment.
Reassembling
Almost there! Let’s put everything back together.
- Attach the Fixture Back in Place: If you had to detach the fixture earlier, now’s the time to reattach it. Ensure it’s secure to prevent any water or debris from getting in.
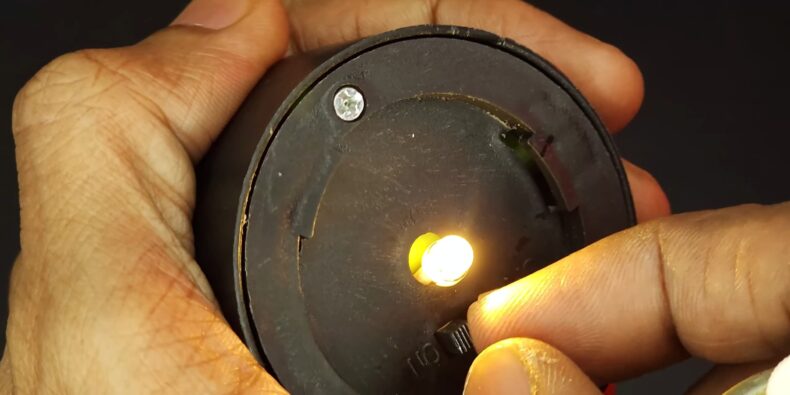
- Turn it Back On: With everything in place, turn on the solar light. If it doesn’t light up immediately, don’t fret. The new batteries might need some time in the sun to charge up.
Testing and Maintenance
Now that you’ve replaced the batteries, it’s crucial to ensure everything is working as it should.
Testing
After allowing the new batteries to charge in the sun, test by covering the panel (simulating darkness). It should turn on. If not, ensure they are correctly placed and that the switch is in the “ON” position.
Regular Maintenance Tips:
- Clean the panels regularly to ensure they can absorb maximum sunlight.
- Position your solar lights in areas where they can receive direct sunlight for most of the day.
- During extreme weather conditions, like heavy rain or snow, consider bringing them indoors.
Maximizing Battery Life:
- Allow them to fully charge before their first use.
- Avoid placing near other strong light sources, like streetlights, as this can confuse their sensors.
Troubleshooting
Sometimes, even after replacing, things might not go as planned.
What to Do If the Light Still Doesn’t Work
Check the solar panel and ensure it’s clean. Dirty panels can affect charging. Also, ensure that the sensor isn’t obstructed or damaged.
Checking for Other Issues
If it still doesn’t work after battery replacement and other checks, the LED or the internal wiring might be the issue. In such cases, consulting the manufacturer or a professional might be the best course of action.
FAQ
Can I use any type of rechargeable battery for my solar lights?
While typically using specific types of rechargeable batteries, it’s essential to check the manufacturer’s recommendation to ensure compatibility and optimal performance.
How often should I expect to replace the batteries in my solar lights?
The lifespan varies, but on average, they can last between 1-3 years depending on usage, quality, and environmental factors.
Is there a specific time of day best for replacing solar light batteries?
It’s advisable to replace during daylight hours, ensuring you have ample time to charge the new batteries before nighttime usage.
Can I use my solar lights during cloudy or rainy days?
Yes, they will still function during cloudy or rainy days, but their performance might be reduced due to less sunlight for charging. Ensure they’re positioned to receive maximum available light.
Wrapping Up
Replacing solar light batteries is a straightforward process, but it’s essential to approach it with care and knowledge. By ensuring you use the right batteries and follow safety precautions, you can enjoy the benefits of your solar lights for years to come.
Remember, it’s not just about illumination; it’s about sustainable and eco-friendly choices that light up our world. Shine on!