Basil is, and always has been, a staple in pretty much any household’s kitchen. It stands to reason why many hydroponic enthusiasts out there are eager to learn how to grow hydroponic basil.
This versatile and nutritional herb plays a role in many Mediterranean (and particularly Italian) cuisines. It forms the basis of pesto and adds plenty of flavor to pastas, pizzas, salads, among other dishes. You’ll even find it in Vietnamese and Thai cuisines.
But enough about the wonders of this little herb, what you’re really wanting to know is how to grow it.
Well in this article, we’ll provide you with an easy and affordable method to grow your very own hydroponic basil, that you can use to your heart’s content.
Table of Contents
What Is Hydroponic Basil?
Hydroponic basil is any type of basil that has been grown in soilless culture. In other words, a nutrient-rich, water-based solution is used in place of soil as a growing medium for basil propagation.
With this method, nutrients that have been added to the solution are fed directly to your basil plants.
While this takes place, your plants can access ample amounts of oxygen, allowing for greater quality produce and noticeably less time between your yields.
Can Basil Be Grown Hydroponically?
Yes, basil can easily be grown in hydroponic systems. However, it is important that a variety be selected that performs well in terms of growth rate, disease resistance, flavor, and yield.
There are however more types of basil out there than you might think so it can be quite confusing/difficult to decide on a specific kind of basil to grow.
Not to worry though, later on in this article, we’ll provide you with a section that outlines the basil leaf varieties out there that you can grow.
Tools Needed To Grow Hydroponic Basil
You’ll require the following materials to grow 1 hydroponic basil plant:
Note: The method that we’ve outlined in this article requires that you source a mother plant. As such, you won’t be needing any seeds.
1 Basil Mother Plant
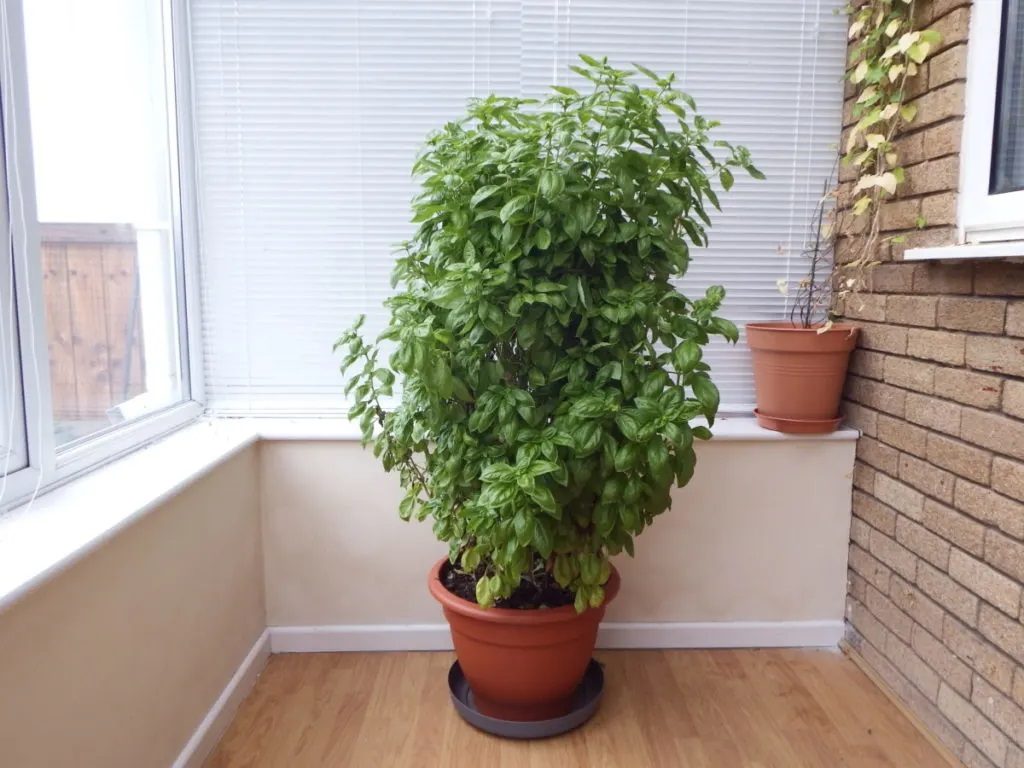
Source: Rural Sprout
This is where you’ll be sourcing your cuttings from. Purchase one from your nearest supermarket or plant nursery.
Filtered Water
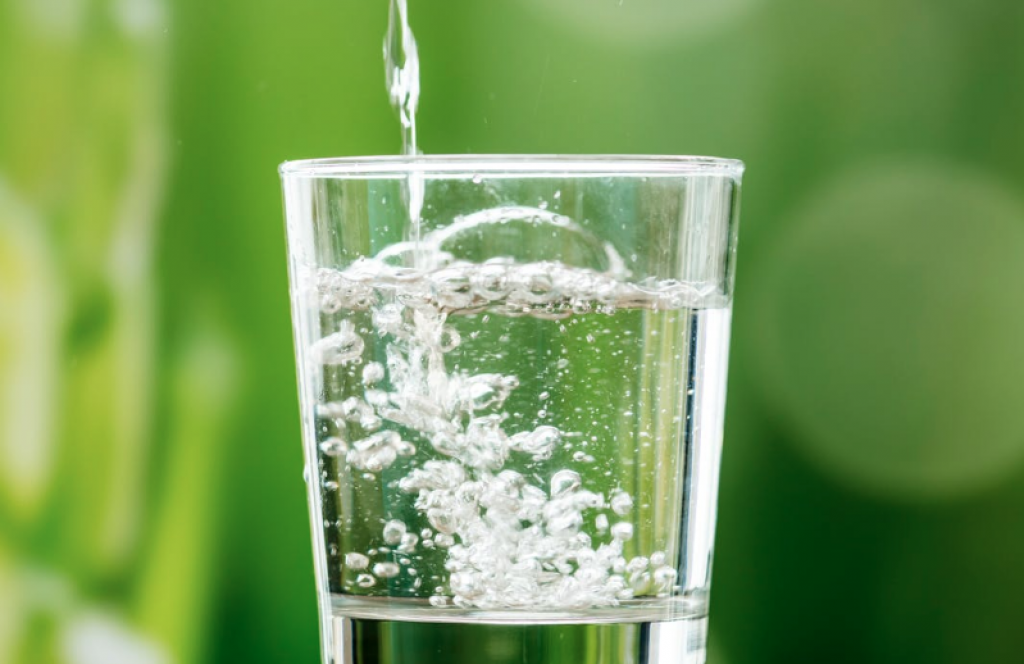
Filtered water is always best, make use of it if possible.
Liquid nutrient Solution
Hydroponic plants require that you put nutrients in the aqueous solution. Use plant grow nutrients and Cal-Mag for this purpose.
Rockwool Cubes
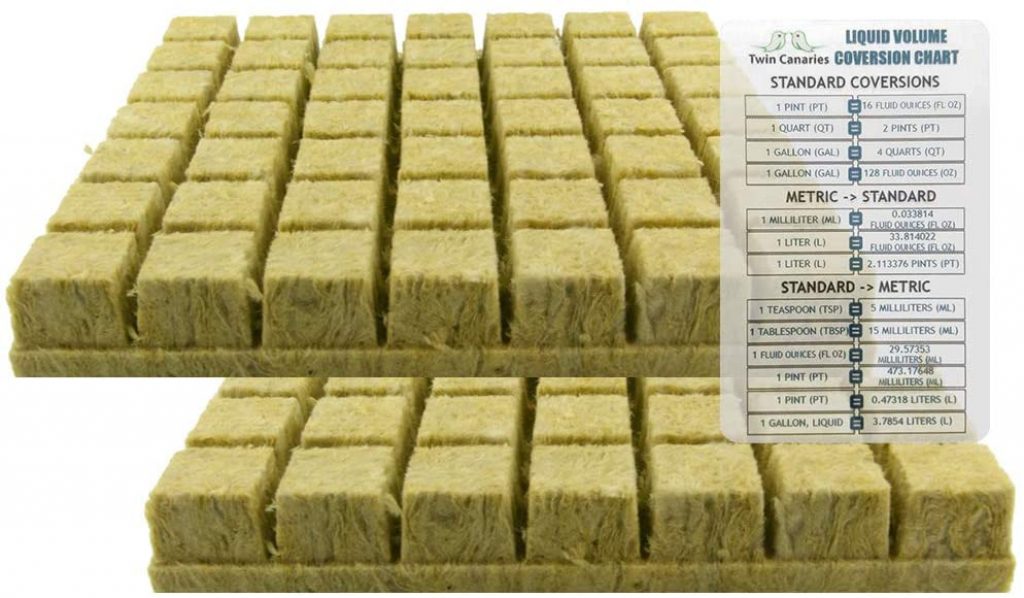
Rockwool is a fantastic growing medium that facilitates the growth of your plant’s root system. It is both sterile and helps drain excess water while retaining enough adequate growth.
Rooting Hormone
While not 100% required, this rooting hormone can assist in cuttings developing their initial roots quicker.
Hydroton Clay Pebbles
These pebbles allow for better airflow to your plant while providing additional support. What’s more, they are porous, meaning that they hold on to nutrients until the nearby roots can access them.
3-Inch Net Pot
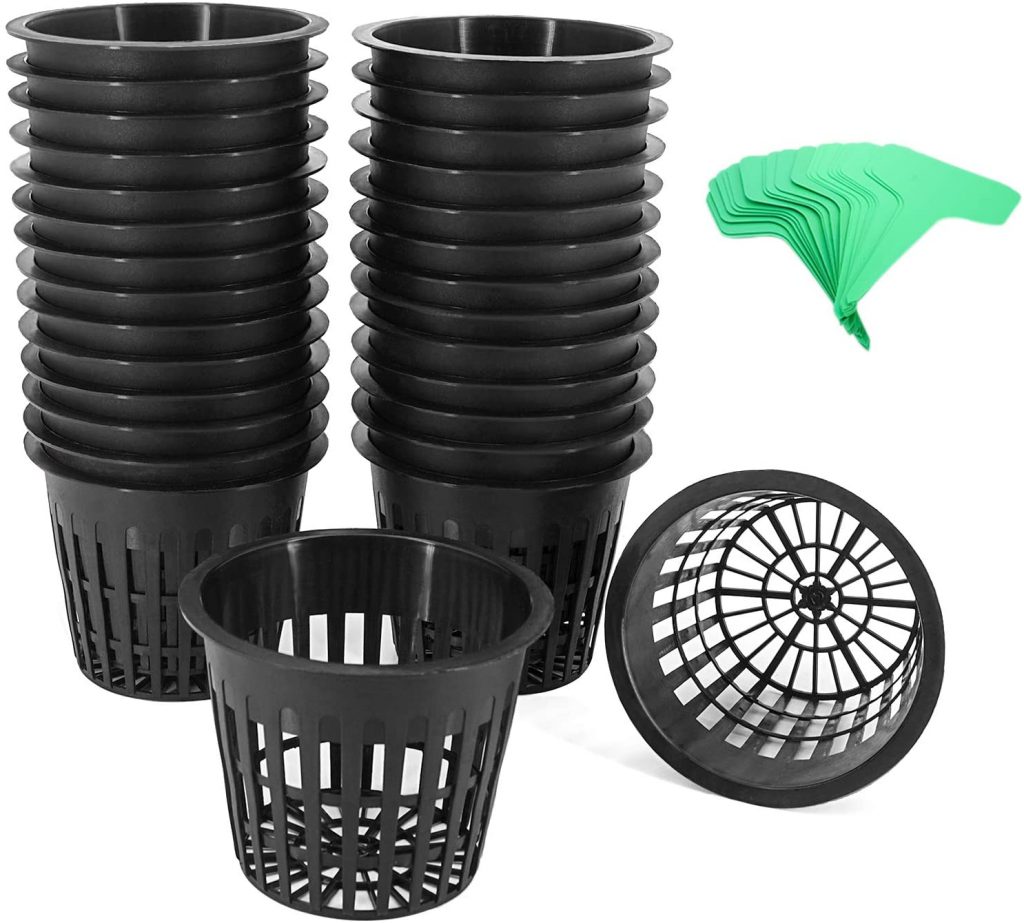
You’ll place your Rockwool cube (complete with stem) and Hydroton clay pebbles into this container.
1 Quart (32-ounce) Wide Mouth Mason Jar
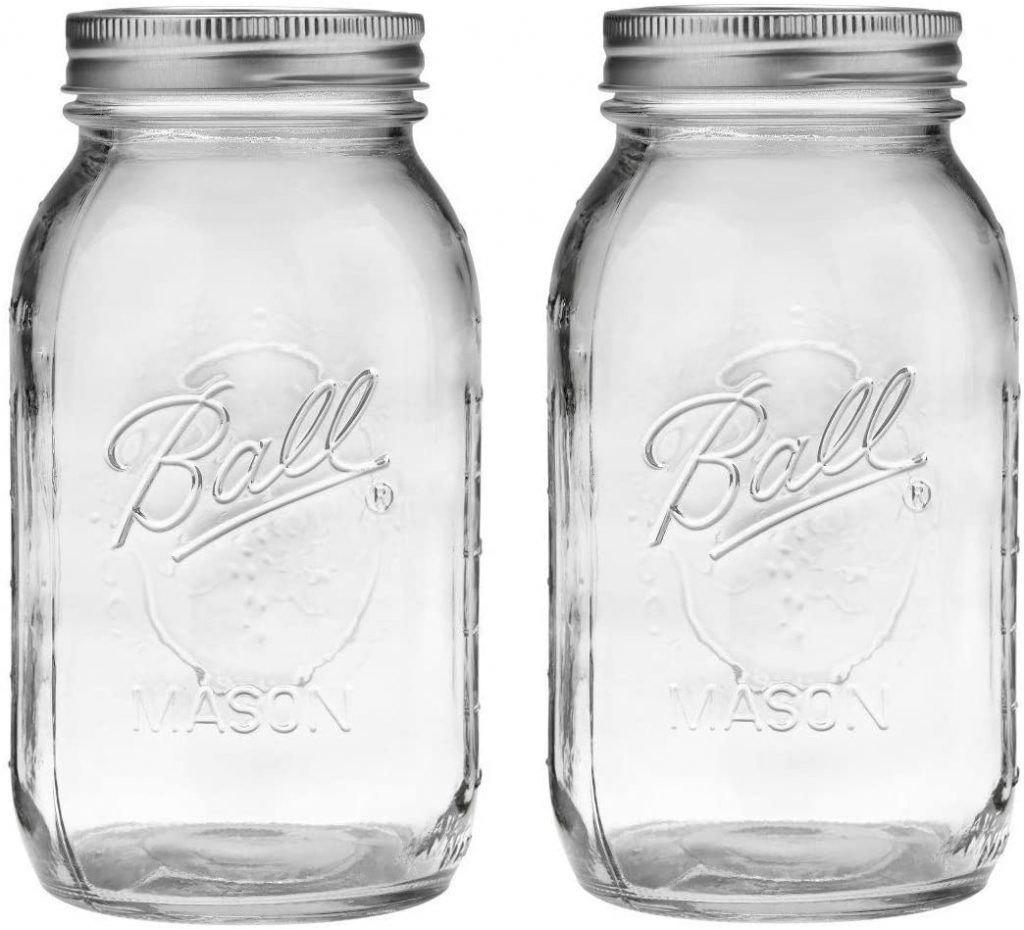
The housing container of your system. This jar holds the water, solution, and net pot necessary for your grow.
Plastic Solo Cup
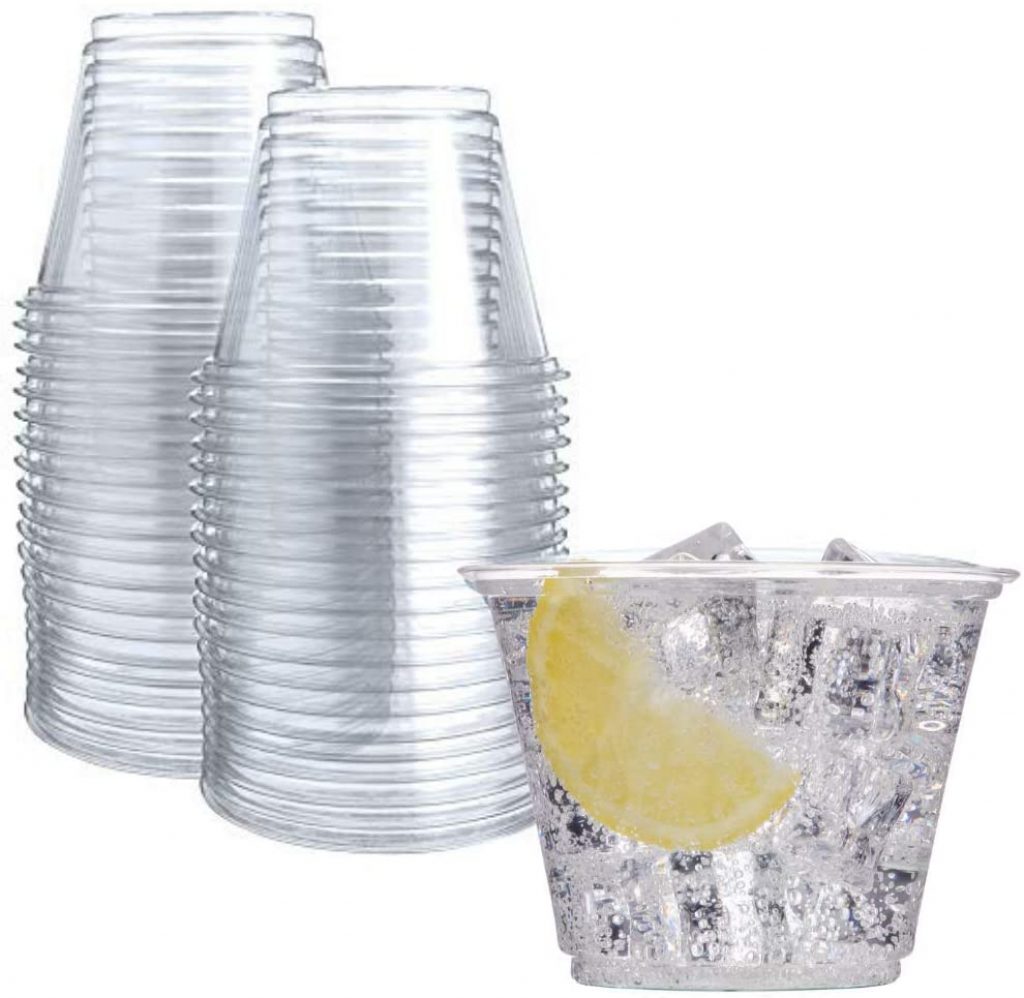
This cup helps provide humidity for the initial stages of your plant’s growth.
Indoor Lighting

You’ll need this component to provide your plant with all of the quality light that it requires.
pH & TDS Meter
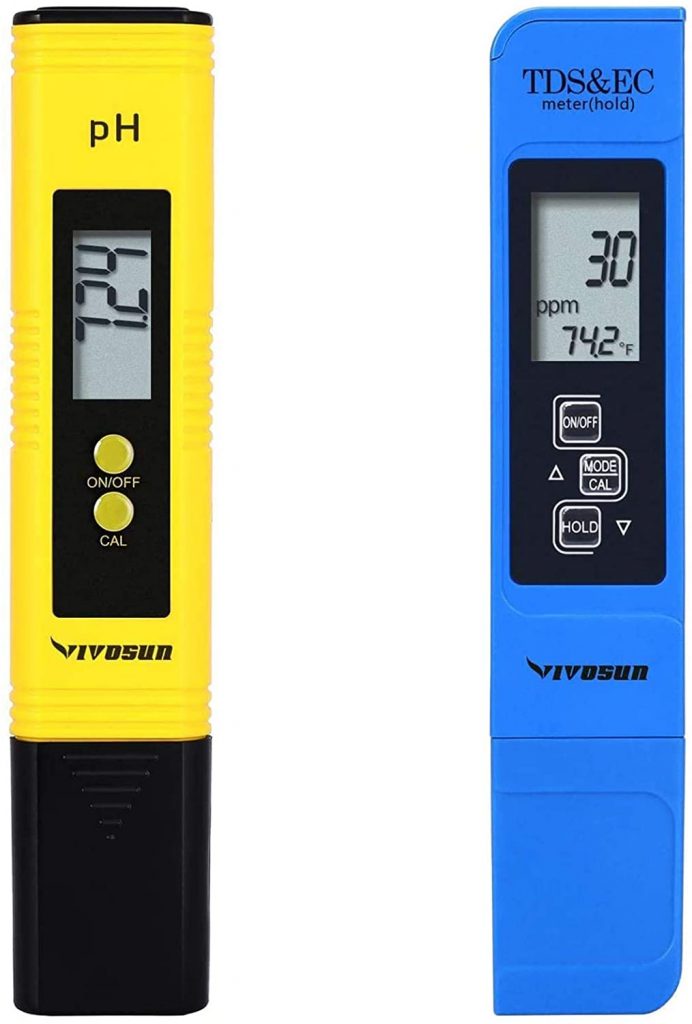
If you’re serious about looking after your plants and growing quality produce, you’ll need to test the pH and TDS of your solution frequently.
pH calibration Solution
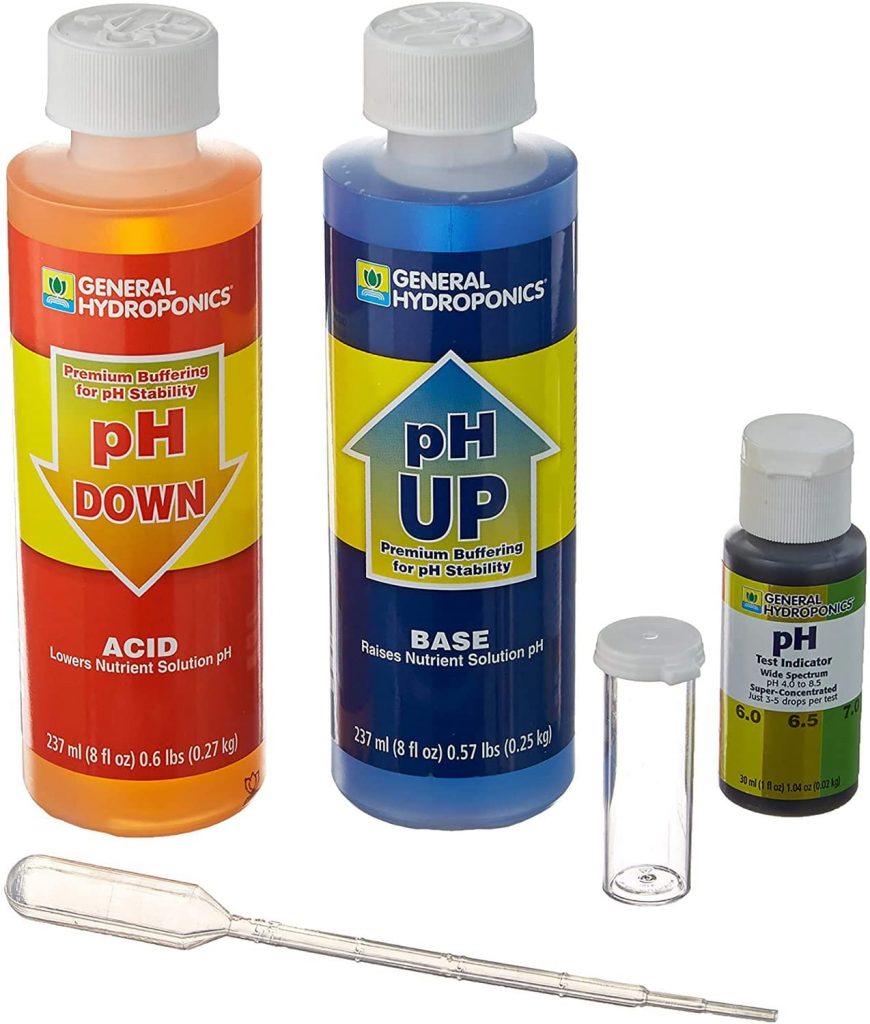
This helps you maintain your pH levels. If you’d like to learn more about pH as part of hydroponics check out our article – Understanding pH For Hydroponics (A complete guide).
How To Grow Hydroponic Basil (Step-By-Step)
As previously mentioned, this guide uses a simple yet effective hydroponic system involving a mason jar, a basil mother plant, and the Kratky method. This is a passive hydroponic technique for growing plants where the plants are suspended above a reservoir of nutrient-rich water while receiving ample amounts of oxygen.
Here’s the best part – the system itself, aside from any indoor lighting, requires zero electricity to run.
So without further ado, here’s your step-by-step guide to the process:
Step 1: Preparing Your Nutrients
With the nutrients that we’ve provided in our previous section, mix the following in 2 liters or even 1 gallon of filtered water:
- 10ml of the grow food nutrients.
- 3ml of Calm-Mag.
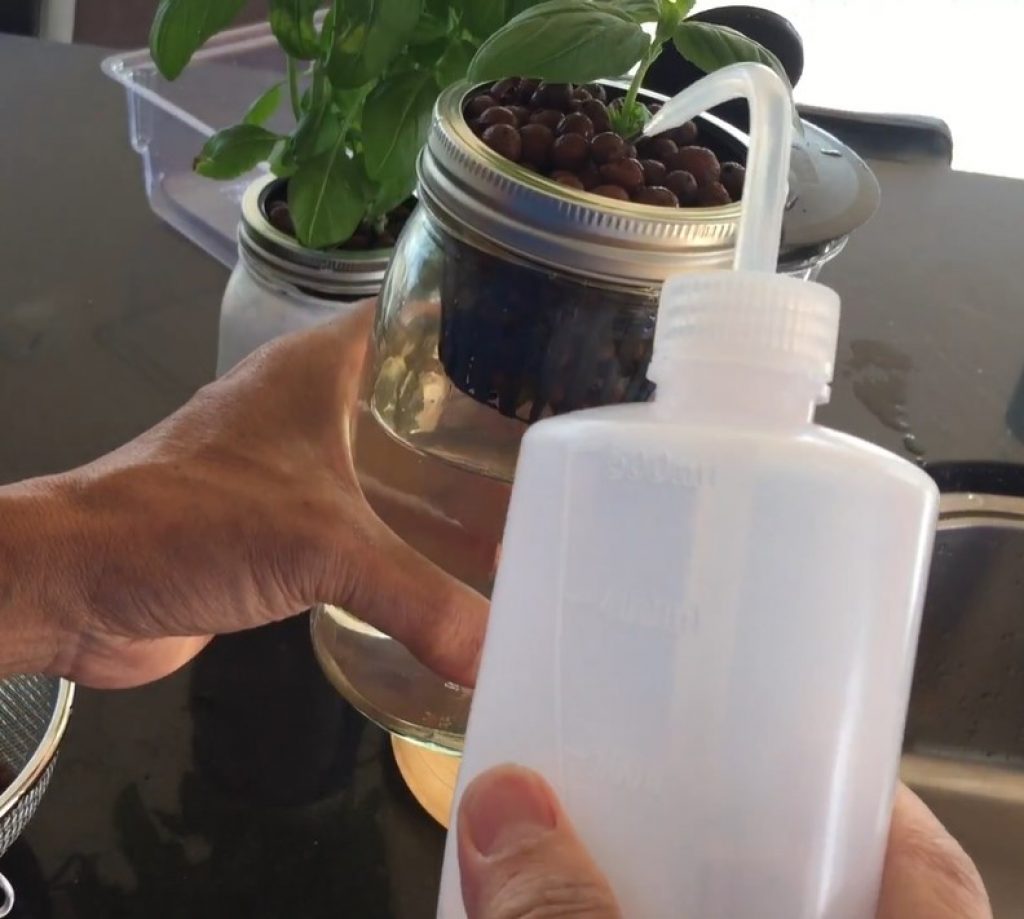
Pro Tip: Source a 5ml eyedropper from your local pharmacy, it’ll make this step easier. Once you’ve done this, use a funnel to put your nutrient solution into a smaller squeeze bottle. You can administer your nutrients to your plants with ease by doing this.
Step 2: Select Your Cutting
Take your basil mother plant and select the cutting that you’ll be using for your hydroponic basil setup.
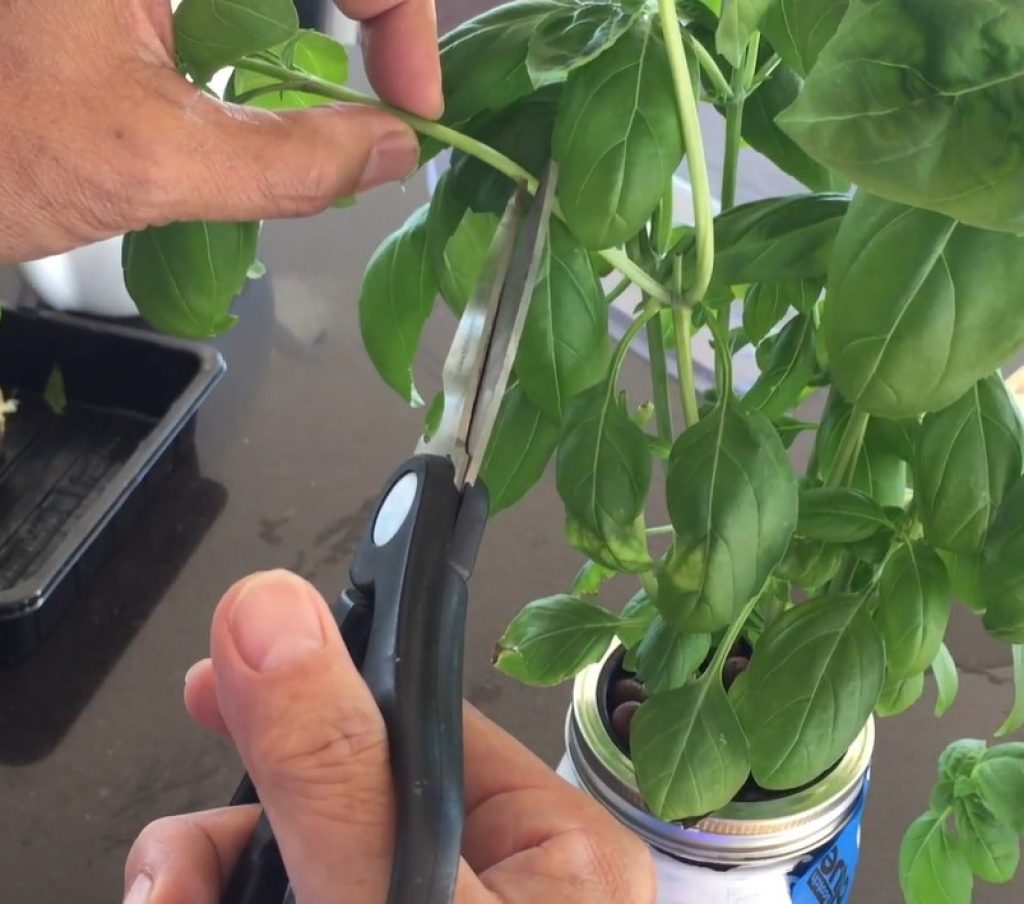
Source: Slightly Vegan – YouTube
To do this, use clean herb snips or scissors to cut a 4 to 6-inch long stem. Clip it just below a leaf node (the spot on the stems where the leaves emerge). Do this at an angle to increase surface area for water uptake.
Remove any leaves on the bottom third of the stem.
Step 3: Prepping Your Cutting
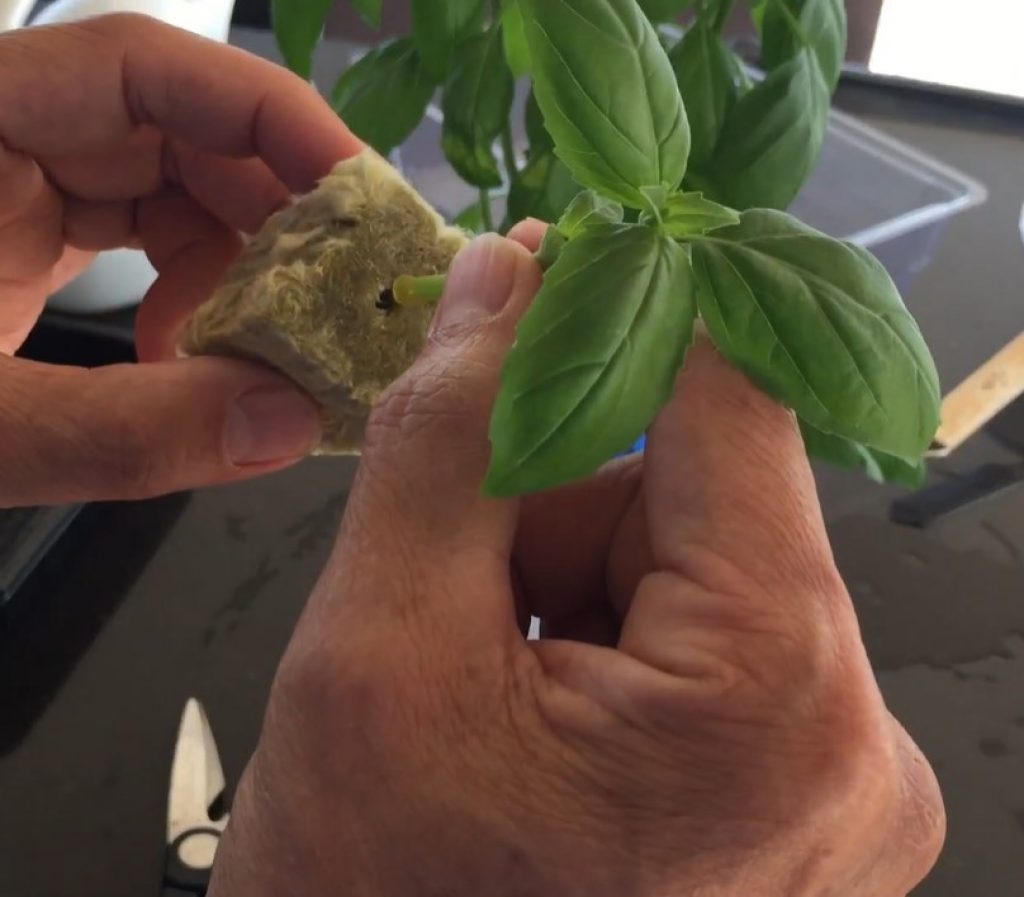
Source: Slightly Vegan – YouTube
Start off by taking one of your 1.5-inch Rockwool cubes and pre-soaking it with a bit of nutrient solution.
Once you’ve done this (and for those of you who did purchase rooting hormone), apply it over the base of your cutting.
Then, insert your cutting into the Rockwool and put the cube at the bottom of your 3-inch net pot.
Lastly, take the Hydroton balls and fill up your net pot so that your plant has a nice, stable base to grow from. Make sure to wash these thoroughly in a strainer before you use them.
Step 4: Planting In The Mason Jar
Now you’re ready to put your plant into your mason jar.
First, fill your jar up to just below the bottom of where your net pot will be sitting – you’ll be pouring in close to 700ml of water. Then, put your net pot in your mason jar and secure it with the top of the mason jar.
After that, top off the fluid in the jar with your nutrient solution. Pour until the fluid comes up to the top of your Rockwell cube – this will keep the cube nice and moist until roots begin to sprout.
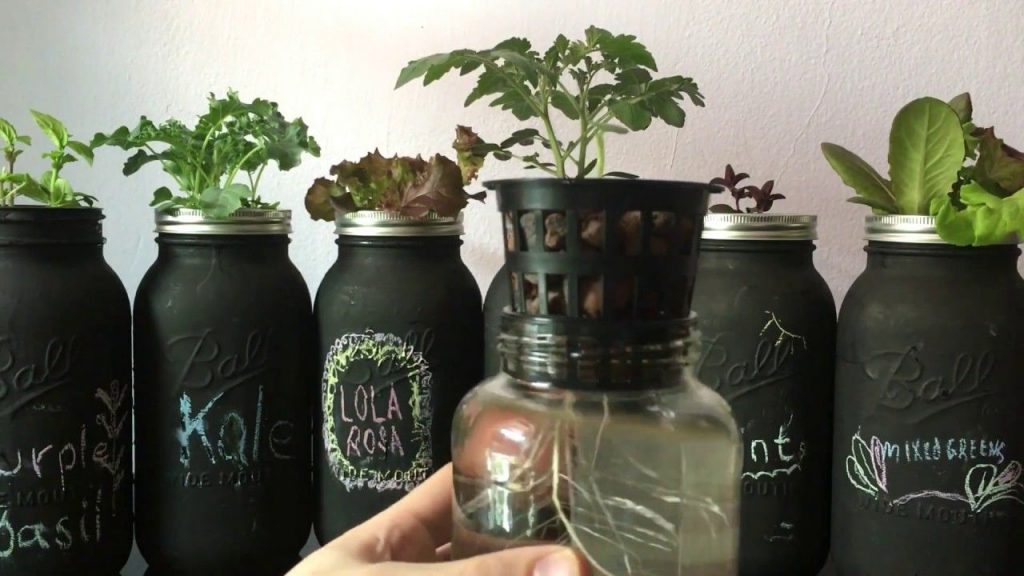
Once the roots make contact with and absorb the nutrient solution, the water level will drop. This is where the Kratky method kicks in.
Source: Slightly Vegan – YouTube
Kratky Method
With the Kratky method, a gap of moist air will form and expand between the water surface and the base of your plant. The roots in this gap become laterally branching “oxygen roots,” and absorb oxygen from the air inside the container.
Step 5: Finishing Touches
Now you’ll grab your clear, plastic cup and place it over your hydroponic basil cutting. Here it’ll act as a humidity dome that’ll help your plant during its infancy.
Then, before you place your mason jar under as much light as possible, wrap it up with one of the following methods:
- Black spray paint
- Cover them with duct or washi tape
- Use a light-blocking fabric sleeve
Source: Terri Cooper (Pinterest)
Doing this prevents algae growth in your jar. Whichever method you choose, leave a little window open to observe water levels and root quality.
Important Info: At the end of the week, when the roots are starting to take and you want to remove the humidity dome, do it slowly so that your plant can adjust to the change in humidity levels. Do this too quickly and you’ll increase the chances of shocking your plant into wilting.
Tips For Growing Hydroponic Basil
Optimal pH & TDS Levels
While the Kratky hydroponic that we’re using in this article is mostly passive in nature, it’s still important that you check on the TDS and pH levels of your plants, as often as possible.
Basil thrives in the following pH and TDS ranges:
- pH – 5.8 – 6.2
- TDS – 700-1120 ppm
Maintenance is Key
One of the best ways to maintain a healthy hydroponic basil plant is to prune it.
Basil grows very quickly, as such it’s important that you keep an eye on its growth and prune it when necessary.
When Should You Start?
Start pruning once your plant has developed a second leaf node. This will kick off the branching process. As the plant continues to grow, remove any dry and/or dying leaves that aren’t receiving enough sunlight. This will ensure that your plant redirects resources to the healthiest leaves.
Continue to cut the branches of your young hydroponic basil plant as it grows. This will help you maintain its shape.
Heat & Light
Basil needs at least 14 hours of quality sunlight every day.
Additionally, temperatures should be 65-70 °F/ 18-21 °C.
Warmth is key for basil, especially when you’re just starting your plants, that’s why having a humidity dome is so important.
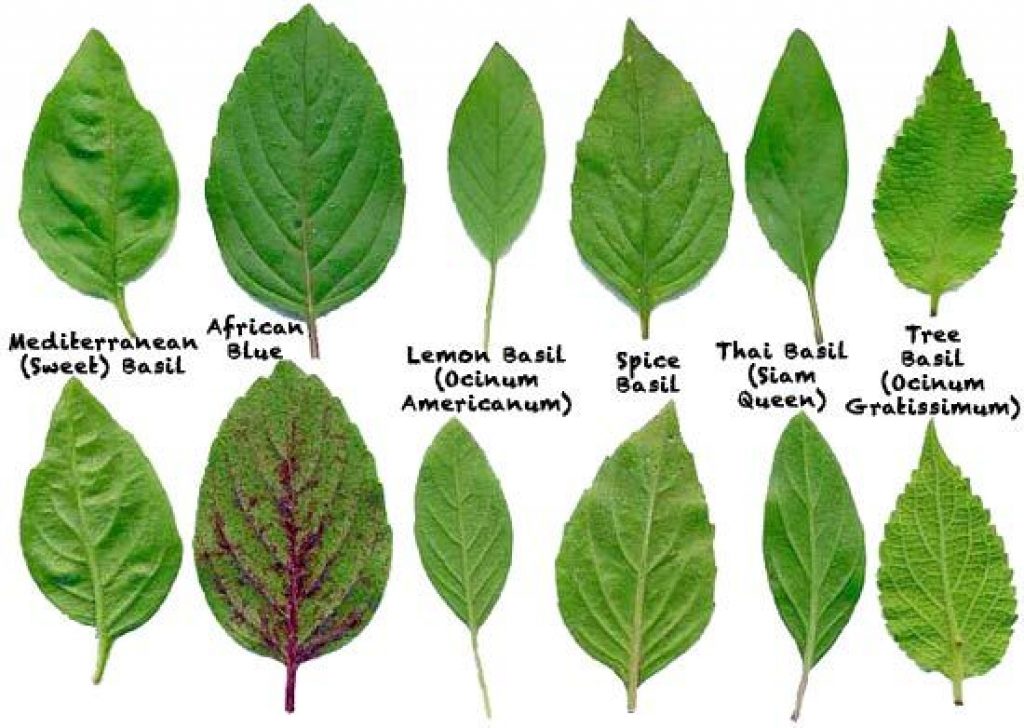
Basil Leaf Varieties
There are two primary types of green basil, each with its own distinguishing flavor, yield, and leaf type features.
They are:
- Genovese basil – This type of basil is prized for its classic pesto flavor and characteristic heavily cupped, spoon-shaped leaves. It also tends to be the preferred type for culinary use.
- Italian Large Leaf basil – This type of basil is known for its high yield and rate of productivity. The plants are dense and produce large, pointed leaves that are typically thicker and more durable than the leaves of its Genovese cousins. This durability, along with with strong yields and quick growth, are the reasons why some growers prefer this variety. However, its lighter green leaves and sweeter flavor profile is considered less refined than those of the Genovese type varieties.
Source: Trish Sucher (Pinterest)
There are also special types of basil. These include:
- Red/Purple
- Citrus
- Asian/Thai
- Greek
- Lettuce Leafe Basils
For a more comprehensive view of basil types, have a look at Johnny’s Selected Seeds basil chart. They are a privately held, employee-owned seed producer and merchant headquartered in Winslow, Maine, USA that has been around for over 48 years.
Final Thoughts
Basil is easily one of the plants best suited to hydroponic growing, especially for beginners.
It doesn’t require a vast amount of skill or knowledge to propagate, it grows quickly and above all, it’s incredibly tasty!
The Kratky method that we’ve provided you with is very much accessible to the vast majority of you out there reading this. So even it’s just one plant, give it a bash. We’re certain that you’ll be more than happy with the results. What’s more, you’ll never have to go out and buy store-bought basil ever again.
If you’ve managed to successfully grow your own basil hydroponically, please feel free to share your experience with us in the comments section below!