A solar home inspection is an essential step in ensuring the safety and functionality of your solar energy system.
During this process, a professional inspector evaluates the condition of your solar panels, wiring, and other vital components to assess any potential issues.
While inspections may seem laborious, they ensure that your investment provides long-lasting benefits and delivers reliable performance for years to come.
Let’s look at this process in more detail.
Table of Contents
What is a solar home inspection?
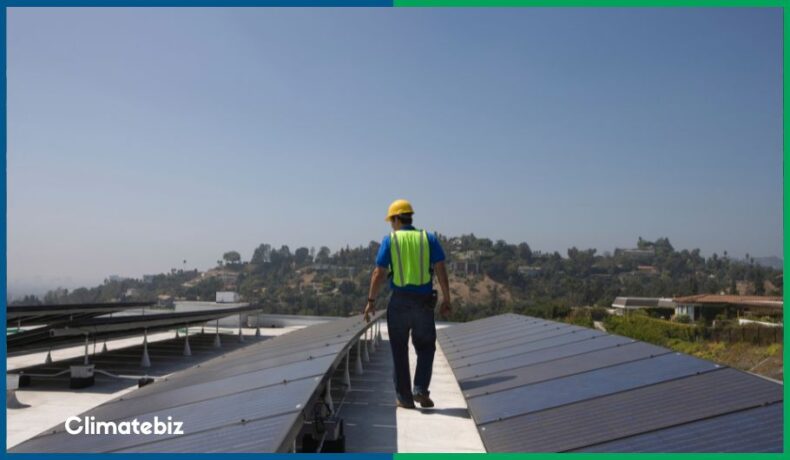
A solar home inspection involves a licensed professional assessing your home’s solar energy system. The inspector evaluates your solar system’s condition and identifies potential safety or performance issues.
In doing so, the inspector can recommend repairs or replacements for damaged components and, ultimately, help you get the most out of your solar array.
What is checked during a solar inspection?
An authorized agency responsible for the inspection verifies that your system meets all structural, electrical, and fire safety standards.
Structural checks
Understanding the impact solar additions will have on your roof structure is essential. Adding additional weight can affect its stability and safety.
A PV system’s unique design and rooftop placement require that it withstand strong forces. Seismic forces can cause your solar panels to sway or shift if improper anchoring and mounting occur.
The International Building Code and the International Residential Code provide detailed load calculations that help you determine the additional load your system will contribute.
Solar inspections involve critical structural checks. They ensure the following:
- Roof: Your roof must show no signs of damage, such as sagging or missing shingles.
- Mounts, supports, and fasteners: Your mounts must be free of cracks, corrosion, or other damage.
- Loose bolts or welds on the supports: All fasteners must have adequate tightness and torque.
- Solar panels: Your solar panels need to be fastened securely to your roof.
Electrical system checks

The National Electrical Code (NEC) outlines requirements for the panels, modules, wires, inverters, and connectors that make up your system.
For your solar PV system to be certified as compliant with electrical standards, it must meet rigorous product standards established by organizations like UL or IEC.
These certifications prove that the components underwent thorough testing and are safe for use under national codes and guidelines.
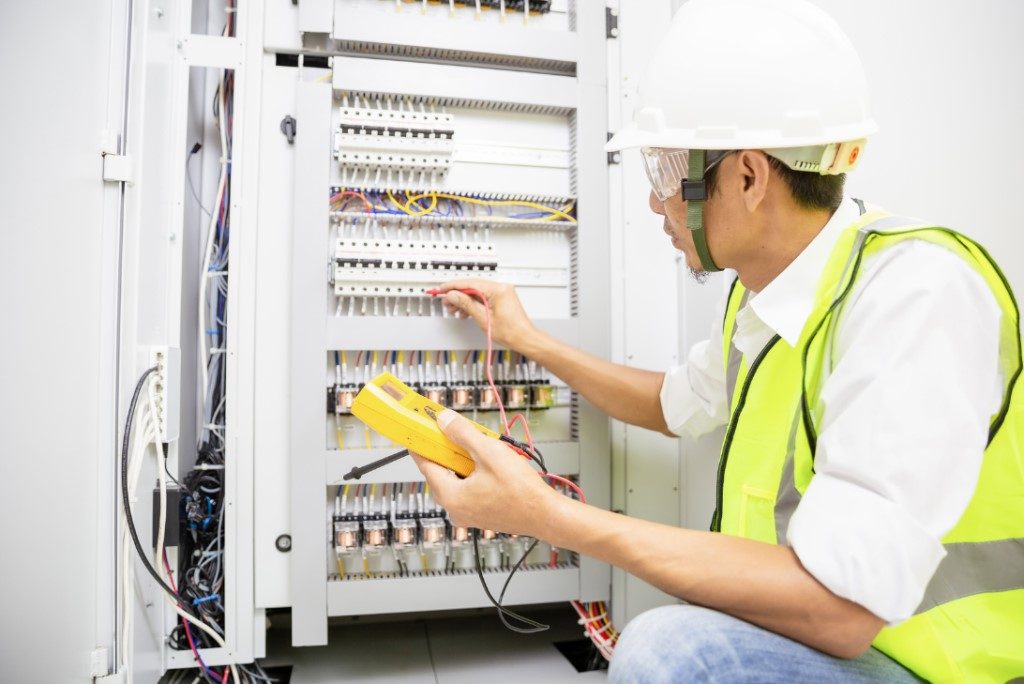
A qualified inspector studies your system’s electrical components by:
- Checking the size of the electrical service panel, breaker ratings, and wire gauges.
- Verifying that there is proper grounding and that all connections are secure.
- Inspecting the solar panels for any damage or cracks
- Testing your PV system’s overcurrent protection devices to ensure they function correctly.
- Searching for any loose wires, burnt connectors, or wiring defects that could potentially lead to a fire hazard.
- Testing the functionality of your inverter and battery.
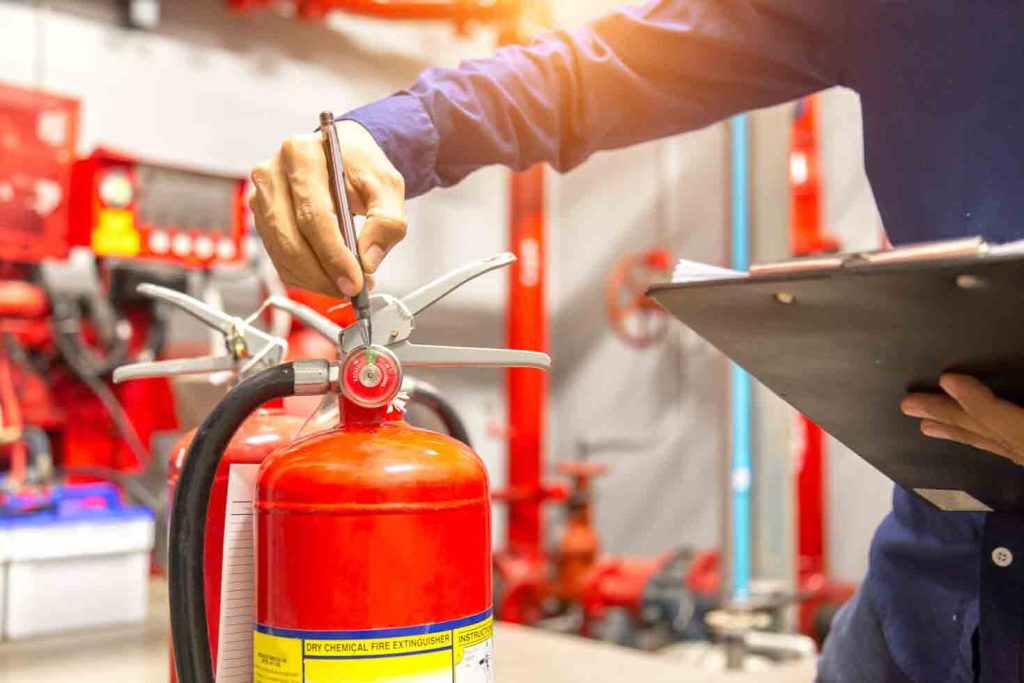
Fire safety checks

Roof-mounted solar PV systems have had fire-resistant ratings since 2015. During an assessment, an inspector will evaluate your roof’s capability to withstand fire in an emergency.
There are three fire resistance rating levels:
- Class A. These are effective against severe fire exposure.
- Class B. These are effective against moderate fire exposure.
- Class C. These are effective against light fire exposure.
To clear these checks, your roof must meet or exceed the minimum required rating (class c). Moreover, your roof access points and paths must allow the fire department to perform smoke ventilation operations.
The International Building, Residential, and Fire Codes provide specific guidelines for these requirements, including specifications for location, dimensions, and access to the roof.
How To Prepare Your Home For A Solar Inspection
Here’s what you need to do to prepare your home for a solar inspection:
Provide easy access to your electrical panel
The solar inspector will need to look at your panels to ensure they meet all the requirements for solar power production. Panels located in a difficult-to-reach place can add time and cost to the inspection process.
Clear away any debris or obstructions around your roof
You’ll need to provide unobstructed access to your roof for the inspector to correctly assess the viability of solar power for your home.
Make sure all your utility bills are up to date
Show proof that you’re current on all your utility bills. Being behind could potentially delay the inspection process.
Ensure your roof is in good condition
The solar inspector will need to evaluate your roofing material and structure to ensure that it can support the weight of solar panels. Missing or damaged shingles affect the installation process.
Solar inspection checklist

The following checklist will assist you with your home’s solar inspection.
It considers 17 points from the NEC, the 2015 IBC, and the 2015 IRC, covering all the essentials for a thorough and effective solar inspection.
| 1. | Your rooftop system must meet industry standards set out by the IRC or IBC. |
| 2. | Your roof must withstand the weight and load of your solar panels. |
| 3. | Roof access points must be at strong points in your home and away from openings such as windows or doors. They should not be in areas prone to potential hazards. |
| 4. | Follow the guidelines set forth by NEC 690.31 (G), which outlines best practices for installing and maintaining electrical conduits. |
| 5. | Secure, support, and route exposed cables to prevent physical damage. |
| 6. | You must carry out your installation professionally per NEC 110.12. |
| 7. | Carefully flash and seal all roof penetrations to prevent water damage and ensure a robust and durable roof structure. |
| 8. | Your system must have a fire classification per the International Building Code (IBC) 1505.9 or the International Residential Code (IRC) R902.4. |
| 9. | Connect your equipment grounding conductors to the system per NEC 690.47(A). |
| 10. | Consider the parallel-connected short-circuit currents of all the PV modules in your system. Multiply this value by 125%. |
| 11. | Place the output circuit breaker at the opposite end of the bus from your utility supply to safely use your inverter system. This breaker can be on either end of the busbars depending on whether your panel is center-fed [NEC 705.12(B)]. |
| 12. | Provide access and working space for the operation and maintenance of the PV equipment, including inverters, disconnecting means, and panelboards. Design this space per NEC 110.26, so it’s safe and easy to use. |
| 13. | Install your rapid shutdown system per the approved plan and ensure it’s fully operational. |
| 14. | Use the different types, sizes, and markings of your conductors, cables, and conduits per your approved plans. |
| 15. | Carefully select and size your overcurrent devices per your approved plans. |
| 16. | List batteries other than traditional lead-acid batteries per NEC 480.3. |
| 17. | Protect ungrounded conductors by providing a disconnect for stationary battery systems over 50V AC or 60V DC per NEC 480.7 & 706.7. |
Final thoughts
A solar inspection is essential in evaluating your home’s potential for solar power.
Preparing your home before the inspection is crucial to ensure that your roof and electrical system meet all the requirements for installing solar panels. Moreover, ensure you know how the inspector will evaluate your system.
Follow best practices like adhering to local building codes and maintaining clear access points on your roof. This help minimizes delays and thus prevents added costs in the inspection process.
With careful preparation and attention to these critical details, you can feel confident that your home is ready to take advantage of this renewable energy source.

