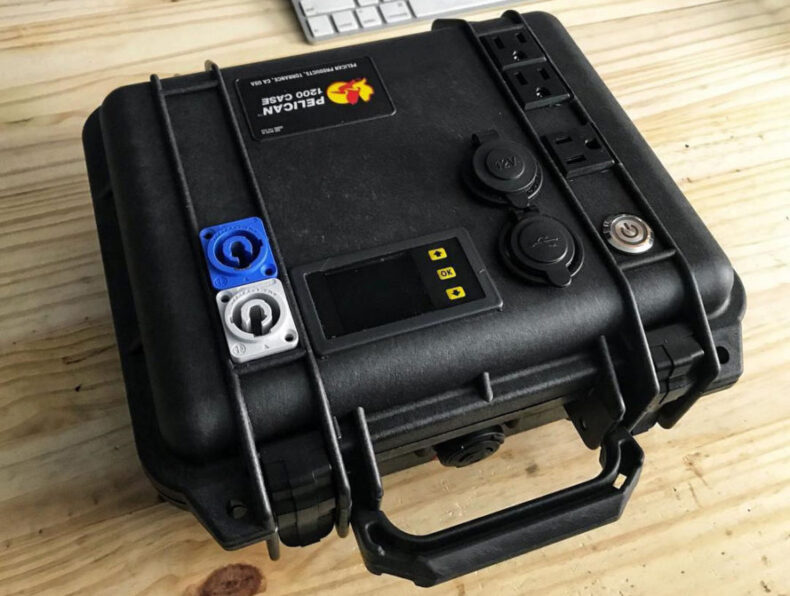
Have you always wanted to build a DIY solar generator? Now may be the best time to do it.
As of 2025, solar energy is the cheapest and most abundant energy source. One of its primary features is its scalability — from the smallest solar panel for domestic use to large solar fields that can power a city.
Solar components are modular and safe to handle, making it possible for anyone to build a DIY solar generator.
In this article, we guide you step-by-step through building your DIY portable solar generator. Carrying out the steps in this article will give you access to a clean and reliable energy source anywhere and anytime.
Table of Contents
What is a DIY solar generator?
A solar generator is a device that converts sunlight into electricity usable by your appliances. You can power your appliances with this electricity at any time of the day. The “do it yourself” element means you’ll need to purchase ready-made components that you must assemble to create your DIY solar generator.
Sure, building a generator on your own may seem daunting, but there are significant positives to going this route.
- You’ll learn a lot throughout the process.
- You can select the best parts and build a custom generator that suits your needs.
What functions does a DIY solar generator perform?
The DIY solar kit has 3 primary functions:
- It harvests solar energy.
- It stores energy.
- It converts solar energy into usable electricity.
Furthermore, solar generators come with the following handy characteristics:
- Portability.
- Plug-and-play.
- Durable and maintenance-free.
- Scalable to any power and size.
Estimating your needs for a DIY generator
The first step to accurately selecting your solar kit’s components is knowing your energy needs.
In this section, we consider three real-world scenarios for three DIY solar generators:
Energy requirements for a camping trip
| Appliances/Electronic devices | Power | Hours of use | Total energy |
|---|---|---|---|
| 4 x Led Lights | 20W | 6 | 120Wh |
| 2 x Phones and tablets | 30W | 3 | 90Wh |
| 1 x Drone and speaker | 30W | 2 | 60Wh |
| 1 x Laptop | 60W | 3 | 180Wh |
| 1 x Mini Fan | 10W | 5 | 50Wh |
| 1 x Mini cooler | 60W | 8 | 300Wh |
| TOTAL | 210W | 800Wh |
For a camping trip, you’ll need a total power of 210W, with a daily energy consumption of 800Wh per day.
Energy Requirements for a camper van/RV
| Appliances/Electronic devices | Power | Hours of use | Total energy |
|---|---|---|---|
| 6*Led Lights | 30W | 6 | 180Wh |
| 3*Phones and tablets | 40W | 3 | 12 Wh |
| 1*Drone and speaker | 30W | 2 | 60Wh |
| 2*Laptop | 120W | 3 | 360Wh |
| 1*Mini Fan | 10W | 5 | 50Wh |
| 1*Mini refrigerator | 60W | 24 | 800Wh |
| 1*DC water pump | 50W | 2 | 100Wh |
| 1*Led TV | 70W | 5 | 350Wh |
| TOTAL | 410W | 2,020Wh |
To power your RV electronics and small appliances, you’ll need 410W and 2kWh per day.
Energy requirements for home backup power
| Appliances/Electronic devices | Power | Hours of use | Total energy |
|---|---|---|---|
| 10*Led Lights | 50W | 6 | 300Wh |
| 3*Phones and tablets | 40W | 3 | 120Wh |
| 2*Laptop | 120W | 3 | 360Wh |
| 2* Fans | 120W | 5 | 600Wh |
| 1* refrigerator | 120W | 24 | 1400Wh |
| 1*power tool | 600W | 1 | 600Wh |
| 1*large Led TV | 150W | 5 | 750Wh |
| TOTAL | 1200W | 4,130Wh |
For a 24h home emergency power backup system, you’ll need a total power of 1200W and more than 4kWh of energy.
Parts/components to build a DIY solar generator
Solar generators are simple machines requiring 6 main components to function correctly.
Portable solar panels
The solar panel is an essential part of your DIY solar generator kit. It converts sunlight into DC (Direct Current) electricity. Choose portable or foldable solar panels. They have unique, compact, and rugged designs suitable for the outdoors.
Note to our readers: The price of these components will fluctuate
| Type of DIY solar generator | Solar panel power | Our favorites | Price |
|---|---|---|---|
| Camping trip | 200W | LENSUN foldable solar blanket | $389 |
| RV-Camper van | 2 x 220W | Dokio 220W foldable solar panels | $448 |
| Home backup power | 4 x 200W | Renogy 200W foldable solar suitcase | $1479 |
Solar charge controller
To get the most out of your solar panel, you need an MPPT solar charge controller. It is the best at following the sun’s variable power and will deliver a reliable and clean output current to charge your battery.
| Type of DIY solar generator | Solar charge controller | Our favorites | Price |
|---|---|---|---|
| Camping trip | 20Amps MPPT | Renogy Rover 20 | $99.99 |
| RV-Camper van | 20Amps MPPT | Renogy Rover 20 | $99.99 |
| Home backup power | 40Amps MPPT | Renogy Rover 40 | $169.99 |
Battery
To enjoy power at any time from your DIY solar generator, you need a battery. This battery will store your solar energy and release power on demand.
There are 2 battery technologies available: lead-acid and lithium-ion.
Lead-acid batteries fall under the following names: GEL and AGM. These are cheap to buy and maintenance-free.
That said, we highly recommend you purchase a lithium battery instead. Lithium-Ion batteries, particularly LiFePO4, are far superior to GEL or AGM batteries.
Their upfront cost is higher, but their life duration, reliability, and energy density (lightweight) are better than lead-acid technology.
| Type of DIY solar generator | Battery size | Our favorites | Price |
|---|---|---|---|
| Camping trip | 500 W.h | Renogy 12V, 50AH LFP battery | $299.9 |
| RV-Camper van | 1000 W.h | ECO-Worthy 12V 100Ah Lifepo4 | $349.9 |
| Home backup power | 2000 W.h | ECO-Worthy 24V 100Ah LifePo4 | $779.9 |
AC/DC inverter
Your portable solar panel and battery storage system only provide DC power, but your home appliances use AC power (Alternative Current). Therefore, you need a solar inverter. These components convert DC into AC (110V/220V, 60Hz).
We recommend a pure sine wave inverter for efficient power conversion and a clean electricity supply.
| Type of DIY solar generator | Inverter Power | Our favorites | Price |
|---|---|---|---|
| Camping trip | 1000W | KRIËGER 1100 Watt 12V Power Inverter Dual 110V AC Outlets | $89.90 |
| RV-Camper van | 1000W | Renogy 1000W pure sine wave inverter | $229.99 |
| Home backup power | 2000W | ETREPOW 2000 Watt Pure Sine Wave Power Inverter 24V to 110V 120V | $229.98 |
Case
Using a case to protect your DIY solar generator from dust and humidity ensures your system’s longevity. Furthermore, it unites all the components in one easy-to-carry container you can bring on all your trips.
On average, the total weight of a DIY solar generator will be:
- Camping trip solar generator: less than 14kg (30.8 lbs).
- RV solar generator: less than 20kg (44 lbs).
- Home backup system solar generator: less than 30kg (66 lbs).
Here are three quality cases we selected for the above system sizes:
| Type of DIY solar generator | Our favorites | Price |
|---|---|---|
| Camping trip | Monoprice Weatherproof / Shockproof Hard Case | $79.99 |
| RV-Camper van | DEWALT Tool Box Tough System, Extra Large | $105.76 |
| Home backup power | Monoprice Weatherproof / Shockproof Hard Case with Wheels | $199.99 |
Breakers and electrical wiring
Electrical wiring and breakers are essential. They help you connect your components and provide a high level of safety for your DIY solar generator kit.
We recommend using the following RENOGY products:
- 30A fuse set.
- 4 AWG battery inverter cables.
- 12 AWG battery to charge controller cables.
- 10 AWG extension cables for solar modules.
In addition, you’ll need an outdoor power outlet that you can easily mount inside the case wall and a master switch for your entire system.
The total cost of your solar DIY generator
Let’s have a look at the total cost of your DIY solar generator, including all the above components:
| Type of DIY solar generator | Power and Energy storage capacity | Total cost |
|---|---|---|
| Camping | 1100W / 500W.h | $1150 |
| RV – camper van | 1000W / 1000W.h | $1450 |
| Home backup system | 2000W/ 2000W.h | $3400 |
Note to our readers: Some portable solar panel kits already include a solar charger, thus lowering the overall cost of the DIY solar generator.
Assemble Your DIY Solar Generator Step-By-Step
Before you go about assembling your DIY solar generator, you’ll need the following tools:
| Tool | Purpose | Product Link |
|---|---|---|
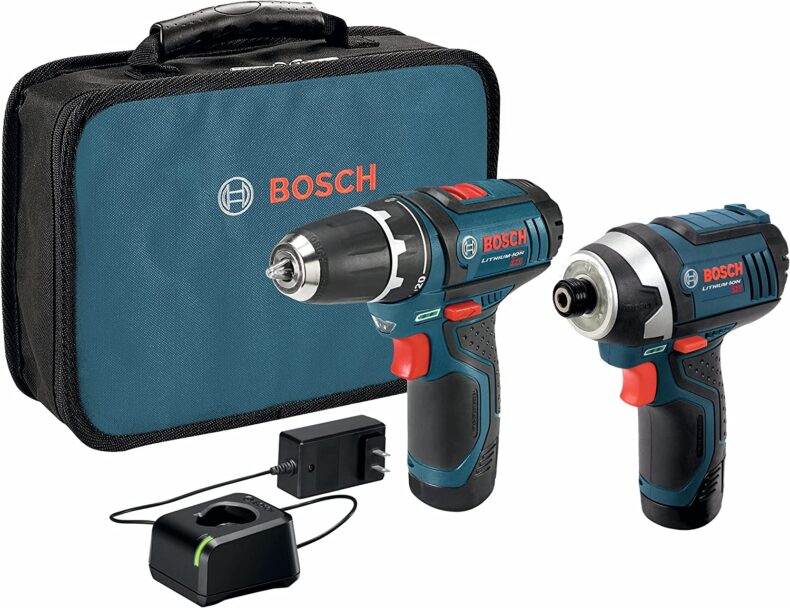 | Driller with a hole saw | View on Amazon |
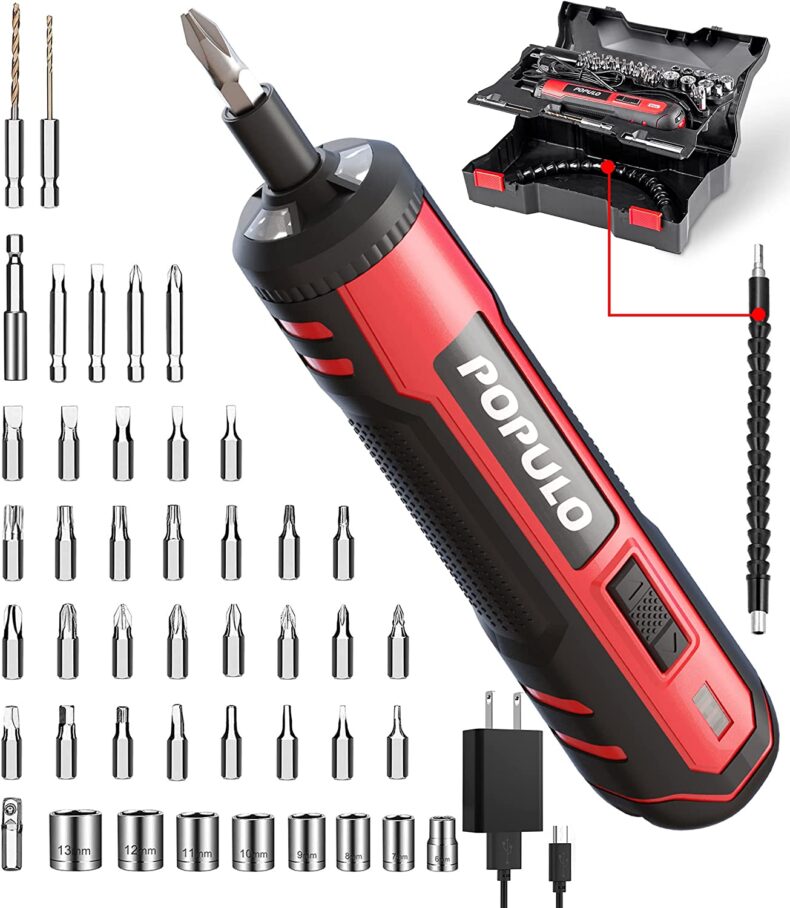 | Screwdriver | View on Amazon |
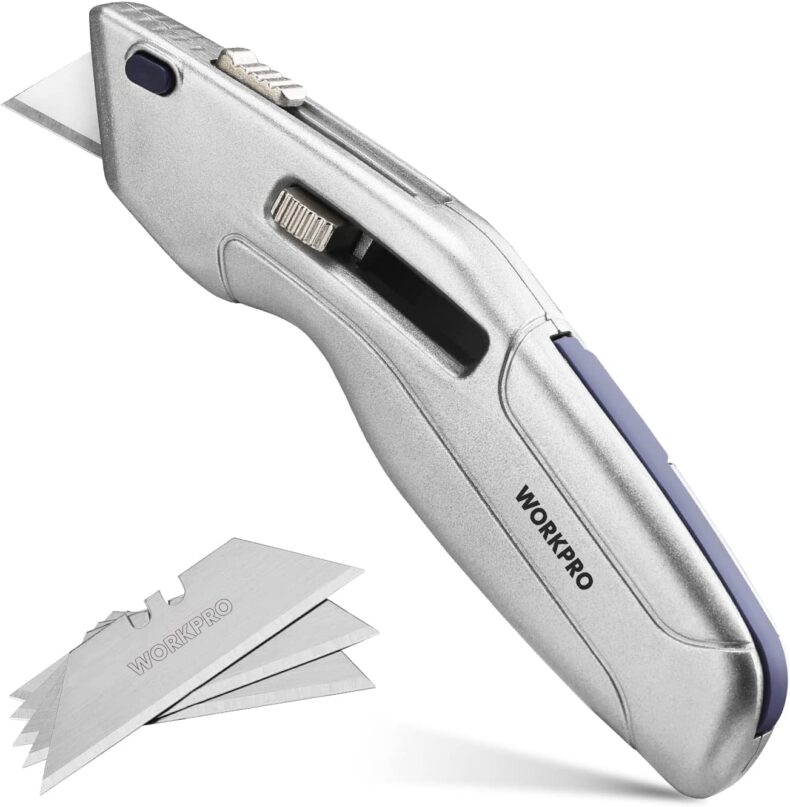 | Utility knife | View on Amazon |
 | Wire cutter | View on Amazon |
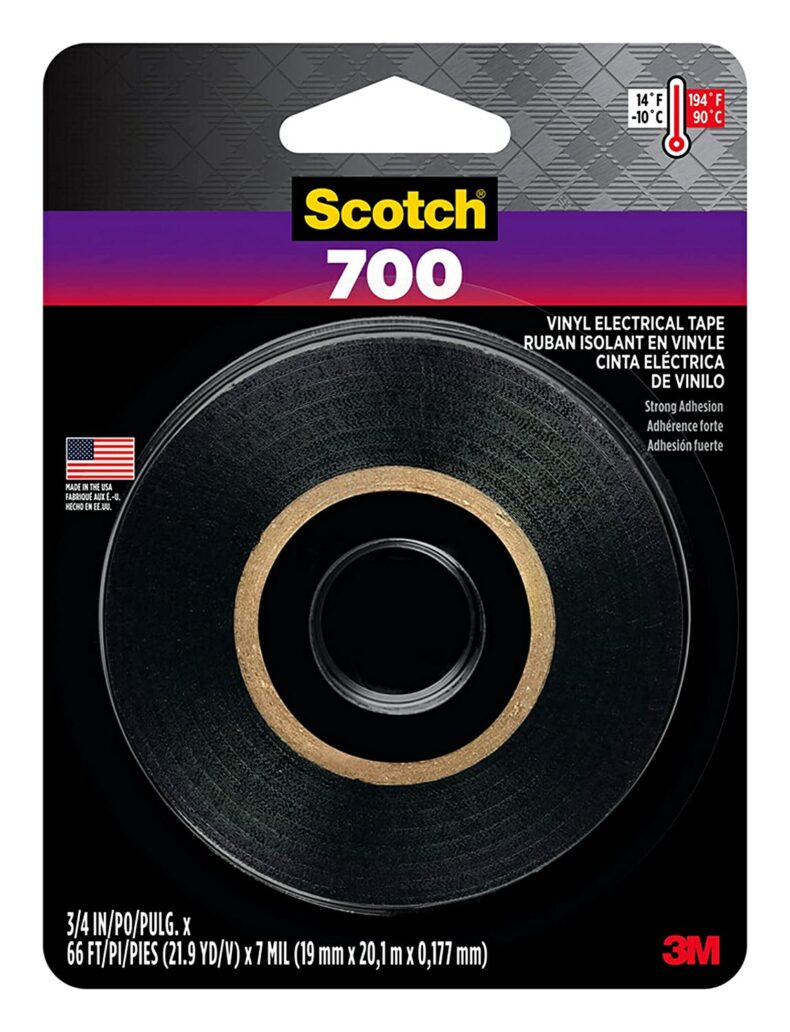 | Electrical tape | View on Amazon |
 | Glue gun | View on Amazon |
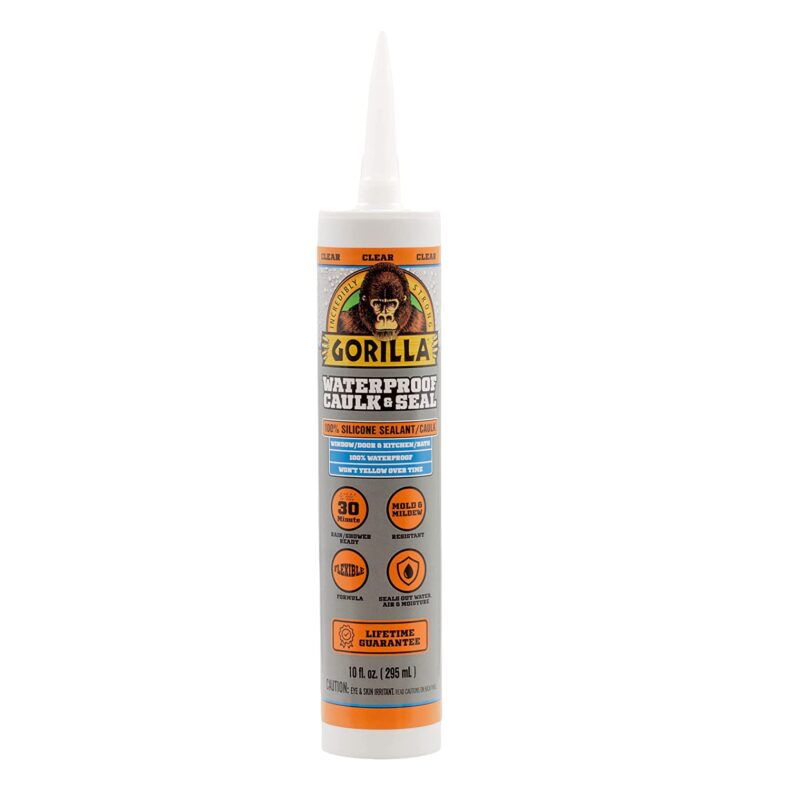 | Silicon sealant | View on Amazon |
Now it’s time to assemble your solar generator by carrying out the following steps:
1. Prepare your case
A solar generator must be plug-and-play. Therefore, make sure all the outlets are accessible without opening the case.
Cut through the case with a hole saw and carefully insert the outlet plug. Then, apply silicon to seal it.
You’ll need a second hole connecting the solar panel to the solar charger. We recommend using waterproof electrical connectors sealed with silicon.
Repeat the same process for external components like the inverter remote control panel, led lights, and master switch.
2. Install the battery
The battery is the largest part of your DIY solar generator kit, so you must mount it in your case first.
LiFePo4 batteries will operate in any position, but we recommend placing them in the corner of your case.
Make sure you fix your battery onto the case wall with a battery strap.
3. Install the solar charge controller
Glue the solar charge controller inside your case. Make sure you have enough space for its wiring to the battery and the solar panels.
4. Install the inverter
The inverter is the second-largest component — you can place it on the wall near the outlet. We recommend using straps so you can easily remove them for maintenance purposes.
Be sure to allow enough space around the inverter for sufficient airflow.
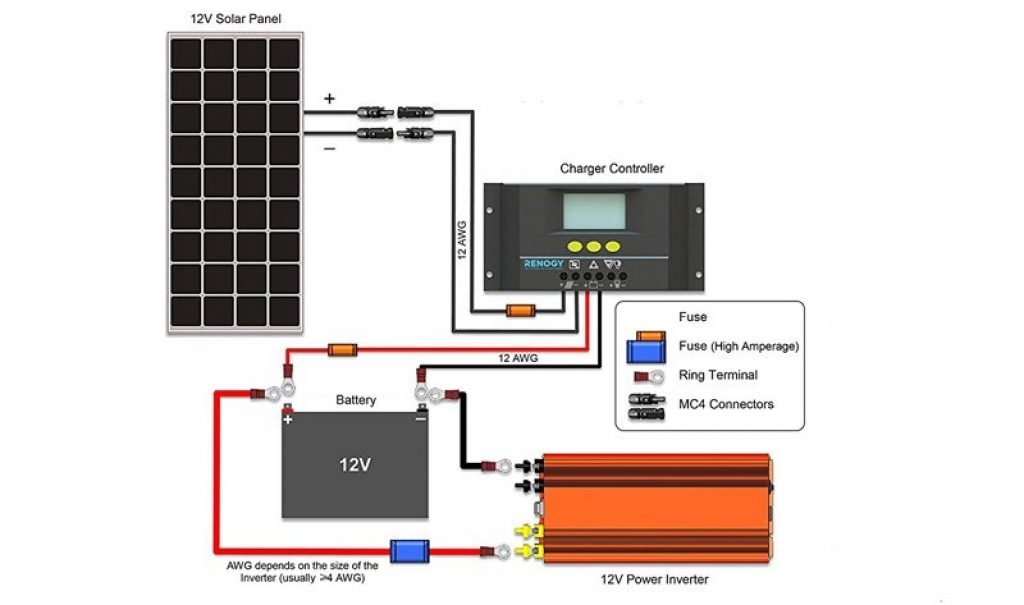
5. Install the wiring and fuse
Now that you’ve installed all your components firmly inside your case, it’s time to wire your system.
First, connect your outlet plug to the inverter. Use a 12 gauge wire (12 AWG) to link your inverter to the battery and the battery to the solar charge controller.
Next, plug in the extension cable of your solar panel to the solar charger (12 AWG). You’ll need 3 fuses in the following places:
- Between the solar panel and the charge controller.
- Between the charge controller and the battery.
- Between the battery and the inverter.
Use the following diagram to assist you with proper wiring:

Final thoughts
Now you’re ready to produce green energy anywhere without noise or smoke. Your portable homemade power station is compact, easy to handle, safe, maintenance-free, and will last for years.
To get the most out of your DIY solar generator, we recommend exposing your solar panels to full sun and adding a small ventilator inside the case for cooling purposes.
Have you built a DIY solar generator yet? Let us know via Twitter or in the comment section below. We’d love to hear about your experiences!

