Lighting up your garden at night will add ambiance to your surroundings, especially for BBQs or parties. When it comes to garden lighting, DIY solar lights are the first option for many, especially since outdoor electrical wiring can be tricky.
Since gardens are exposed to so much sun, it’s evident that solar lights are the best option; they’re surprisingly cost-effective, especially if you opt for the DIY route.
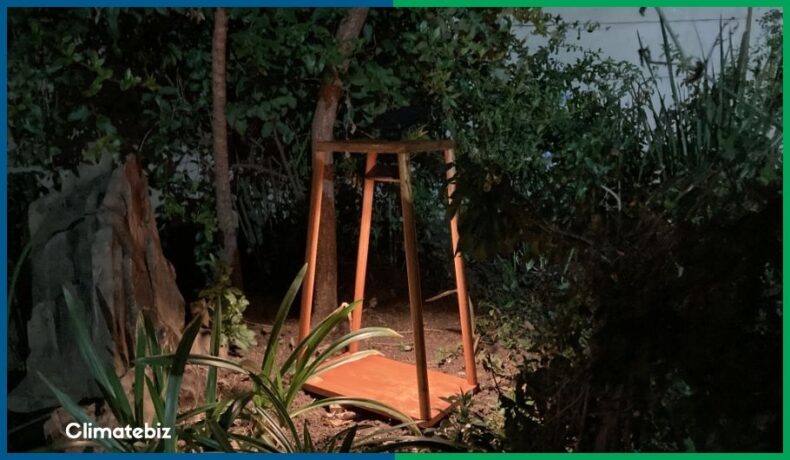
But let’s not waste any more time. In preparation for this article, we built a wooden DIY solar light that makes for a perfect garden lantern. We photographed and broke the process down into easy-to-follow steps.
Disclaimer: This DIY project uses the metric system. As such, we provide all our measurements in inches and feet. However, numbers might be odd due to conversions. So feel free to round our measurements to the nearest inch.
Affiliate Disclaimer
Climatebiz is reader-supported. We may earn an affiliate commission when you buy through links on our site.
Table of Contents
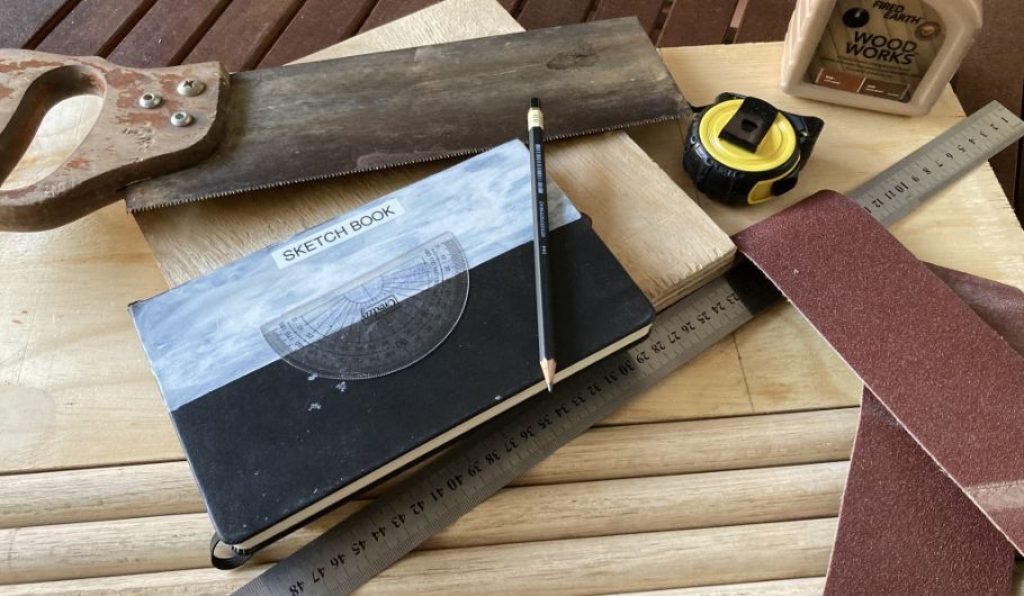
Tools Needed To Make A DIY Solar Light
| Tool | Description | Purchase |
|---|---|---|
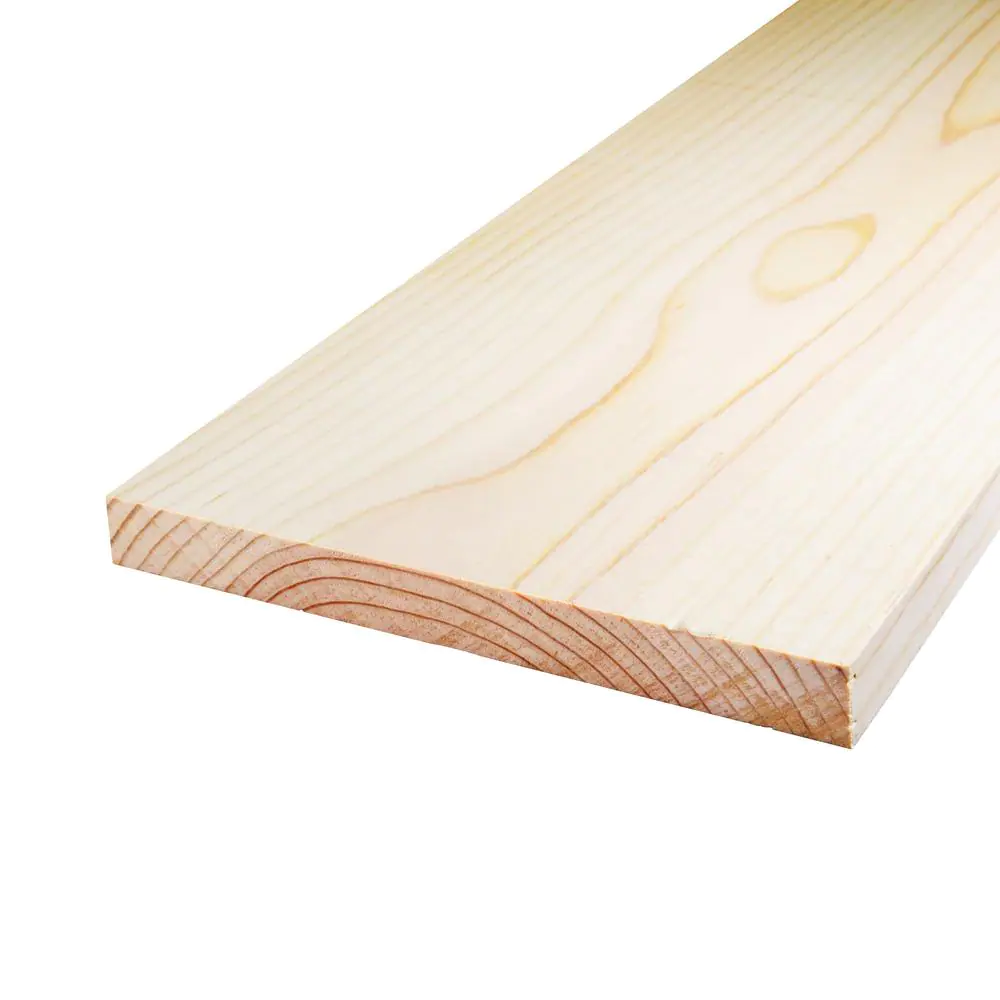 | Wooden Planks Ours were 0.7 inches thick. The thickness doesn’t matter too much; just don’t choose something too thin and flimsy. We’ll use wooden planks for the top and bottom bases. | Home Depot |
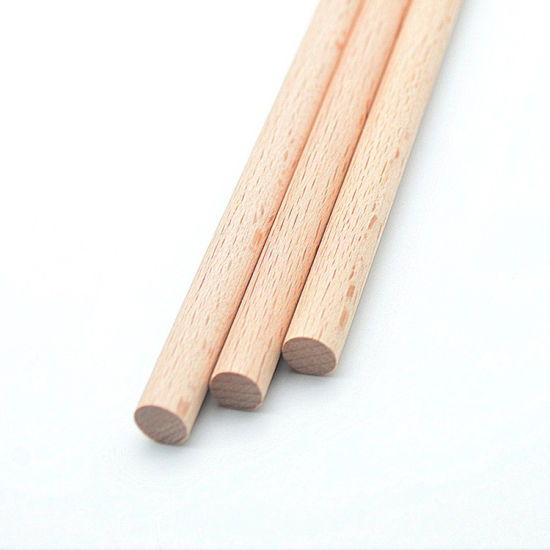 | Wooden Rods Again, the thickness of the rods doesn’t matter; just avoid choosing something that will break too easily. Ours were 0.98 in diameter. | Home Depot |
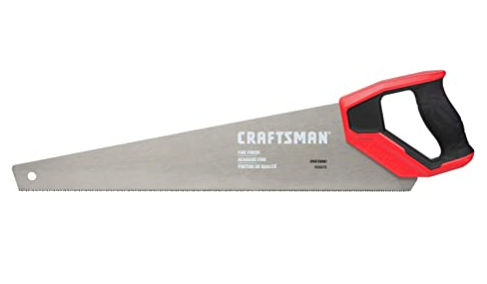 | Wood Saw We used a wood saw to cut the rods and planks to the correct size. You can swap this out for a jig saw to make things easier. | Amazon |
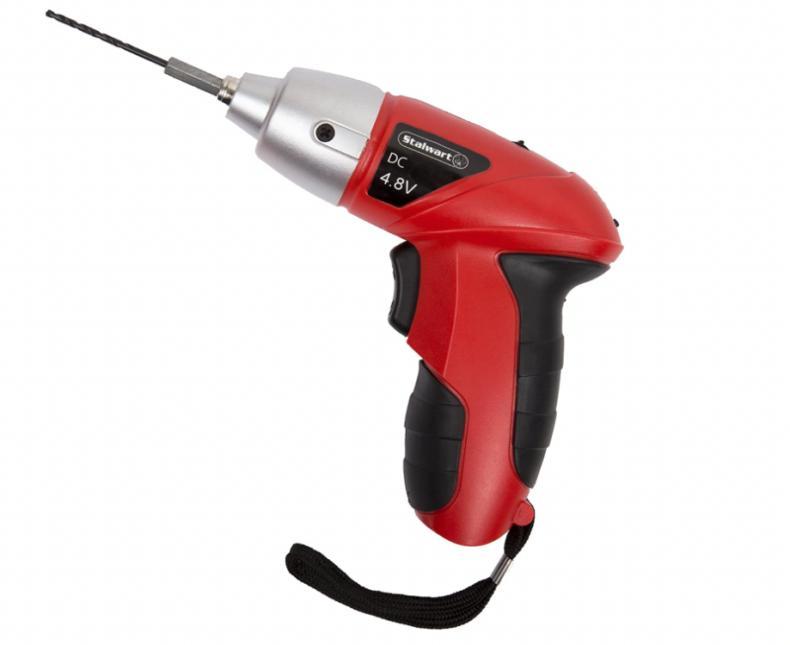 | Electric Screwdriver You’ll need an electric screwdriver to attach the wooden components. While this isn’t mandatory, it will make your job easier. | Amazon |
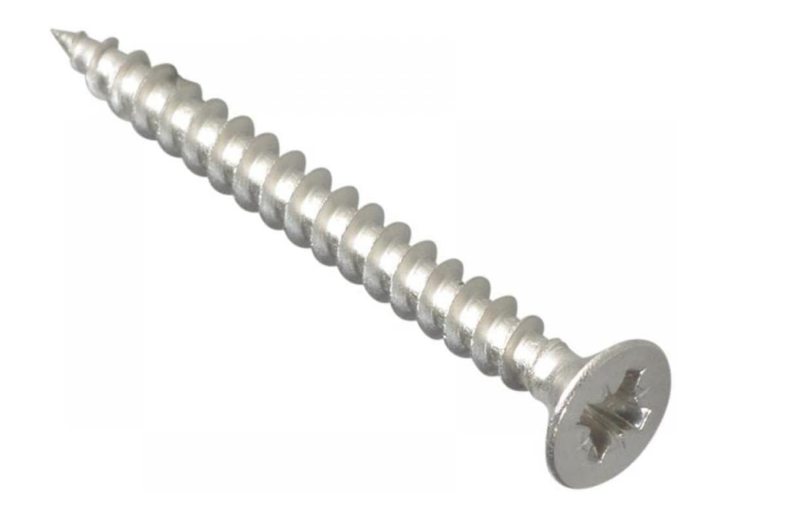 | Screws Make sure that the screws you buy aren’t too long. If you’re attaching the rods at an angle, screws that are too long will go through the rod. Additionally, don’t use screws that are too short as the components won’t fix together. | Amazon |
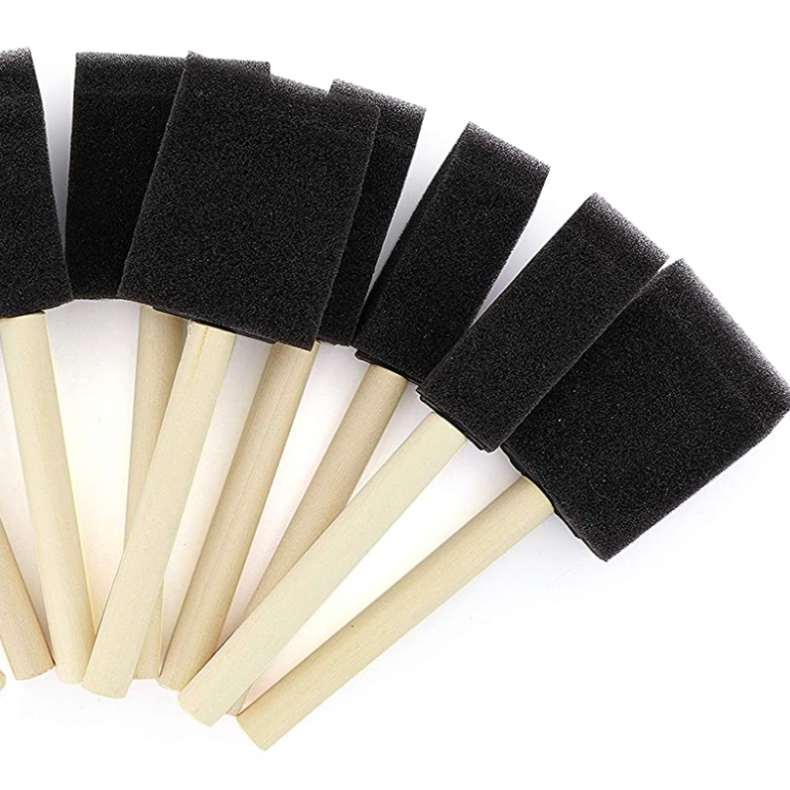 | Sponge The sponge is used to cover the wood with the sealant and stain. You can use any sponge from around your house. However, you won’t be able to use it again. | Amazon |
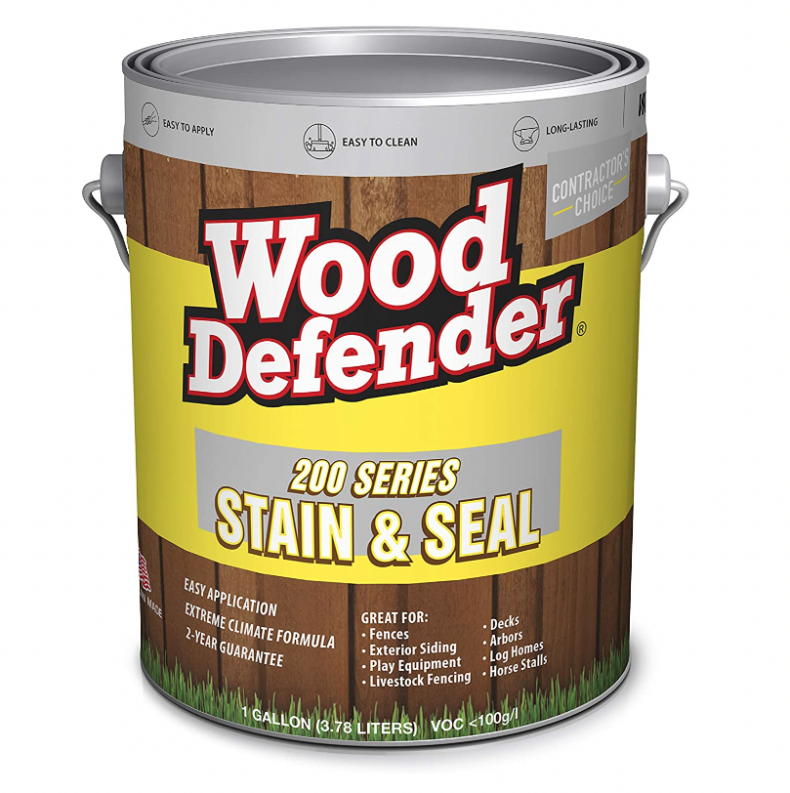 | Stain & Sealant These can be purchased separately, but many brands have two-in-one options which work out cheaper. You can use whichever color suits your garden best. (Please note that this stain & sealant is too big, you might only need 1/4 gallon) | Amazon |
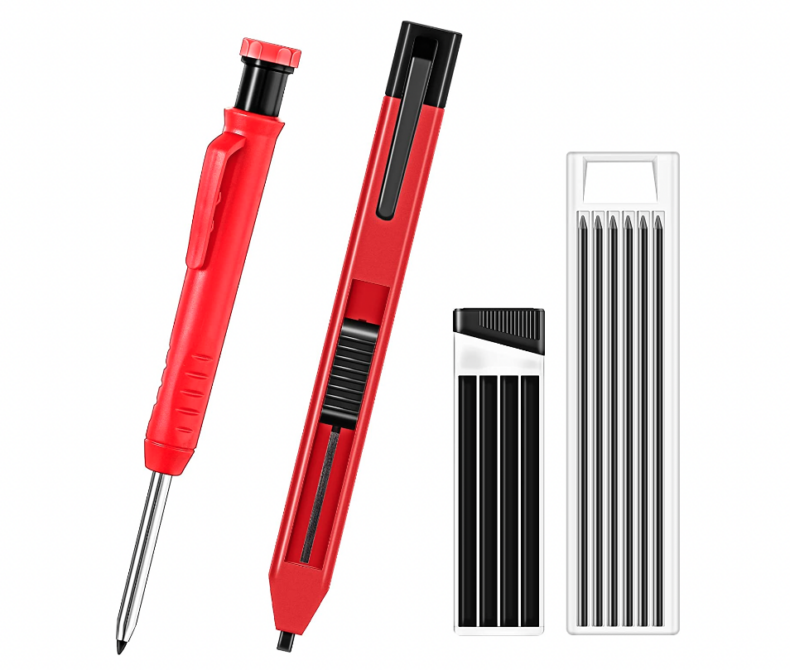 | Pencil The mighty pencil is crucial; without it, you won’t be able to mark where to cut the wood. You will also use the pencil to note where to drill the pilot holes. We recommend a softer pencil like a 6B or at least a 2B. | Amazon |
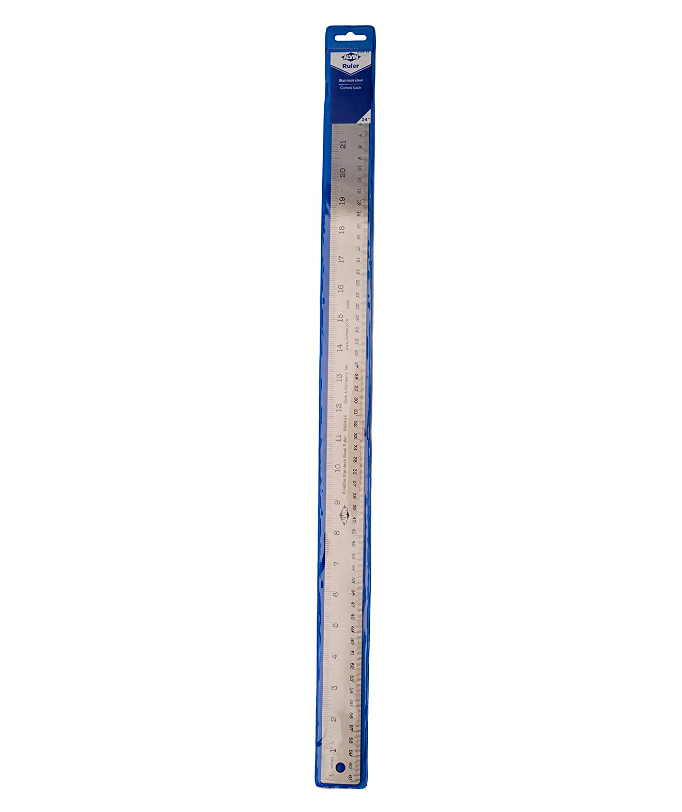 | Ruler We used a long steel ruler. These rulers are more durable when working with DIY projects. This ruler measures up to 23.6 inches (60cm). | Amazon |
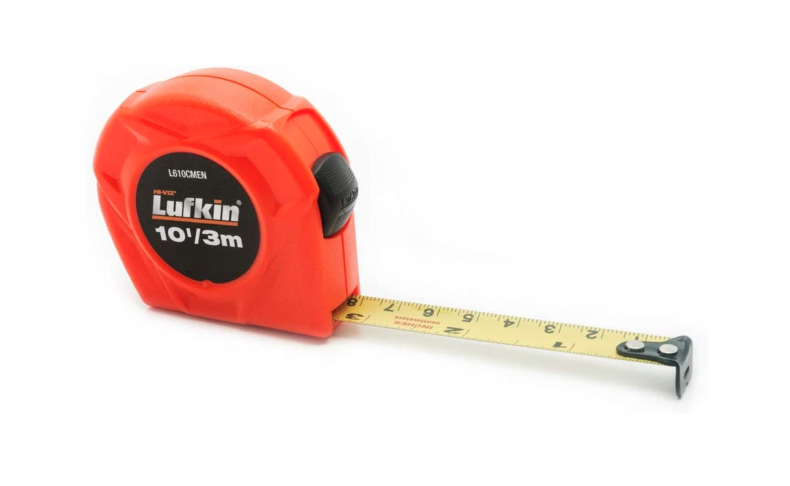 | Tape Measure For the rods, you’ll need something longer than the ruler. We used a 9.8-foot measuring tape. | Amazon |
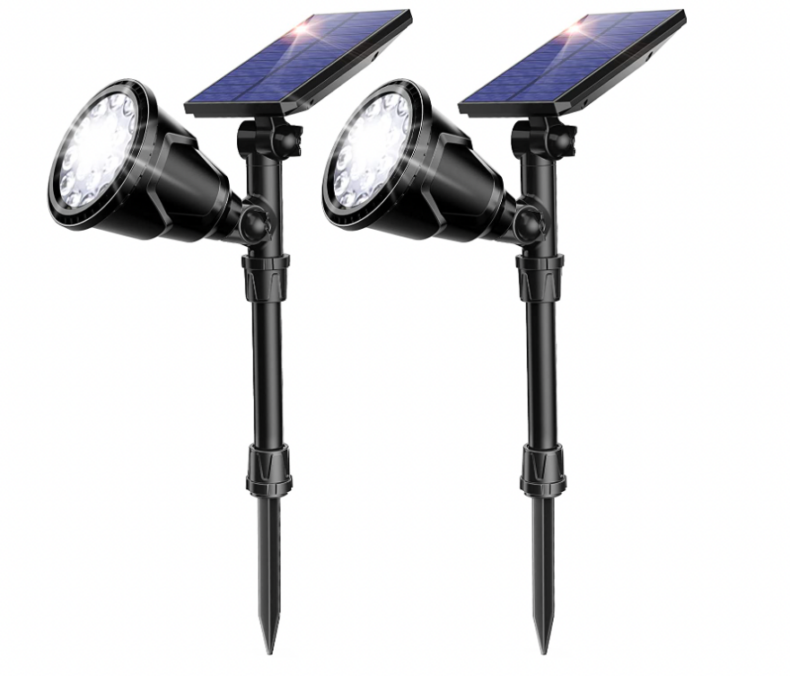 | Solar Panel & Light While you can purchase these components separately, doing so overcomplicated matters. That’s why we opted to buy a solar panel and light combo – which we retrofitted for this project. | Amazon |
 | Electric Sander Another optional tool is an electric sander. If you’re placing the rods at an angle, it’ll be easier to sand the rods to the right angle. Alternatively, you can use the saw to cut the angles as we did. | Amazon |
How To Build DIY Solar Lights For Your Garden
There are 6 steps you’ll need to follow, including a non-essential bonus step:
- Plan
- Measure And Cut The Wood
- Angle The Rods
- Fix The Pieces Together
- Stain And Seal The Wood
- Install The Solar Light
- Add Wire Meshes (Bonus Step)
Additionally, there are two avenues you can pursue:
- Follow our steps while using our exact measurements to reproduce what we made.
- Follow our steps as rough guidelines to create your own “custom-scale” solar light.
Be advised: to get the best results; we suggest you use the measurements provided throughout this article.
Step 1. Plan
Like any DIY project, the first step is to plan. In this case, you need to:
- Design your DIY solar lights;
- Determine what materials to use; and
- Set time aside.
It took us an afternoon to complete the project, and we left the sealant to dry overnight. However, you can break the project into parts if you don’t have time to do it all at once.
Process-wise, measuring and cutting the wood took us the longest, and fixing the pieces together took quite some time.
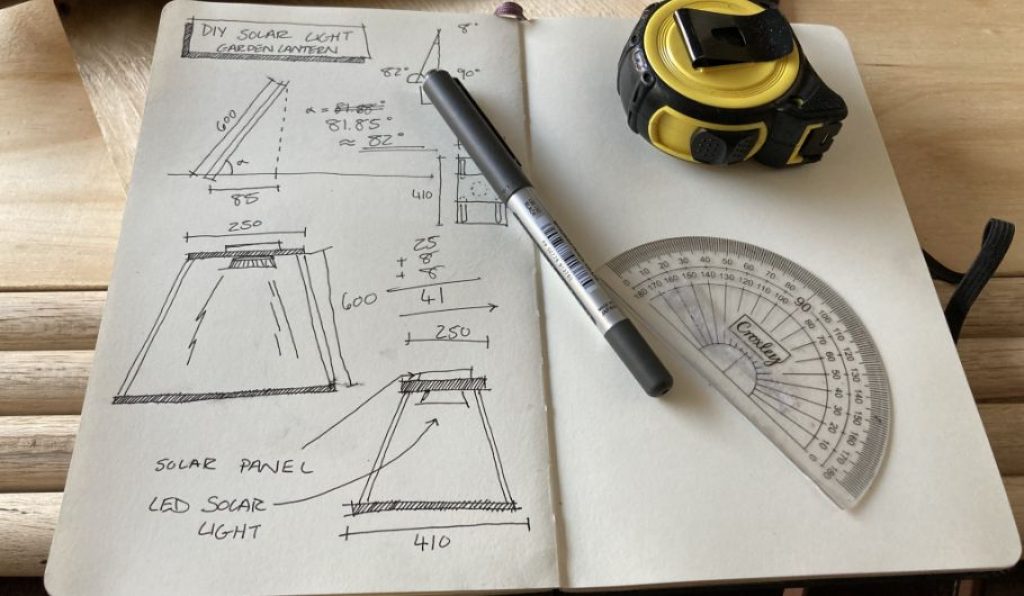
Sketches!
We’ve included some sketches of our plan. These include:
- Base plank: 9.8 x 16 inches
- Top plank: 9.8 x 9.8 inches
- Rods: 19.6 feet long, angled to tilt 3 inches horizontally
Once you have your plans and design down, gather the required materials and create a workspace. We worked on a patio, but you can use your garage or anywhere else you can make a mess.
Be advised: If you’re not confident in your DIY skills or think angling the rods is too ambitious, there’s an alternative. Instead of angling the rods, you can place them at 90º angles and create a simple rectangle shape. This cuts out the whole step of calculating the required angles.
Step 2. Measure And Cut The Wood
The next step in our DIY solar lights project is to measure out and cut your wood. Make your top panel square, 9.8 inches on each side. Then mark the center of the plank using diagonal lines.
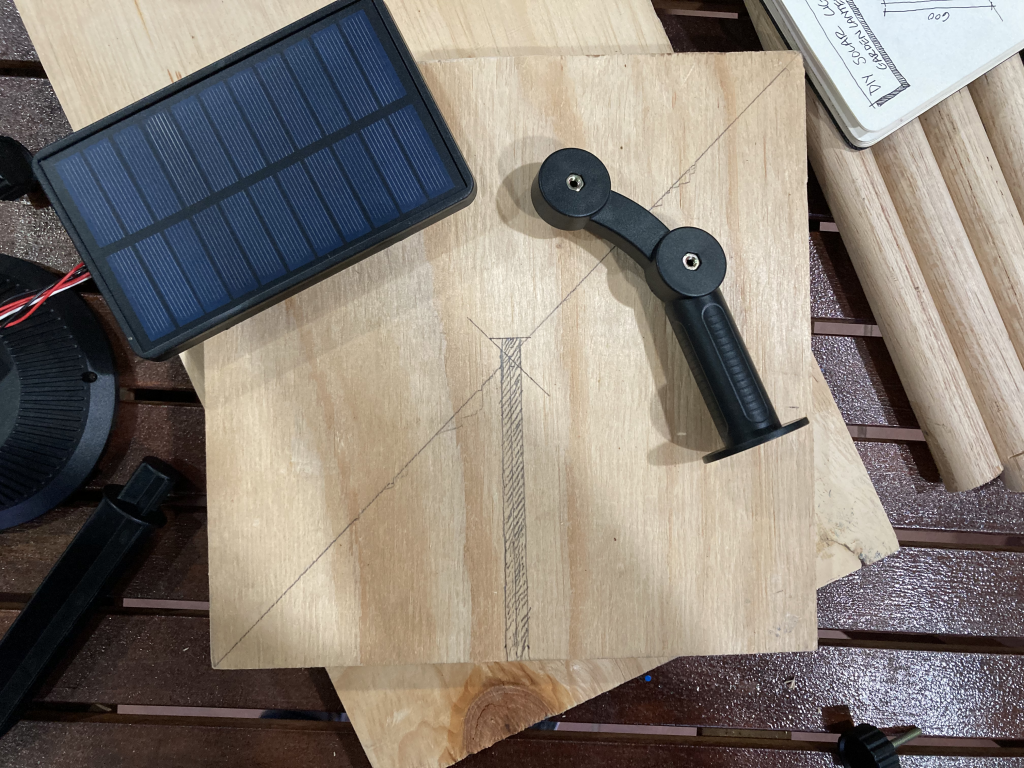
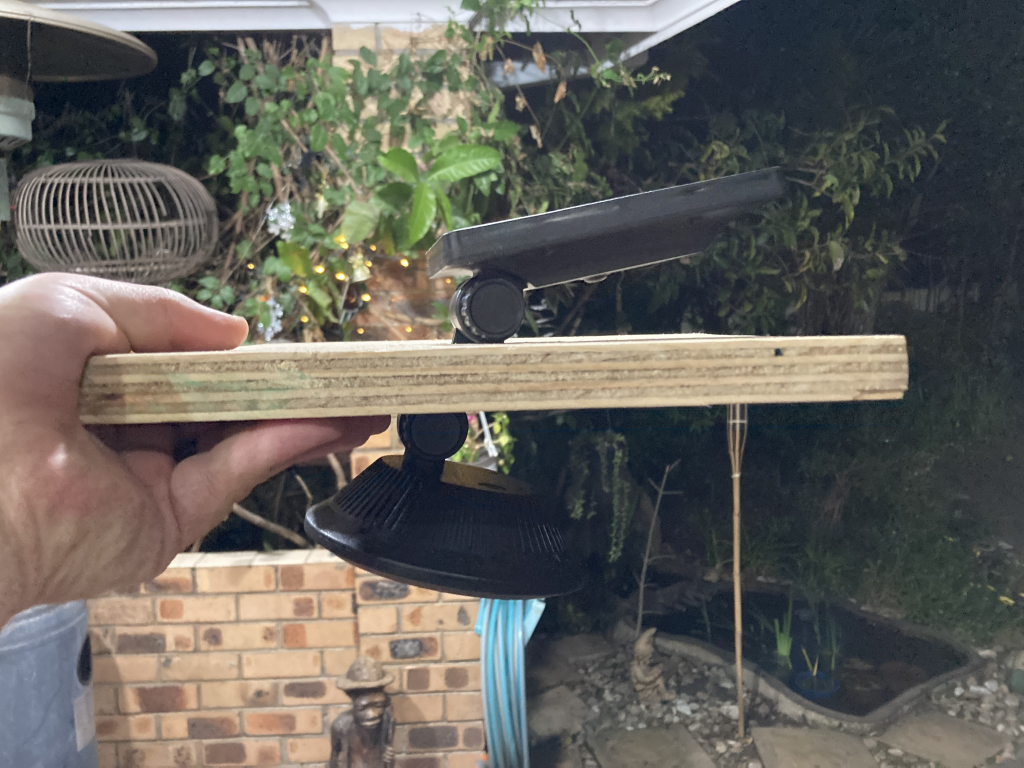
Now it’s time to fix the solar light to the top plank. Cut a 0.3-inch slot in the plank, where the solar light will go.
If you’re lucky, your solar light will come with an armature that you can slide in. Failing that, you may need to come up with a different solution depending on your solar light.
Next, measure the bottom plank, making it 16 inches.
Then, add 3 inches on each side of the 9.8 x 9.8 base. So our final bottom plank was 16 x 9.8 inches.
Remember: always secure one side of the board when sawing.
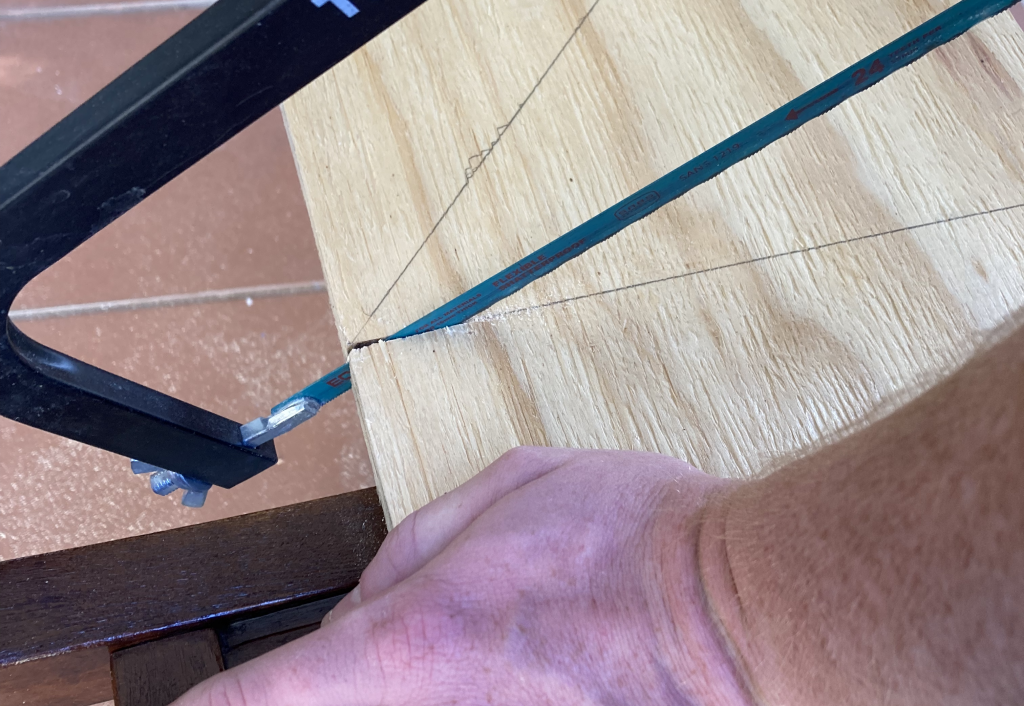
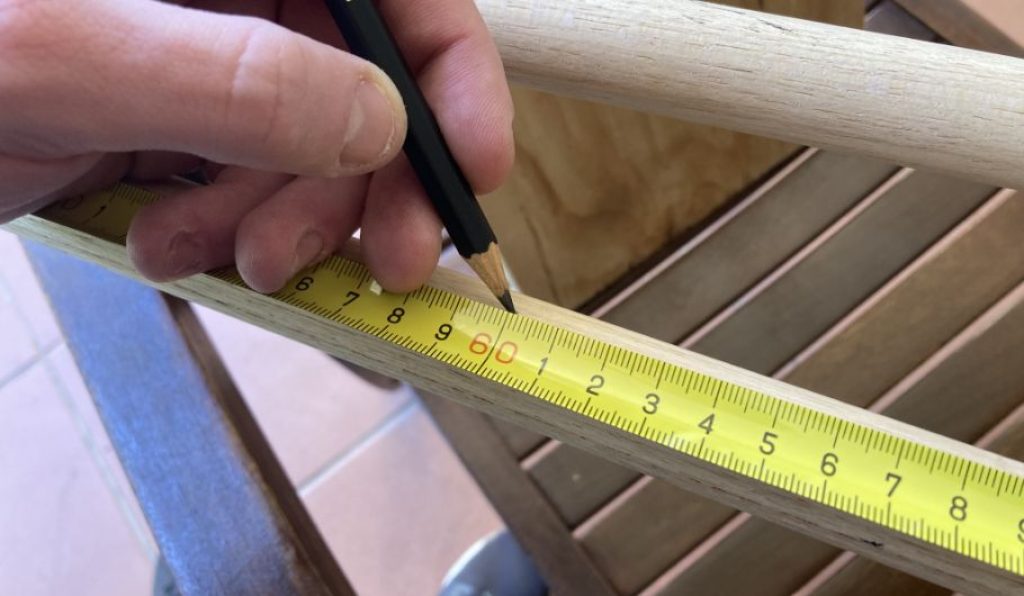
Finally, measure the rods and cut them to size. It may seem like a good idea to use your first pole to mark the others’ lengths, but your measurements will be off; you need to make sure that you measure 19.6 feet each time.
Step 3. Angle The Rods
This step is optional but we felt ambitious, so we went for it. While it didn’t come out perfect, we were happy with the results.
You’ll need to cut the bottom of the rods at an angle to ensure they’re flat against the bottom plank. If you don’t do this, the rods won’t be stable, and the wood might split.
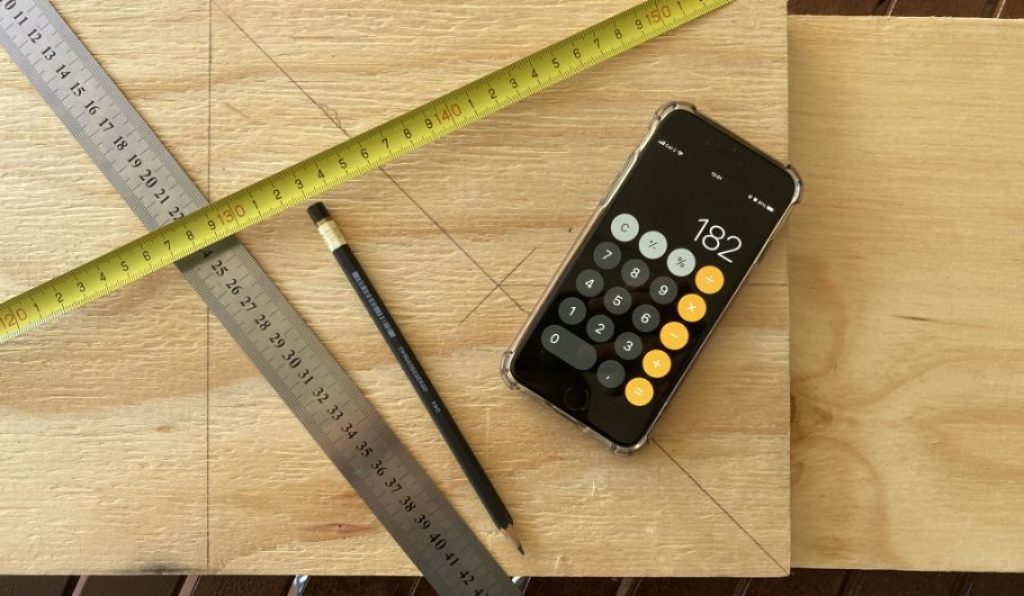
We could calculate the angle since we knew the rods were 19.6 feet long and would tilt over 3 inches horizontally. Perhaps you’re a maths wiz and know how to calculate this; in our case, we used this calculator.
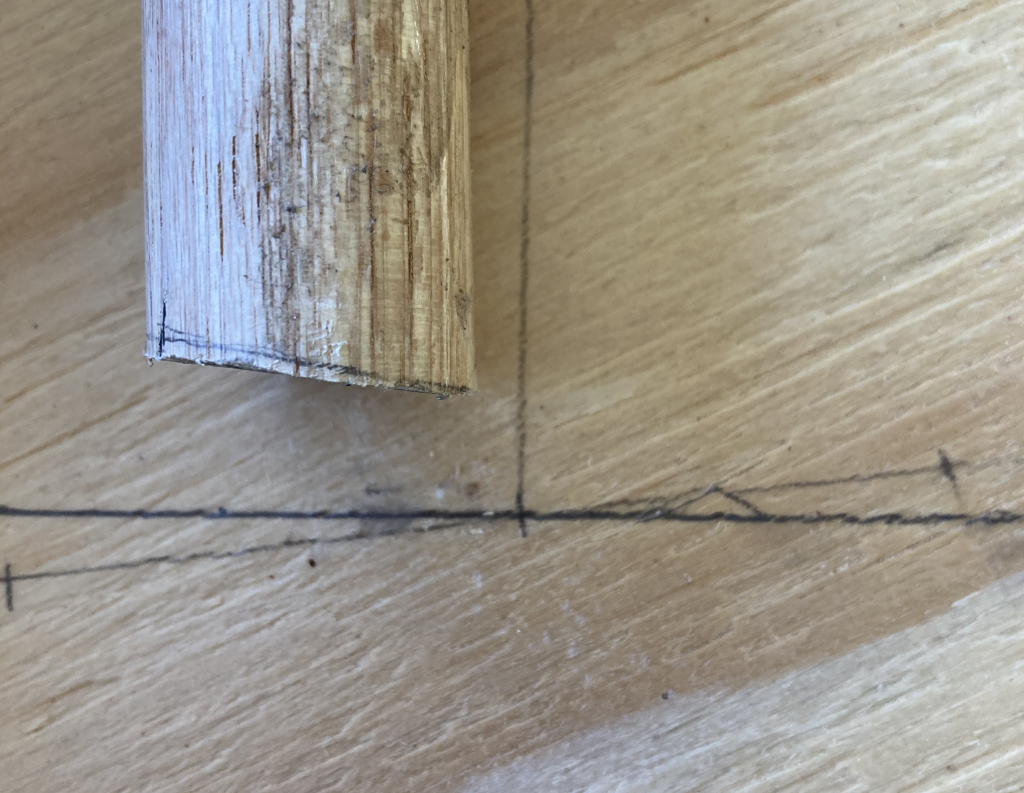
Now, you can use specific tools to get accurate measurements. Once you have a guide, use your sander to sand the rod’s end down to the right angle.
We didn’t have access to those. So instead, we measured the angle out and traced it onto the rod as best we could.
We’re unsure if this is the best practice, but it worked for us. If you have any tips, let us know in the comments below.
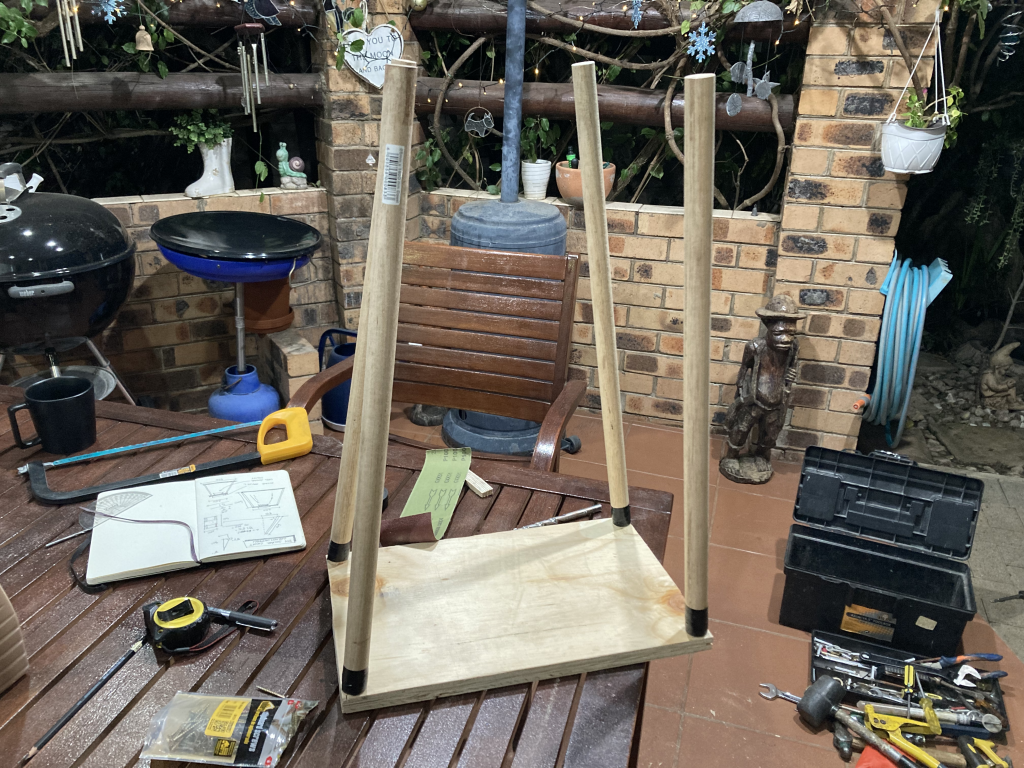
Step 4. Fix The Pieces Together
Now that you have all your wooden pieces, it’s time to assemble your DIY solar light.
Start by fixing the rods to the bottom and then to the top, adjusting the angles where necessary.
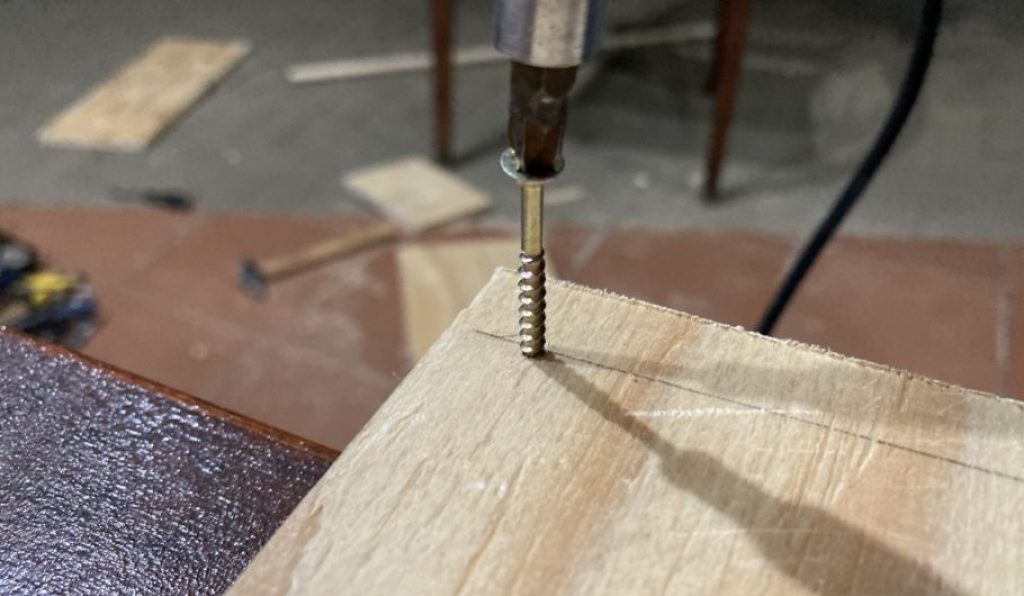
Use a pencil to mark where you need to drill the pilot holes. You want the screws to go into the center of the rods at each corner. To do this, draw a circle around the rod on the base plank, then find the center.
Then, using the electric screwdriver, drill pilot holes into the wood. The pilot holes should go right through the plank of wood.
Then, remove the screws and put them aside for later.
You may need an extra pair of hands here or at least some clamps. Using the edge of a work surface, place the plank’s side over the table’s edge. Then, put the rod into position and drill down through the plank and into the rod.
Follow the same method until all four rods are attached. Then place the top plank on the rods and do the same.
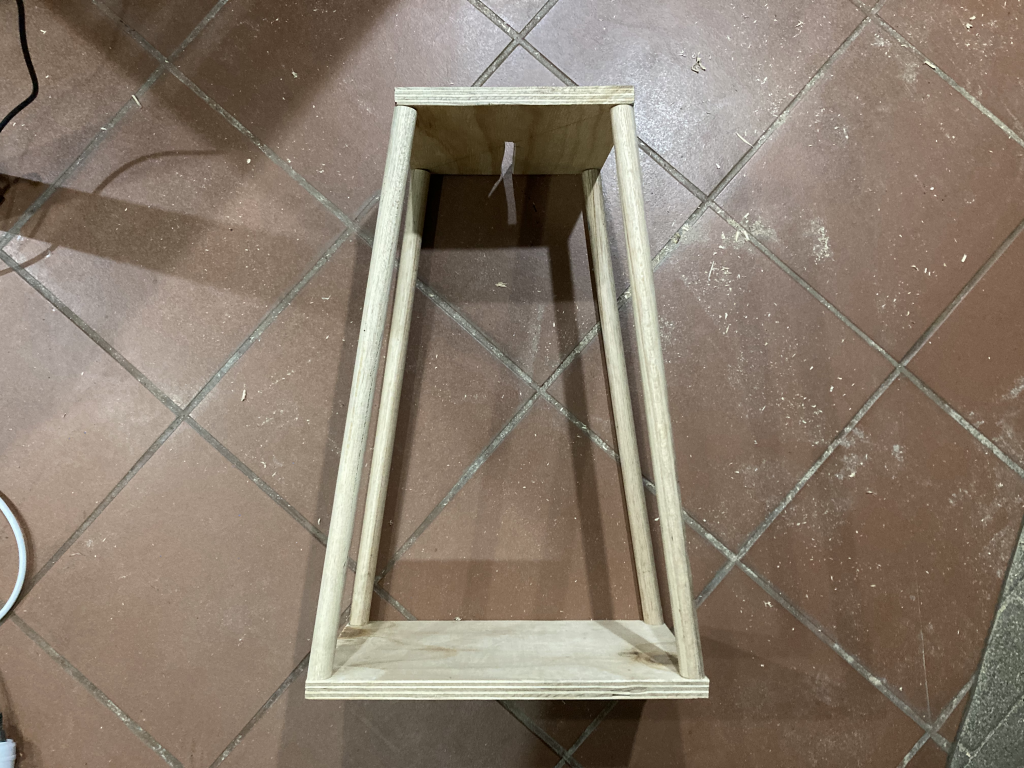
DIY Hack: if the wood begins to split, try tightly wrapping insulation tape around the end of the rod; this will give the rod the extra stability needed for the screw to tap into the wood.
Step 5. Stain And Seal The Wood
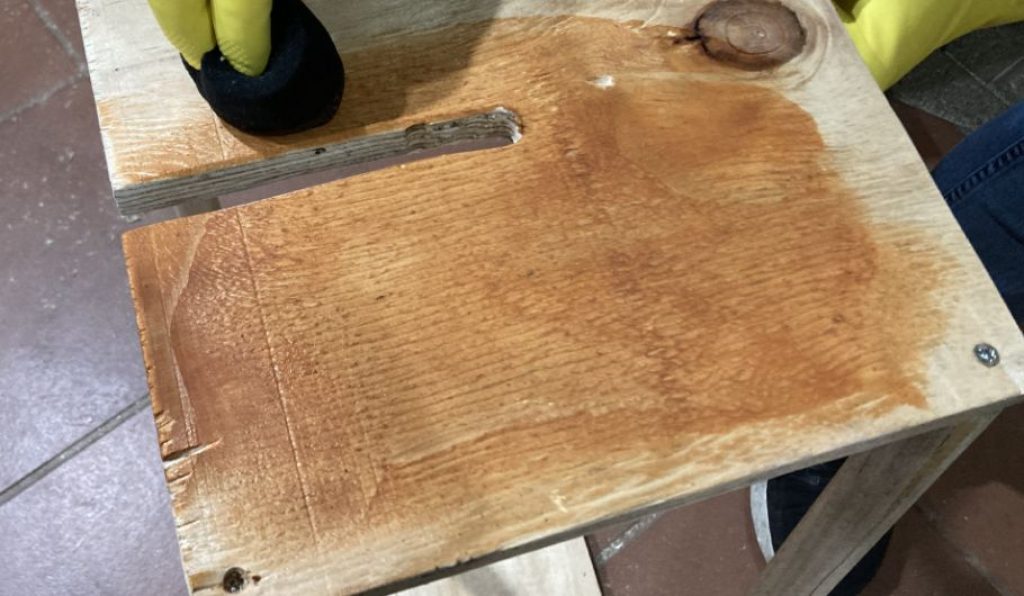
Now that you have your wooden frame, you can start with the final steps. You’ll need a sponge and a pair of gloves to stain and seal the wood. Stain is tough to get out of clothing and off your hands, so be careful.
Pour some of the stainer into a bowl and dab the sponge into the liquid. Then, using a little at a time, spread the stainer over the wood, coating it evenly.
You won’t get blotches of darker stains on the wood if you use even strokes. Add additional coats where necessary.
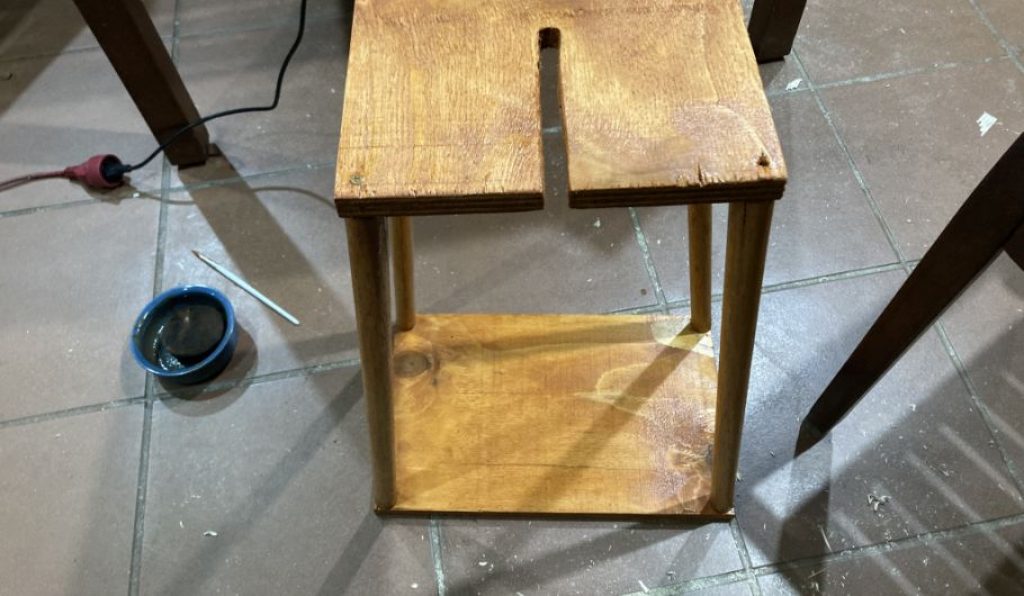
Please read the directions on the bottle to find out how long the stainer needs to dry; you can leave it overnight to ensure it dries properly.
It’s crucial that you cover the whole frame with the stainer and sealant. Remember, these are DIY solar lights for your garden, so proper sealing is of the utmost importance!
Should you fail to carry out this step correctly, water will seep into the wood, causing it to warp and rot.
Step 6. Install The Solar Light

The last step in this DIY solar lights project is to install the light. If you’re lucky like us, you might have a light that’s easy to adapt. First, however, you may need to fix a bracket for to attach the solar panel and the light.
Here are some things to keep in mind:
- If the solar light has an ‘on’ switch, ensure you can access it.
- If you can swap out the light bulb, ensure that you have enough space to reach it.
- It might be a good idea to keep the solar light removable. You can always slide the components out, tinker with them, and put them back.

Related Reading: Small Solar Panels (Top 10 Mini Solar Panels)
Bonus Step. Add Wire Mesh Sides
While this step isn’t something we followed, it adds some decorative detail to the project. Use some wire mesh to create sides for your DIY solar light – using a staple gun to fix it to the rods.
Alternatively, you could use a tarp with holes in it. This will allow the light to shine through the holes, creating a light show across your garden.
How Much Does A DIY Solar Light Cost?
We needed to build this DIY solar light on a budget which we’re sure you’ll appreciate.
Here’s a quick cost sheet of the materials you’ll need. Of course, the total cost will vary depending on where you buy materials and what you already own.
| Item | Purchased | Qty | Cost |
|---|---|---|---|
| Wooden Planks | Purchased | 2 | $5.20 |
| Wooden Rods | Purchased | 2 | $2.90 |
| Wood Saw | Purchased | 1 | $15.98 |
| Electric Screwdriver | Owned | 1 | – |
| Screws | Purchased | 10 | $7.50 |
| Sponge | Owned | 1 | – |
| Stain & Sealant | Purchased | 1 | $8.06 |
| Pencil | Owned | 1 | – |
| Ruler | Owned | 1 | – |
| Tape Measure | Owned | 1 | – |
| Solar Panel & Light | Purchased | 1 | $36.99 |
| Electric Sander | (Used Wood Saw) | 1 | – |
| TOTAL | $76.63 |
Related Reading: How To Build DIY Solar Panels: Step-By-Step Instructions
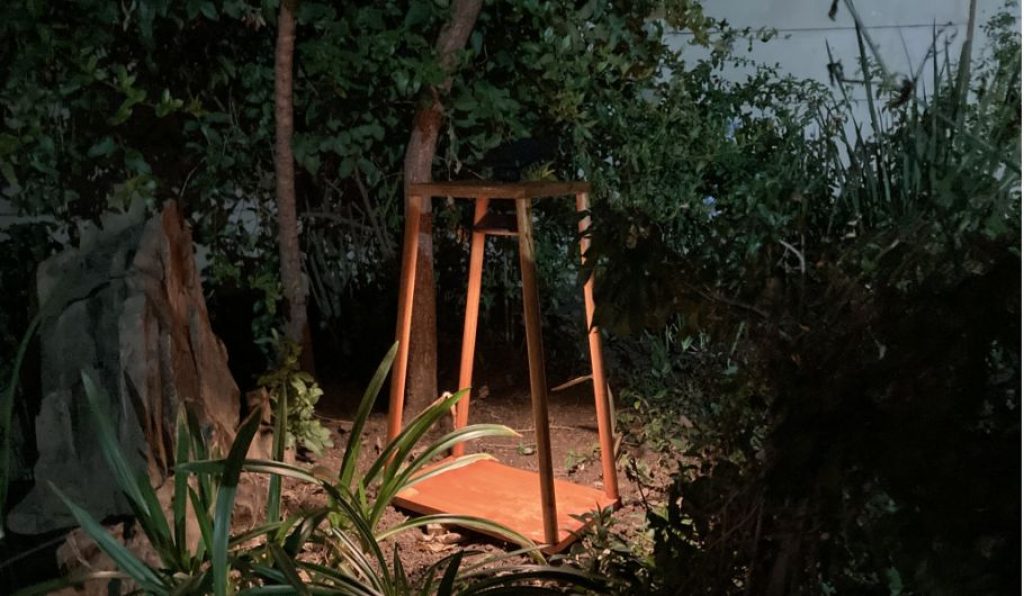
Final Thoughts
All-in-all, we’re thrilled with the outcome of this project. Of course, we had some bumps in the road, like the wooden rods splitting and wonky angles. However, we persevered and now have a unique DIY solar lights garden lantern.
We hope that you found these steps easy to follow and thorough. Feel free to comment below if you have questions or share your DIY solar lights with us on Twitter.