Have you always wanted to build a DIY solar panel? Well, now might be the best time to do so!
Building a DIY solar panel is a fun, hands-on experience. On top of that, you’ll get electricity from the sun at the lowest cost possible!
That’s why we’ve crafted this article to provide you with a clear step-by-step guide to building a DIY solar panel.
Grab your soldering iron, and let’s go!
Table of Contents
Tools Needed For DIY Solar Panels
First, ensure you have all the tools you need before starting your DIY solar panel project. Remember that you can always rent some tools from your hardware store.
| Tool | Description | Purchase |
|---|---|---|
 | Soldering Iron – maximum power of 60W | View on Amazon |
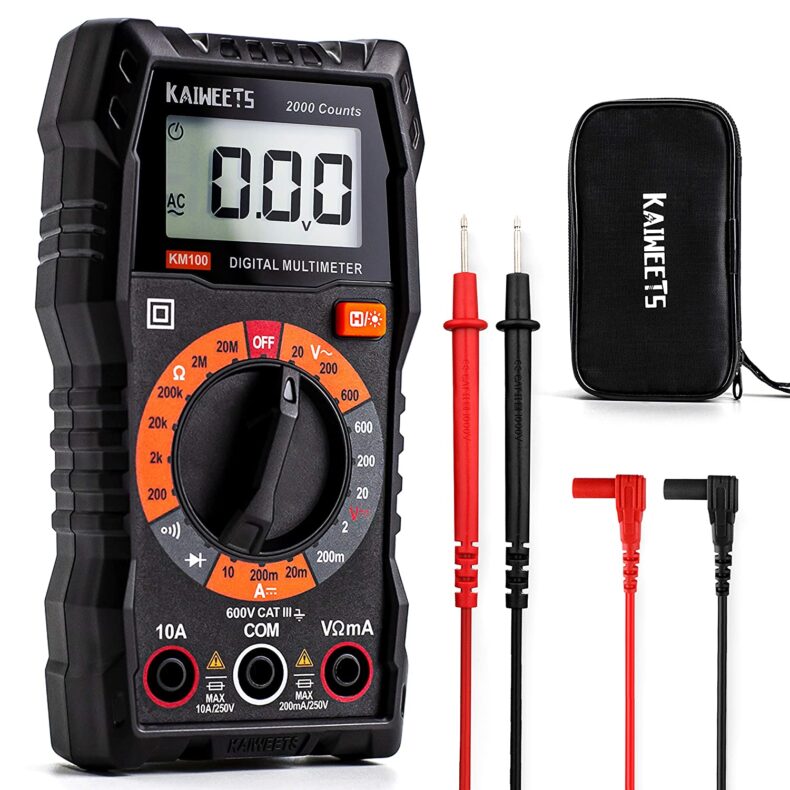 | Voltmeter/Multimeter – To test the solar panel. | View on Amazon |
 | Cordless Drill/Screwdriver –To fix the frame of the solar panel | View on Amazon |
 | Mitre Saw –To cut the aluminum angle bar for the frame | View on Amazon |
Material Needed For DIY Solar Panels
Now that your tools are complete, let’s go through the materials for the DIY solar panel project:
| Material | Description | Purchase |
|---|---|---|
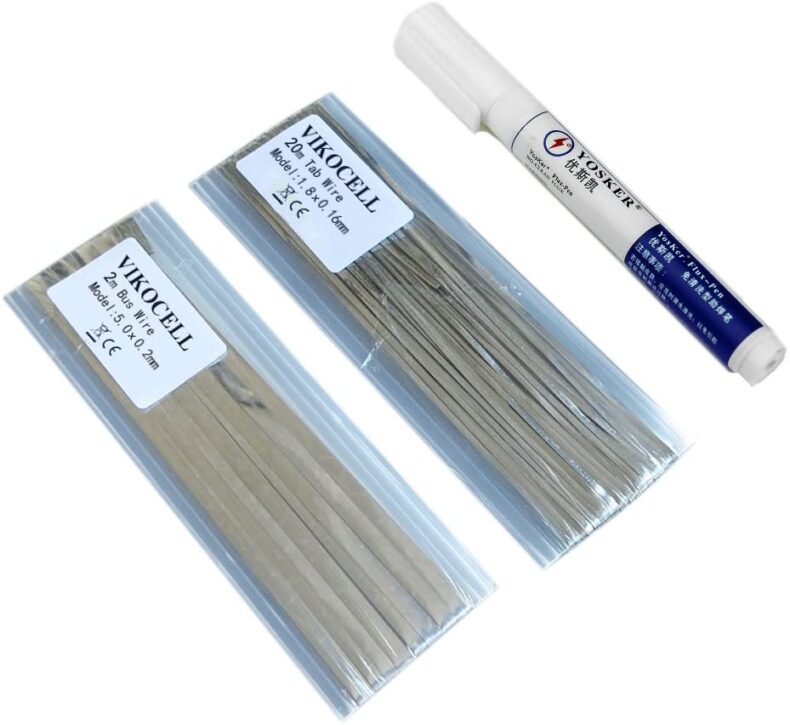 | 1.8-2mm and 5mm tabbing wire – Made of tin copper to connect solar cells | View on Amazon |
 | Flux pen – To prevent beading of the solder | View on Amazon |
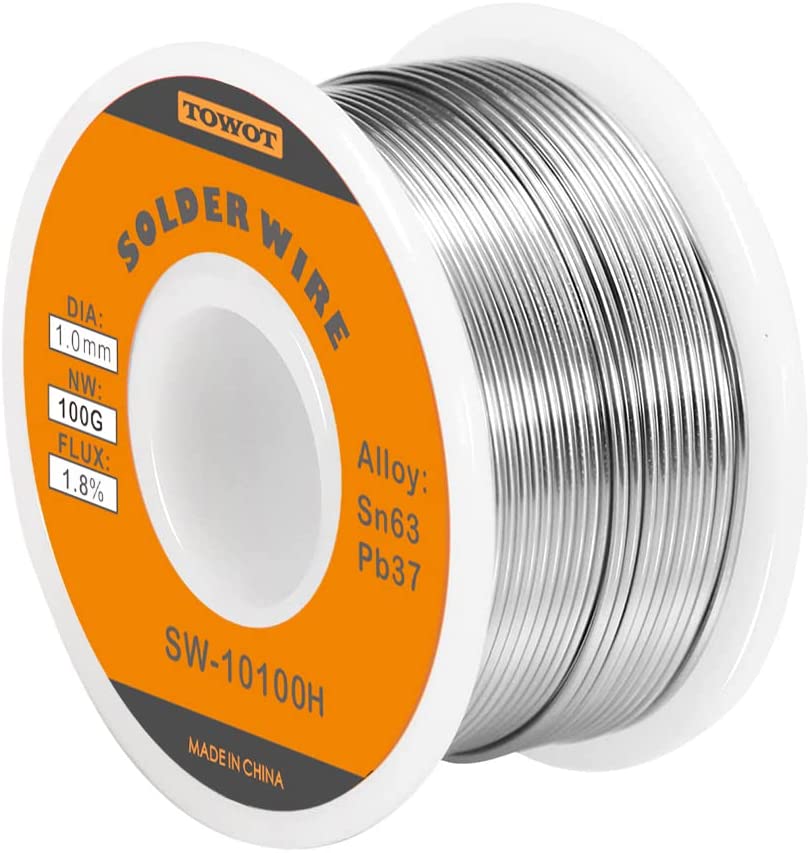 | Solder wire (1mm) – To tab and solder the solar cells together | View on Amazon |
 | Strapping tape (1.88in) – To firmly attach the solar cells | View on Amazon |
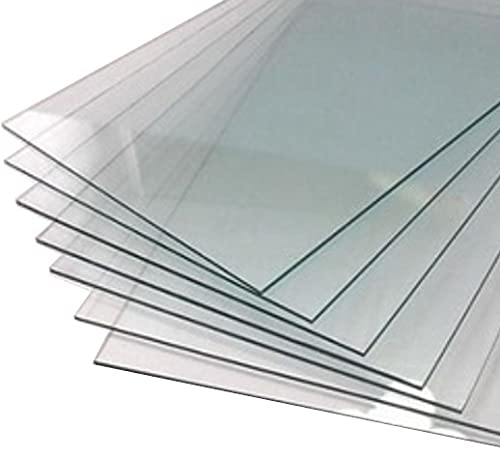 | Tempered glass panel -(60in*25in*1/8in). The front of the solar panel. | View on Amazon |
 | Regular tape (2in) | View on Amazon |
 | Silicone Paste-like seal – To seal the glass panel | View on Amazon |
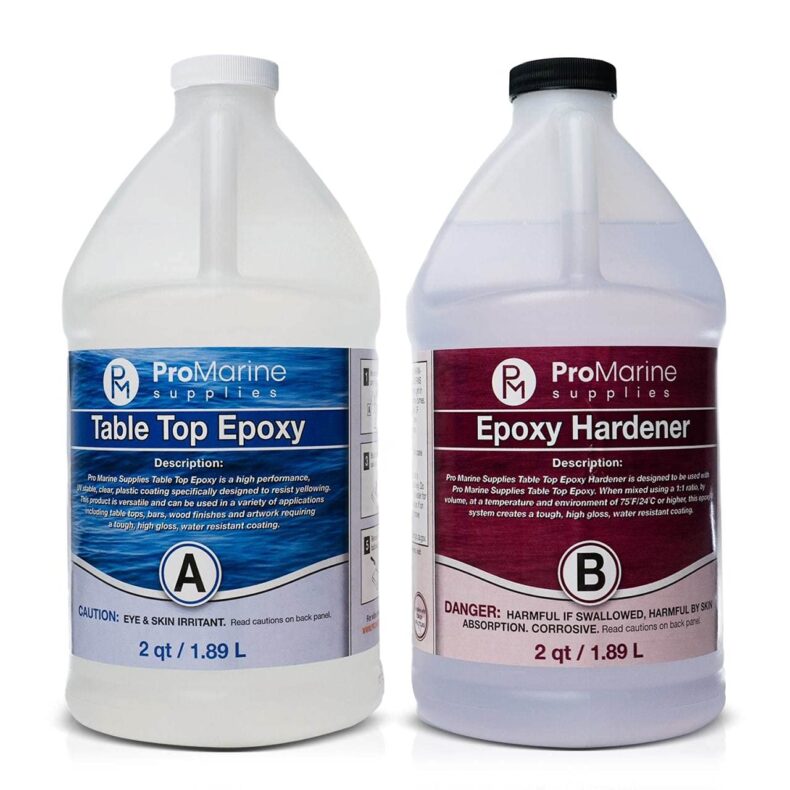 | Clear Epoxy Resin + Hardener – For solar cells encapsulation | View on Amazon |
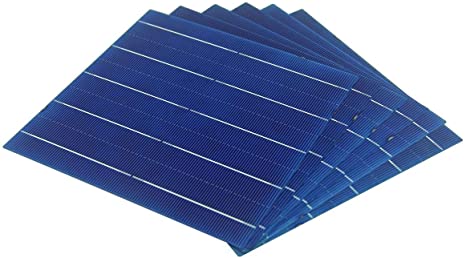 | Untabbed Solar Cells – 6in*6in | View on Amazon |
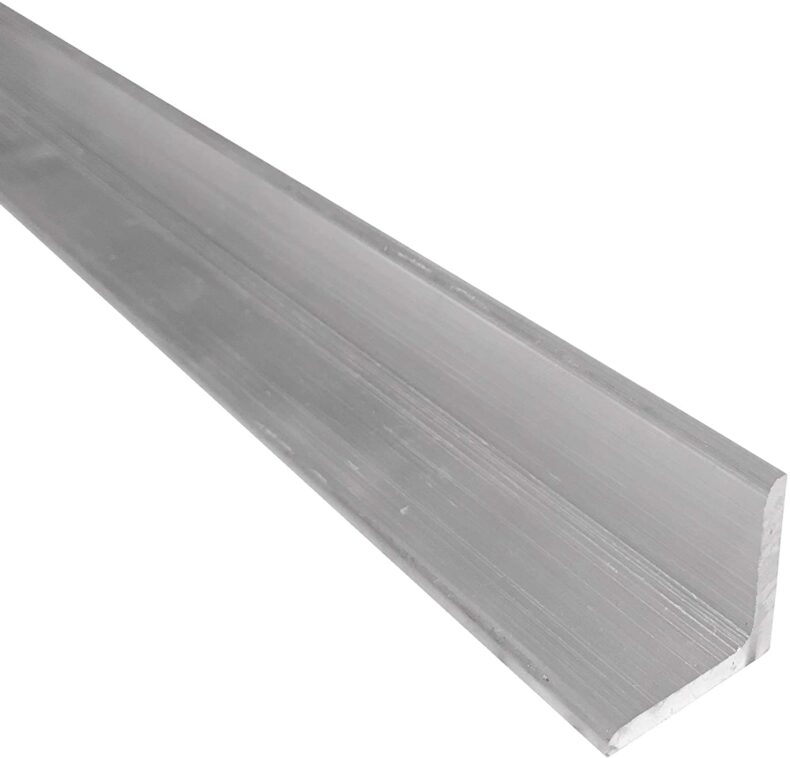 | Aluminum Angle Bar (1in*1in – 1/8 in thick) – To make the frame | View on Amazon |
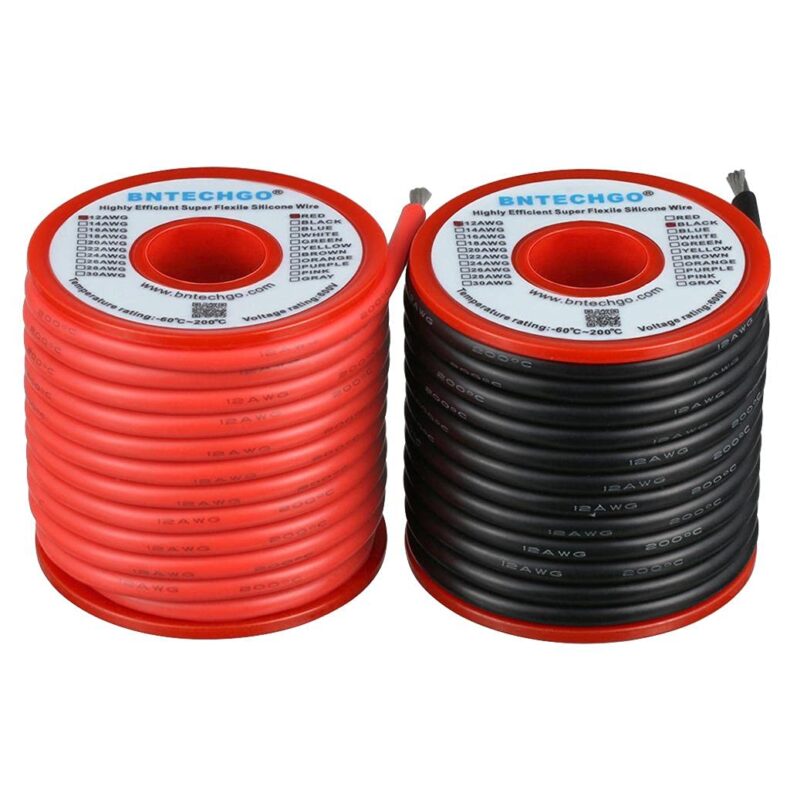 | AWG 12 Wire – To wire the solar panel output | View on Amazon |
 | 12Pcs Stainless steel brackets and screws – To fix the frame | View on Amazon |
How To Build A DIY Solar Panel
Before starting your project, ensure your workstation is clean and large enough; a working space of 70in x 30in is perfect.
To make things easier, we’ve broken the process into 8 steps:
- Building plan for a 150W solar panel
- Solder the tabbing wire
- Connect each solar cell in a serry
- Secure the cells on the glass panel
- Connect each row
- Test your solar panel
- Encapsulate
- Frame your solar panel
Carefully follow our instructions, and we guarantee you’ll be able to produce your own electricity from the sun at a low cost.
Step 1— Building Plan For A 150W Panel
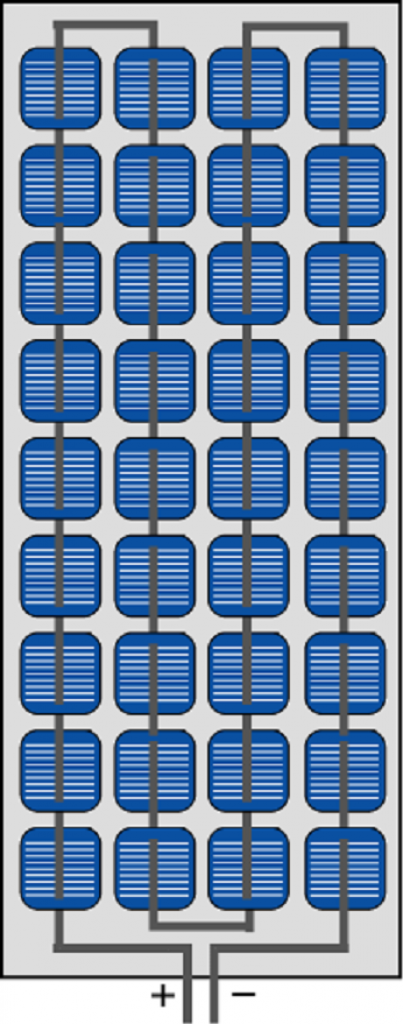
As you may know, a solar panel consists of multiple solar cells connected in series.
In this project, we’re building a 36-cell solar panel with the following electrical characteristics:
| Solar Cell | Solar Panel | |
|---|---|---|
| Maximum Power – Pmax | 4.5W | 150W |
| Maximum Power Point Voltage – Vmpp | 0.5V | 18V |
| Maximum Power Point Current – Impp | 8.3A | 8.3A |
Step 2 — Solder The Tabbing Wire
A solar cell has current collectors (busbars) on its front and back, as shown in the picture below.
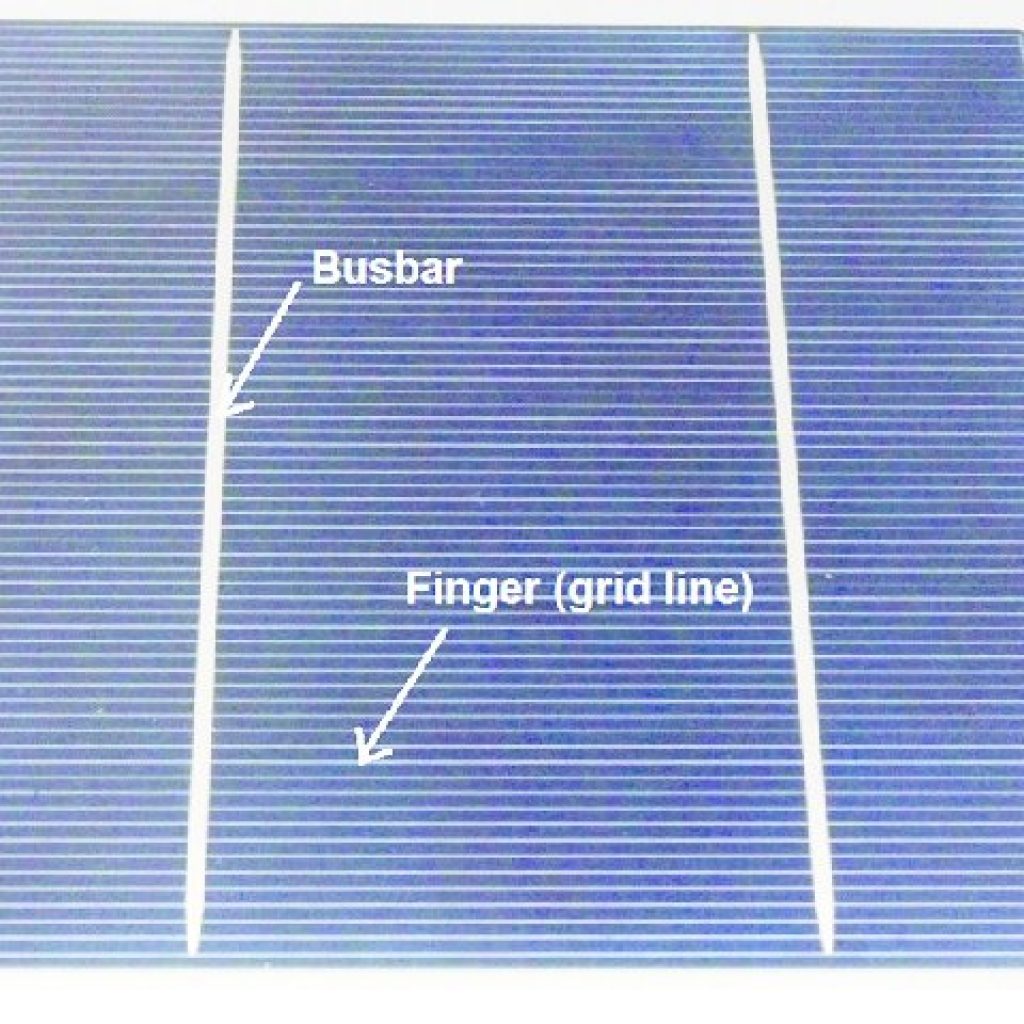
The front of the solar cell (blue side) is the negative (-), and the back is the positive (+).
Measure and cut the 2mm tabbing wire to an appropriate length to join two solar cells.
Next, apply the flux pen to the busbars; this will prevent the soldering iron from bleeding on the cell.
Then, position the tabbing wire on the busbar and start soldering from the top of the cell to the bottom in a continuous movement.
Repeat this 36 times for each solar cell — be ready for a couple of hours of soldering.
Step 3 — Connect Each Solar Cell In Series
The goal is to connect the negative busbars of one solar cell to the positive busbars of the next solar cell and repeat.
First, position the front glass panel onto your worktop; ensure it’s dry and clean. Then, place the solar cells in a row of 9 cells, face down on the glass. Use regular tape to fix the solar cells. Make 4 rows of 9 cells each (total of 36 cells).
Get the negative wires out and position them on the corresponding positive busbars of the next cell. Then, apply flux pen and solder the same way described in step 2.
Step 4 — Secure The Cells On The Glass Panel
You now have 4 rows of 9 cells each. Position them in the center of the glass panel; leave a minimum space of 1 inch at the edges. Then, secure the cells on the glass with the strapping tape.
Step 5 — Connect Each Row
Let’s complete the serry of 36 cells by connecting each row.
Use the 5mm tabbing tape to connect the rows, as shown in the picture below.
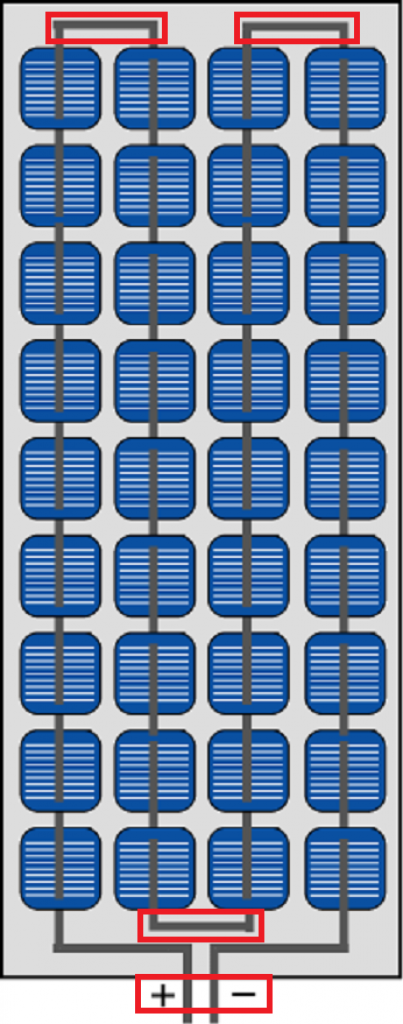
Finally, you’re left with 2 bus wires for the positive and negative terminal of the solar panel on which you’ll solder the AWG 12 wires.
Step 6 — Test Your Solar Panel
At this point, your panel should be able to produce electricity — it’s time to test it!
Expose the panel to the sun and measure the voltage with your multimeter — you should achieve at least 18V.
Step 7 — Encapsulate The Panel
Solar cells need to be protected from moisture to extend their lifespan; encapsulation with epoxy resin is the best way to avoid degradation of your panel.
To do this, place your panel face down on your worktop and apply a silicone seal on the glass panel’s edge. This will prevent the epoxy resin from leaking out of the panel.
Mix the epoxy resin with the hardener in a bucket (follow the mixing instruction on the bottle). Next, apply the mix with a brush. Finally, wait 12 hours for the resin to cure.
Step 8 — Frame Your Solar Panel
Frame your solar panel for better strength and durability. Measure the size of your glass panel, then use the miter saw to cut the aluminum profile accordingly with a 45° angle.
Use 4 brackets to join the angle of the profile.
Following this, apply silicone sealant on the edge of the frame; this will help it stick to the solar panel.
Finally, position your glass panel onto the frame and install the remaining 8 brackets to maintain the panel and frame together safely.
That’s it — your 150W solar panel is complete!
Final Thoughts
Making a 150W DIY solar panel at home is an excellent way for you to dive headfirst into the solar energy world!
All the tools and materials are available online. The most challenging part is soldering the solar cells. Just be patient and careful when manipulating the cells; they break easily.
We hope you enjoyed this DIY project; share your build and tips by joining our community, or follow us on Twitter.