Welcome to our complete guide to building your DIY greywater system!
A greywater system will decrease your carbon footprint, save water and decrease your utility bills. The system recycles water from your home and allows you to use it again for irrigation and flushing toilets.
It can be a simple, low-tech system that will be cost-effective in the long run and lower your water usage by up to 40%.
The best part? You can build it yourself!
The following article will outline what you’ll need to build your greywater system. This guide has it all, from understanding how a greywater system works to breaking down the required materials!
Table of Contents
How Does A Greywater System Work?
What Is Greywater?
As previously mentioned, greywater is recycled water from your home. More specifically, water collected from showers, sinks, baths, etc.
As long as the water hasn’t come in contact with feces or urine, it can be considered greywater.
If greywater is an unfamiliar concept, you may want to familiarize yourself with what greywater consists of and what greywater systems entail.
How Does The System Work?

Source: climatebiz
A greywater system aims to collect, filter and store greywater. Different systems achieve this in different ways. However, if we look at these systems, they can be divided into four sections:
- Pretreatment
- Filtration
- Storage
- Outlet/Irrigation
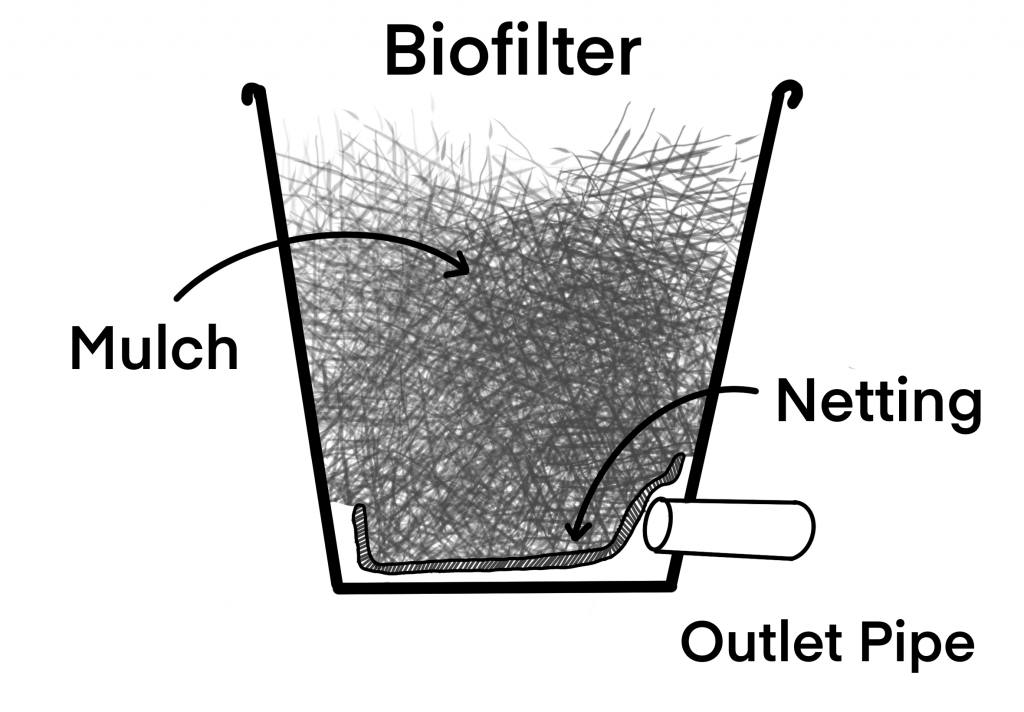
Pretreatment
To prevent your filter from clogging, it’s essential to pretreat the greywater by filtering out grease and other oils.
The most efficient and low-cost way to do this is by using a biofilter.
A biofilter is a simple component made from organic material such as straw or mulch. Just grab some mulch from your compost heap or use leaves and grass cuttings from around your garden. Place your organic material into a container that will allow water to drain but keep the mulch in.
When the greywater flows into the filter, the organic material will absorb the grease and oils. The water will then drain into the next stage of the system, the filter.

Source: wrrc.arizona.edu
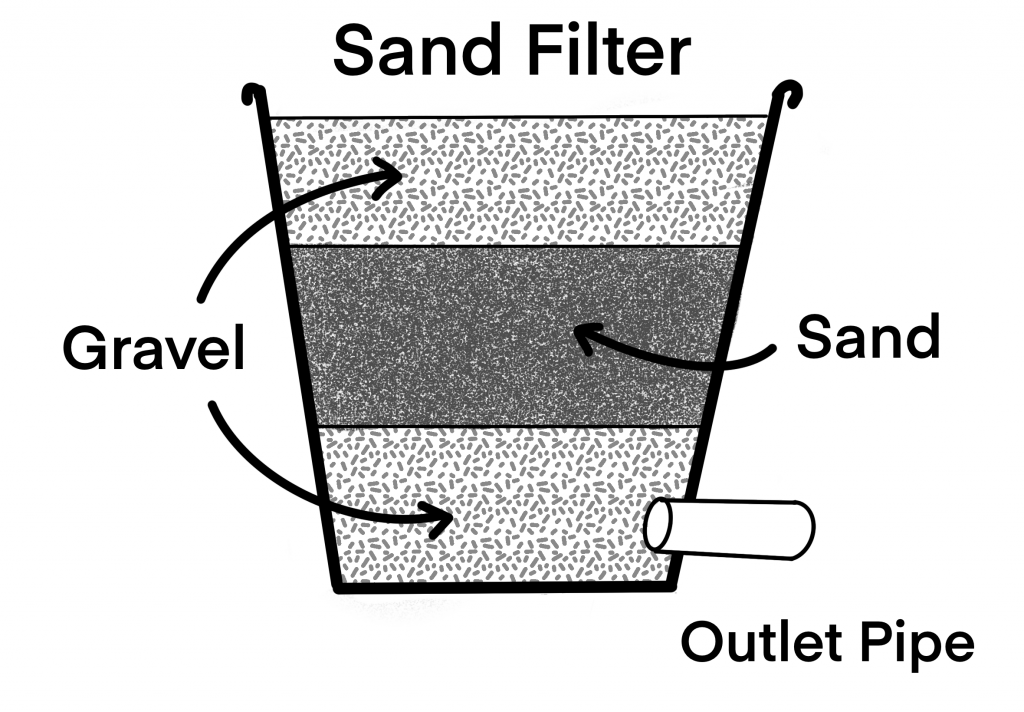
Filtration
Your greywater needs to be filtered through a coarse filter to remove debris and most of the dirt. This type of filter is often made from sand and gravel.
The filter is made from three layers:
- Course Gravel (Distribution)
- River/Fine Sand (Filtration)
- Course Gravel (Drainage)
The greywater will flow over the first layer of gravel, leaving big pieces of debris behind. This later is on top of the filter and be cleaned as often as you’d like.
Then the water will flow through the sand layer. The sharp edges of the sand grains catch the tiny debris and dirt. This layer filters the water and is the most vital part of the filtration process.
The water then drips through the sand and into another layer of gravel. The second gravel layer allows the water to drain from the filter and into the storage tank.
Source: practicalsurvivalist
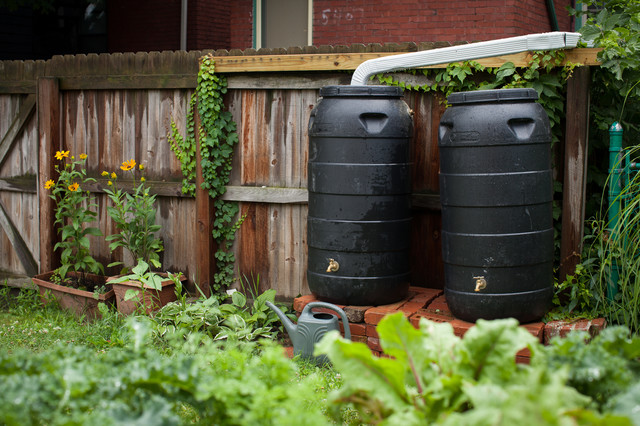
Storage
Storing your greywater is the 2nd most flexible part of the system (just behind irrigation). The storage ultimately depends on how much greywater you plan on capturing. Another thing to keep in mind is how fast you’ll use the water.
If you capture all the greywater in your home but only water your garden bi-weekly, you’ll need a large tank. If you’re only planning on capturing sink water, a small storage tank (like a large trash bin) will be suitable.
You’ll need to seal your storage tank to prevent smell and human contact. Greywater can contain pathogens, so the less contact you have with it, the safer.
We also highly recommend an overflow device so that the system doesn’t start backing up.
Source: st.hzcdn.com
Outlet/Irrigation
Now it’s time to decide how you’d like to use your greywater.
If you’re planning to use it to water your gardens, this is where you’ll connect your irrigation system.
If you’re planning on using it to flush your toilets, a more complicated pump system would be required. Alternatively, using a bucket system is a cost-effective way to flush your toilets or water your garden.
We recommend that the greywater doesn’t touch your fruit or vegetables directly. Instead, it should water the plants’ roots. Greywater is entirely safe to water all plants, but some suggested irrigation methods exist. For example, drip irrigation would be a great way to water your vegetables or even flooding.
Adding a simple tap to the storage tank would allow you to fill buckets with water or drain unwanted water.

Source: organicgardentips
Tools and Components Needed For DIY Greywater System
Tools Needed

Cordless Drill
A drill is something that most homes already have. If you don’t have one already, we suggest that you invest in a quality drill, ASAP.
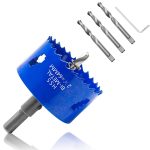
Hole Saw
A hole saw is an attachment for a drill that allows you to drill large round holes. If you’re using storage tanks that don’t already have holes for the pipes to fit, too, you’ll need this.

Screwdriver Set
You’ll need a set of screwdrivers to tighten the clamps and possibly other screws whilst building your system.

Components Needed


Netting
As for the netting, you can either line the whole bucket or cover the outlet pipe. But, again, the purpose of the mesh/netting is to keep the organic material inside the bucket.

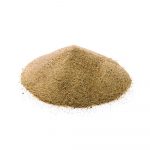
Wood Chips
When it comes to organic material, you can use straw, leaves, mulch, or wood chips. Essentially, any organic material that can absorb oils. You can find most of these materials around your garden, but you can also buy wood chips for the filter.
Sand Filter
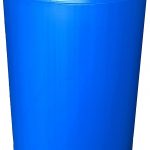
The sand filter consists of 3 components: the container, gravel, and sand. You can use a 5-gallon bucket for the container, just like the one we used for the biofilter. However, a larger container will allow more sand and better filtration. You’ll need course gravel for two layers and sand for one layer. It’s best to source gravel and sand from your local building warehouse, but we’ve found some on Amazon for you.
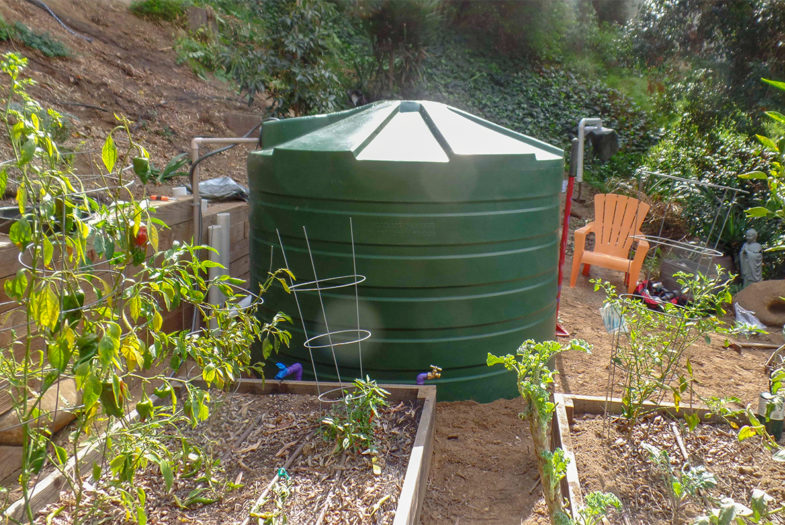
Storage Tank
The storage tank you’ll need will depend on how much water you’d like to store and your greywater usage. You could use a smaller tank that’s 55 gallons. This tank is for a minimal greywater system. A tank like this would be good if you’re only collecting sink water or maybe only shower water. You’ll also have to use the greywater quite quickly if you don’t want your tank to overflow.
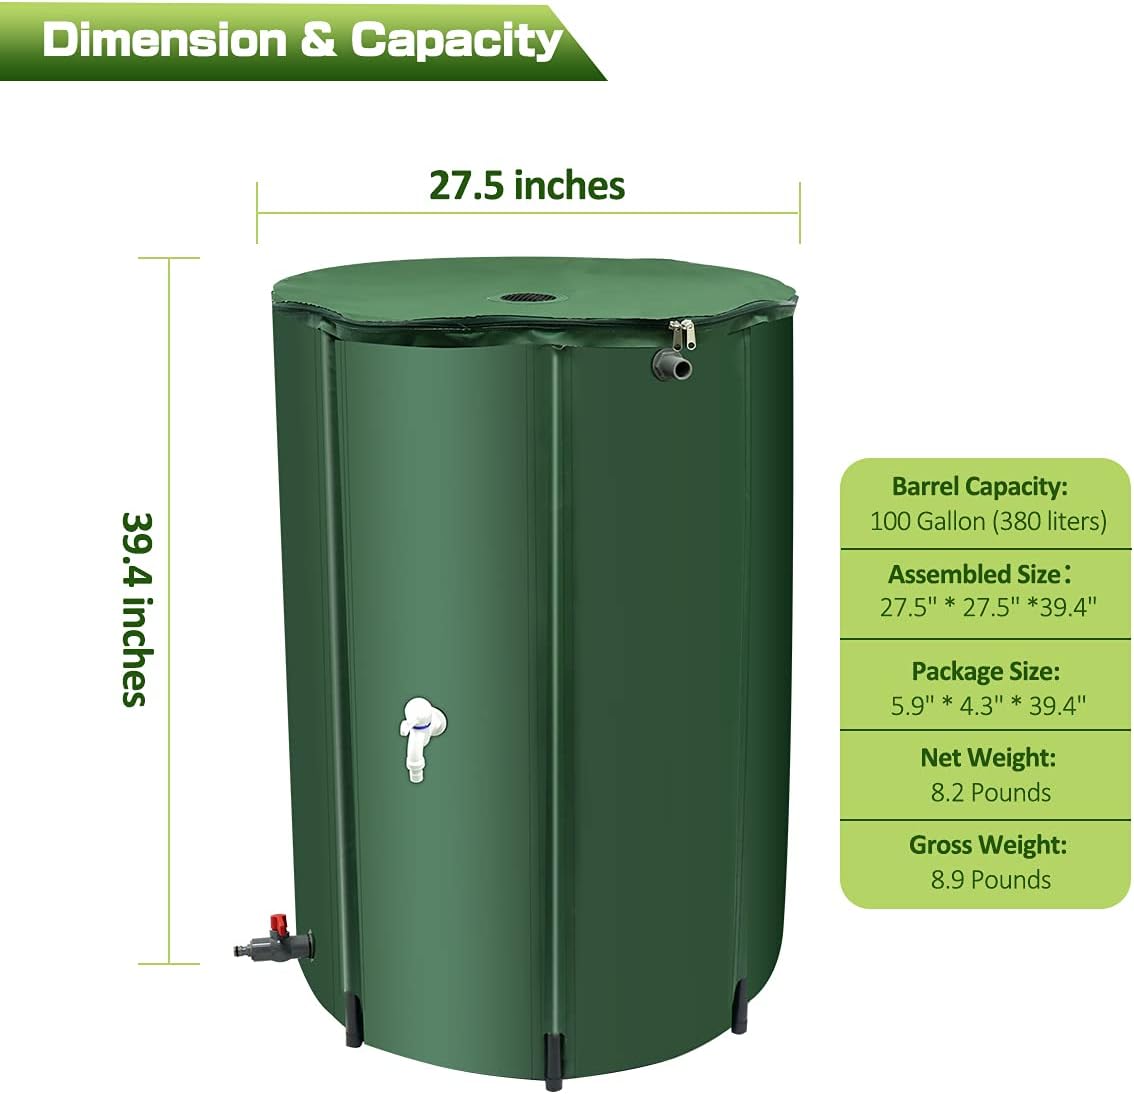
However, if you’re looking to have a more extensive system or plan to use the water slowly, you’ll need a larger tank. 100-gallons is a decent size tank that will allow you to collect greywater from showers and sinks. The tank we’ve linked to has inlets and outlet valves, so some of the piping mentioned won’t be necessary.
Piping
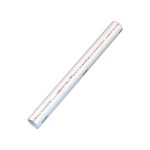
2″ PVC Pipes
These pipes will be used to connect all the components together. They come in different widths and lengths. The linked pipe is 2ft long.
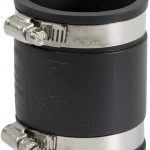
2″ PVC Coupling with Clamps
A coupling is used to connect pipes to other pipes or inlets/outlets. While we recommend this one due to its stainless steel clamps, you can opt for a cheaper one.
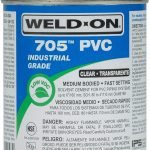
Weld-On
Weld-On is used to seal PVC pipes together. It’s a waterproof solvent cement suitable for greywater systems and irrigation. This Weld-On takes 24hrs to cure correctly.
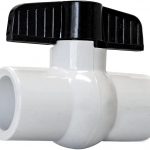
2° Ball Valve
A ball valve is optional, but it’s good to use for your irrigation system. It’ll allow you to turn your irrigation water supply on and off.
2° PVC Cap
PVC caps are used to close any pipes that are open after you’ve constructed your system.

2″ U Bracket Strap
These will be used to fix your PVC pipes to your wall when connecting your system to your greywater source.
How Much Does It Cost To Build A DIY Greywater System?
It’s hard to say how much a greywater system will cost. Each system is different.
For example, a small system with no irrigation attached will be cheaper than an extensive system. Smaller tanks are more affordable than larger tanks. The distance from your shower to the greywater storage tank will influence the cost of piping needed.
Below, we’ve created a table that highlights each component of the system costs on its own. We’ve then estimated how much it might cost.
| Item | Cost | QTY | TOTALS |
| 5-Gallon Plastic Bucket | $14.73 | 2 | $29.46 |
| Biofilter Mesh | $8.99 | 1 | $8.99 |
| River Sand (5lbs) | $40 | 1 | $40 |
| Gravel (5lbs) | $40 | 2 | $80 |
| 100 Gallon Collapsible Rain Barrel | $104.99 | 1 | $104.99 |
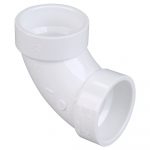
| 2″ PVC 90o Elbow | $5.99 | 4 | $23.96 |
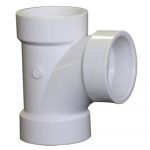
| 2″ PVC Sanitary Tee | $7.17 | 2 | $14.34 |
| 2″ PVC Coupling with Clamps | $11.98 | 6 | $71.88 |
| 2″ Ball Valve | $12.98 | 1 | $12.98 |
| 2″ PVC Cap | $9.52 | 2 | $19.04 |
| 2″ U Bracket Strap | $13.19 | 1 | $13.19 |
| Weld-On | $33,85 | 1 | $33,85 |
| 2″ PVC Pipe | $7.96 | 8 | $63.68 |
| $516.36 |
The cost for this greywater system is simple. However, it’s safe to assume that your system might cost more depending on how big it is. What’s more, the above system doesn’t include the cost of installing irrigation.
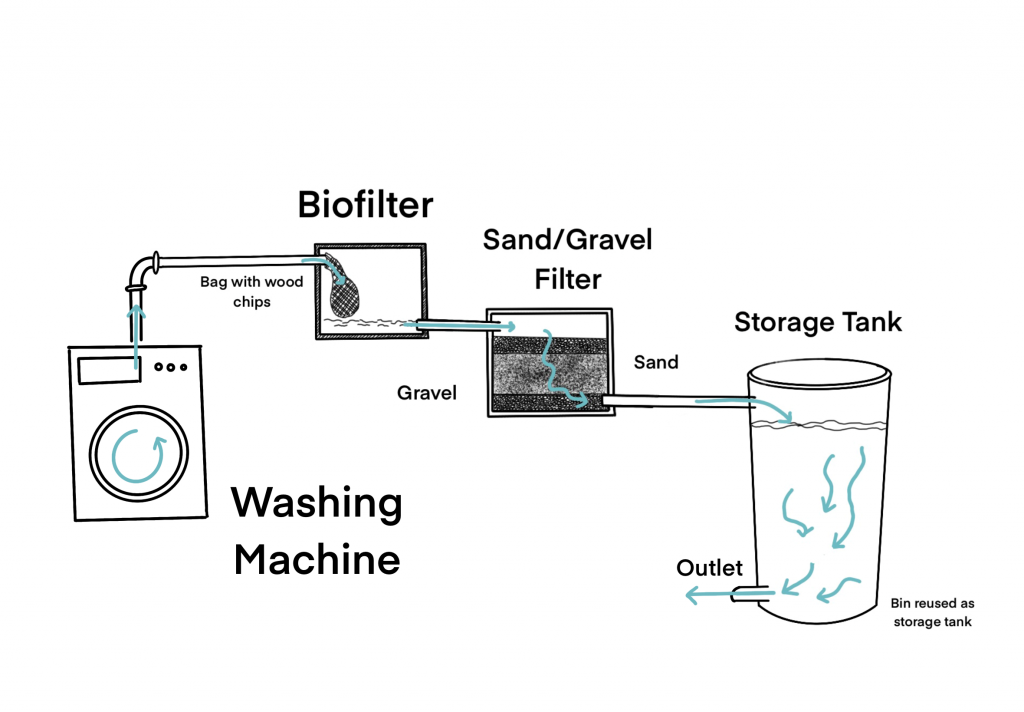
Next up we’ll look at a DIY greywater system that recycles your laundry greywater. This is one of the cheapest systems you can install.

Source: neighbor2neighbor
How To Build a DIY Greywater System (Step-by-step)
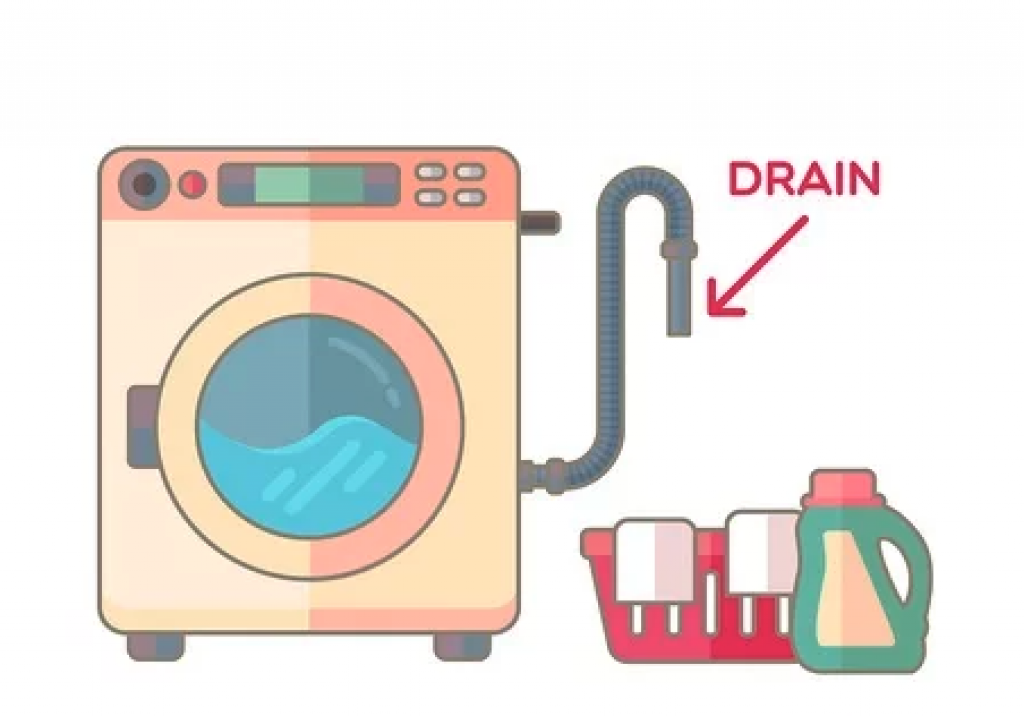
In this section, we’ll look at how to build a system that collects water from your washing machine. This is one of the cheapest and easiest systems to install as you won’t need to change much of the existing plumbing.
Bear in mind, each state has different codes and regulations for greywater. For example, some codes require a three-way valve when installing a greywater system to your shower. You can however easily divert the water from your washing machine into a greywater system.
STEP 1 – Plan Out The System
For your system to be effective, you’ll need to plan it out.
Where are you putting the storage tank? Where will the pipes connect? Will the greywater flow out over the garden, or will it feed into an irrigation system?
Our design has the greywater filtering into a storage tank. The tank will have a tap on it, which we can use to fill a bucket or connect a hose too. Then we’ll use the greywater to irrigate a vegetable garden via the flooding method.

STEP 2 – Start By Creating An Outlet For Your Washing Machine
Now that you’ve planned where everything goes, you’ll need to drill a hole through the wall. The piping will need to go through the wall to connect the washing machine to the system.
The pipes we are using are 2″ in diameter. Therefore, we’ll need to drill a hole slightly larger than the pipe for it to fit through the wall.
If you’d like your system to work on gravity, the filters will need to be placed lower than the washing machine outlet. The water would then flow through the filters and into the storage tank.
Source: Wikihow
STEP 3 – Create The Biofilter
Source: Climatebiz
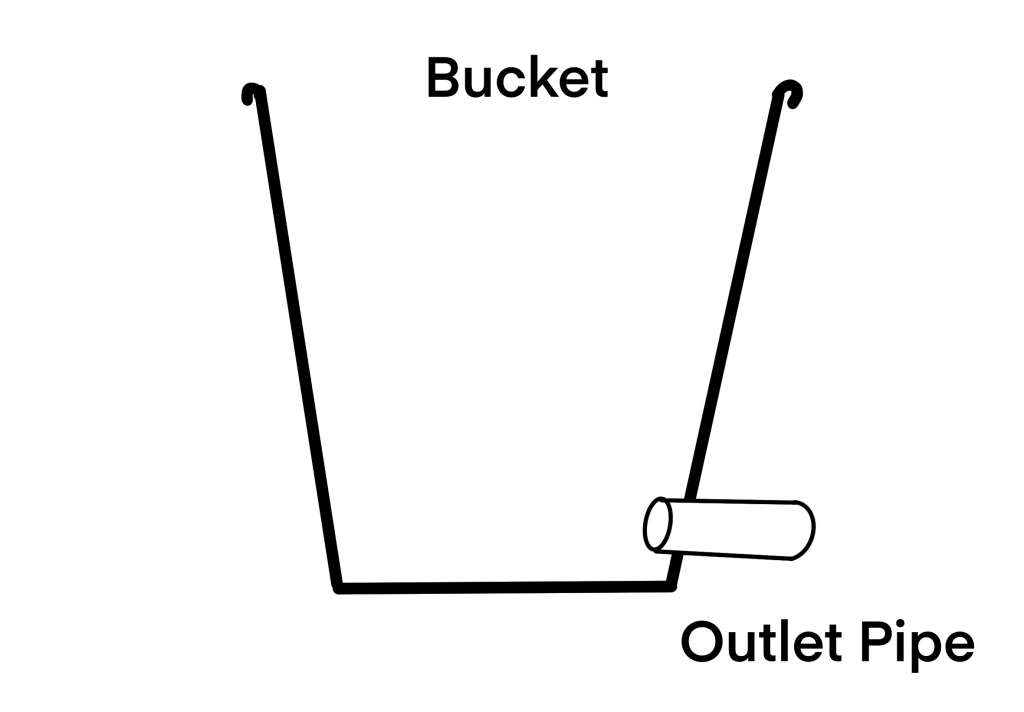
Next, you’ll need to position the bucket for the biofilter so that it can connect to the washing machine outlet.
Take a bucket (bucket A) and drill a hole through its side, near the bottom. Then insert one of the PVC pipes so that part of the pipe sticks into the bucket. Next, use Weld-On to seal the gap between the PVC pipe and the bucket.
Repeat the process on the other bucket (bucket B) and set it aside.
Now we’ll cover the pipe inside of bucket A with fine netting. This will prevent the organic material from washing it. Next, secure the net to the pipe with wire or a zip tie. Finally, fill the bucket up with leaves, wood chips, or mulch.
Source: Climatebiz
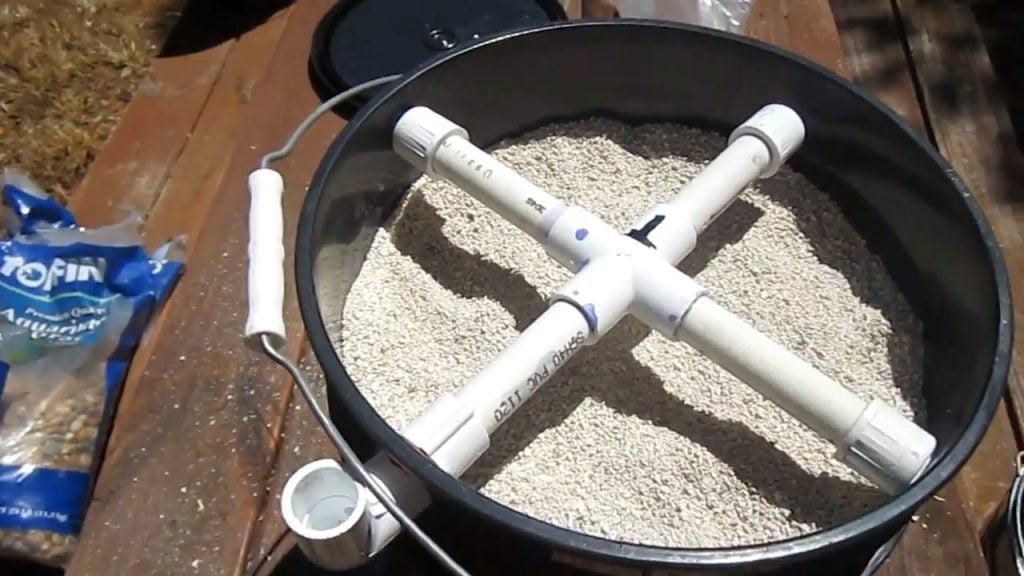
STEP 4 – Create The Sand Filter
In bucket B, fill 1/3 of the bucket with gravel. This will act as the drainage layer. Next, fill another 1/3 with sand, which will serve as the filter. Finally, top the bucket up with more gravel, forming the distribution layer.
Source: Climatebiz
STEP 5 – Connect The Filters Together
You should align the filters so that gravity causes the water to flow through the system and into the sand filter.
The biofilter should be placed slightly higher than the sand filter. You can place the filters on supports or place them on shelves attached to the outside wall.
STEP 6 – Connect The System To The Storage Tank
The last step is to add a coupling to the pipe sticking from the sand filter. Then, fasten another PVC pipe that connects your storage tank to the other side of the coupling.
Make sure to seal all joints with Weld-On. This cement sealant will prevent any water leakages.
Leave the sealant for 24hrs, allowing it to cure. After that, your system is ready to use.
Source: Climatebiz
Final Thoughts
Installing a greywater system may seem overwhelming but it can become a fun project. This DIY greywater system won’t only save water but also decrease your monthly water bill.
There are so many different systems out there, along with a wide range of home setups.
So while it can be a bit challenging to describe precisely how you should set up a greywater system and how much it would cost, this guide should go some way in helping you with the process.