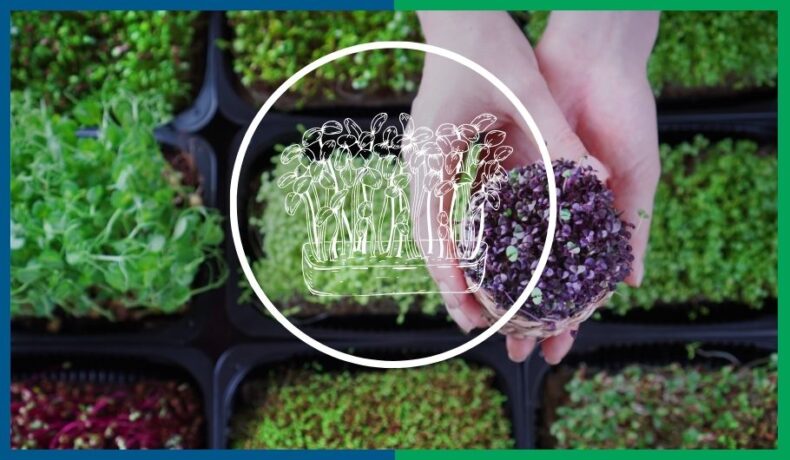
Interested in learning how to grow hydroponic microgreens (the most nutritious form of growing greens) in a few simple steps?
Then this article is for you!
Hydroponic microgreens fit well into the hustle and bustle of modern-day life.
How so?
If you have less time to prepare large nutritious meals while being on the run between meetings, picking up the kids, or running a long list of errands, you have come across the right article!
Perhaps you need a break from everyday life and want to develop your green fingers- then even better!
Hydroponic microgreens offer a fantastic way of growing highly nutritious greens perfect for throwing onto your meal or adding to your on-the-go smoothie.
Whether you’re a hobbyist or take this as a serious activity, this method of horticulture is simply bursting with delicious ideas and can certainly be the perfect fit for you.
Table of Contents
What Are Hydroponic Microgreens?
Before getting into the nitty-gritty of hydroponic microgreens, let’s first look at each aspect individually:
Source: Pinduoduo
Hydroponics
Hydroponics is a form of horticulture where different plant species are grown using a nutrient-rich aqueous solution instead of soil.
This method of growing uses a variety of techniques, including but not limited to:
- Deep water culture — plant roots receive nutrients and hydration through suspension over a reservoir.
- Nutrient film technique —nutrients continuously run over roots suspended in gullies.
Microgreens
These super nutritious beauties are packed with promising health benefits!
Microgreens are very young vegetables, generally picked approximately two weeks from the seeding point.
What makes microgreens so unique?
The vibrancy, softness, and high levels of nutrition stem from their young state.
Not to be confused with sprouts, microgreens are harvested at a later stage and are smaller in size than baby greens.
Essentially, the only aspect differentiating sprouts, microgreens, and baby greens, is the period at which they are harvested and their composition.
Here is a breakdown of the three groups:
| Type | Harvesting Time | Composition |
|---|---|---|
| Microgreens | 1-3 inches Roughly 14 days As soon as the first leaf appears | Seed Stem |
| Sprouts | Earlier than microgreens | Seed Root Stem |
| Baby Greens | 2-4 inches Around 15-40 days | Leaf Stem |
There are over 25 types of microgreens available in stores today, and they have been shown to add considerable value to foods.
Now, what do you get when you grow microgreens using hydroponics?
Yep, you guessed it — hydroponic microgreens!
Hydroponic Microgreens
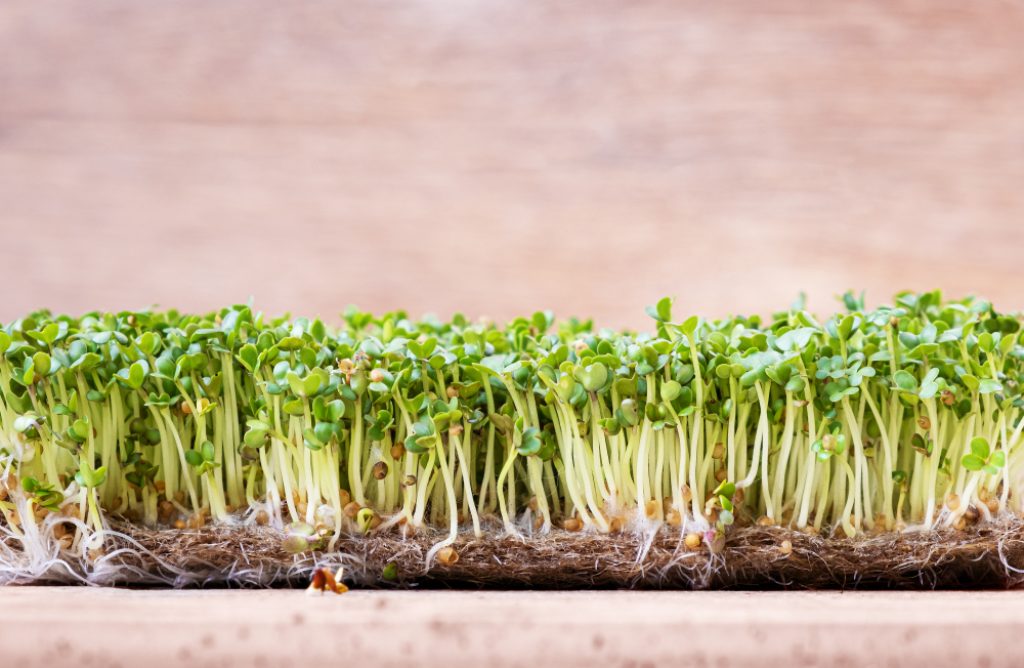
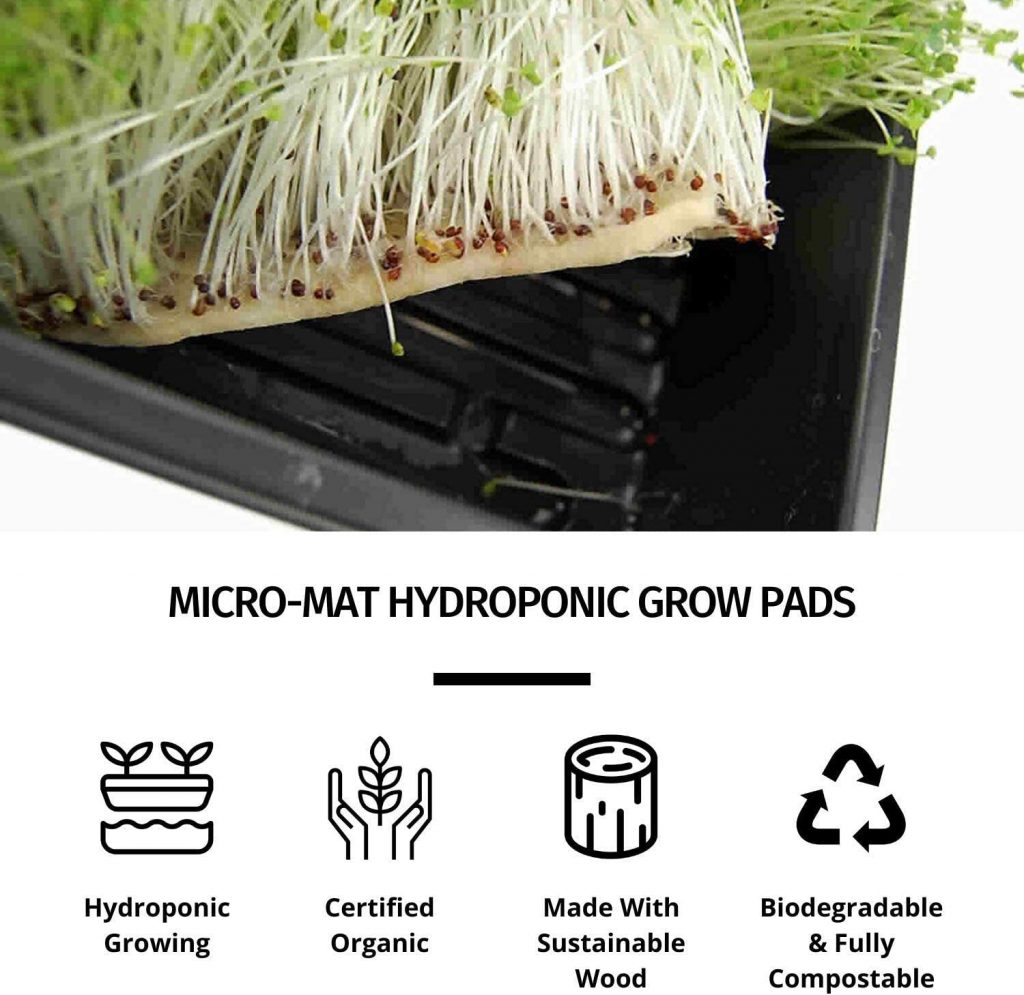
Hydroponic microgreens can be grown by using a pad-like structure (or a growing pad) directly into water to absorb nutrients and hold the seeds inside for germination.
Source: Otago Daily Times
You’ll need to give them about five hours of sun exposure per day. Alternatively, you can supplement regular sunlight with grow lights.
What Are The Benefits of Hydroponic Microgreens?
Highly Nutritious
Hydroponically grown microgreens are simply exploding with vitamins C, K, E, and carotenoids (pro-vitamins).
In other words, they are nothing short of fantastic for your health!
Intensive Flavoring With Bright And Vivid Color
Microgreens give food dishes a significant boost in color and are known to enhance textures and flavoring.
Source: SecurCare Self Storage
Basically, you can expect your dishes to be even more delectable than usual!
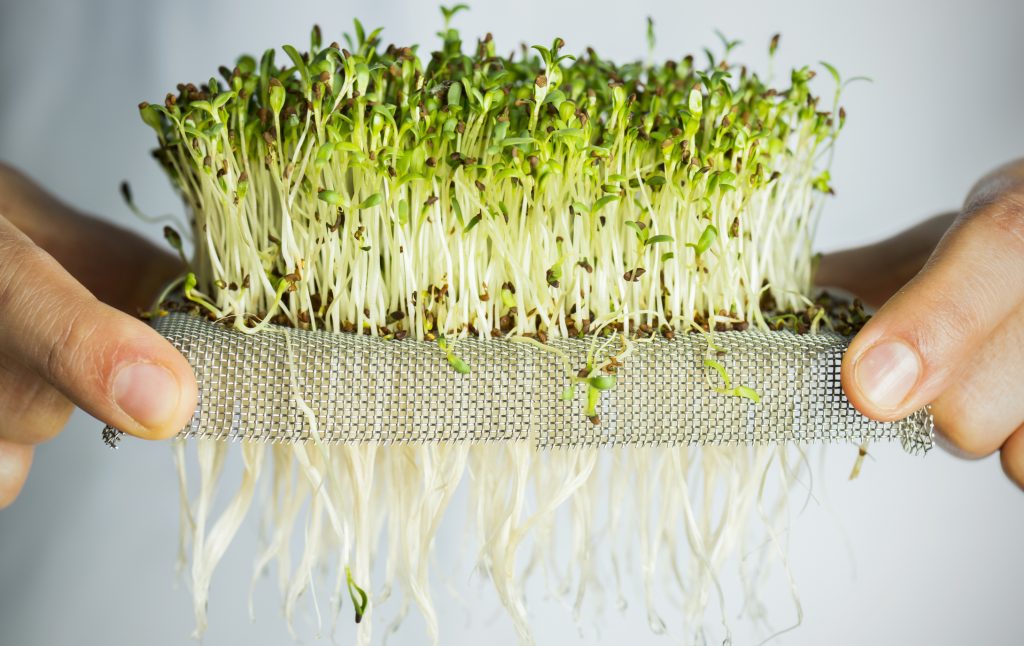
No Need For Soils
Hydroponic microgreens don’t require soil, as roots can be directly exposed to water and nutrients as needed.
No dirty fingernails — yay!
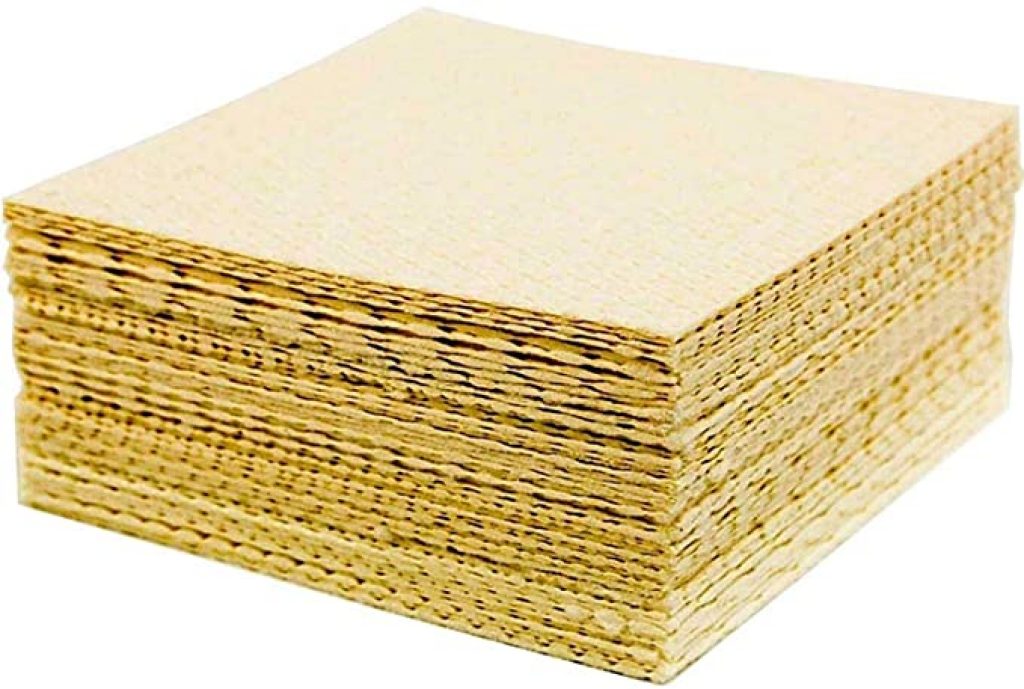
Moreover, micro-mats or grow pads are environmentally friendly and generally sustainably sourced.
Source: Amazon
Less Risk For Pests
No soil means much less risk of unwanted six-legged visitors!
Although not entirely immune to pests, hydroponically grown microgreens are grown in a much more controlled environment than conventional gardening.
How To Grow Hydroponic Microgreens In 6 Steps
Now that you have learned the basics about hydroponic microgreens, it’s time to discover how to grow them yourself!
Step 1. Gathering The Equipment
The equipment you choose will largely depend on the type of system design you’re looking for.
Should you wish to buy a fully kitted, ready-made hydroponic microgreens system, you can find a large variety online- from small to large.
Commercial hydroponic microgreen equipment generally doesn’t come in a micro garden design with grow mats. These larger-scale setups tend to use vertical gardening and ebb-and-flow technology.
What exactly does this mean?
Instead of using growing mediums, a flood and drain system is built and includes pumps and lights.
The systems use flood benches, and automated irrigation systems are set to keep watering regular and sufficient. These modules need constant measurement of pH levels and correction if needed.
Commercial hydroponic microgreens are often used for sunflowers, peas, basil, radishes, etc.
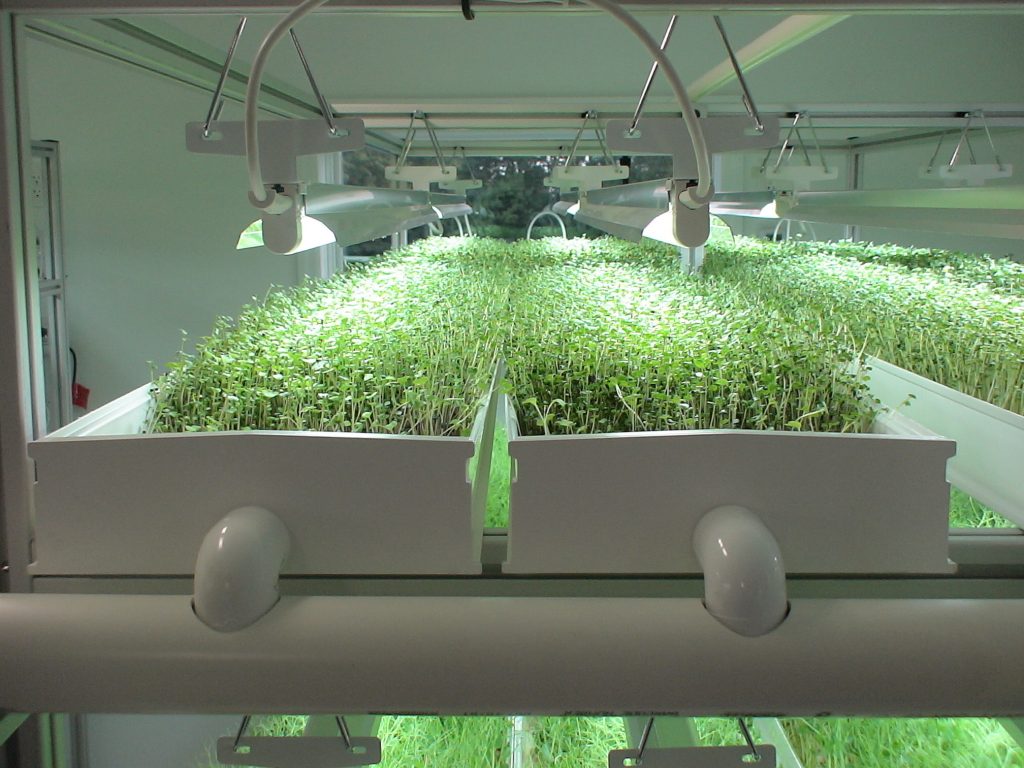
Source: GrowersSupply
Now, let’s look at what equipment you’ll need to grow your hydroponic microgreens!
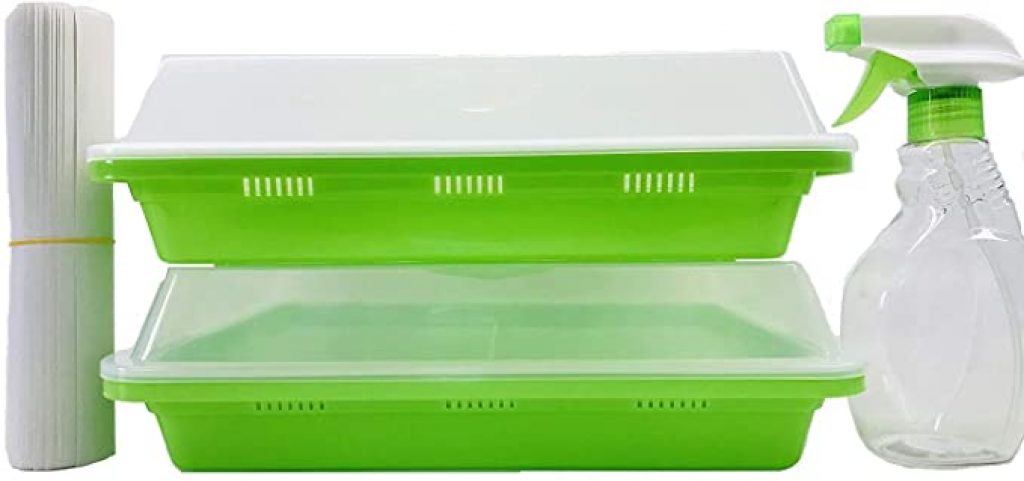
Collecting Growing Trays
Growing trays form the literal foundation of your microgreen setup and your starting point — think of growing trays as the foundation of your house.
You’ll need two layers of growing trays.
The first will include trays with drainage holes (either already present or you can poke them in yourself), and the second includes trays without holes.
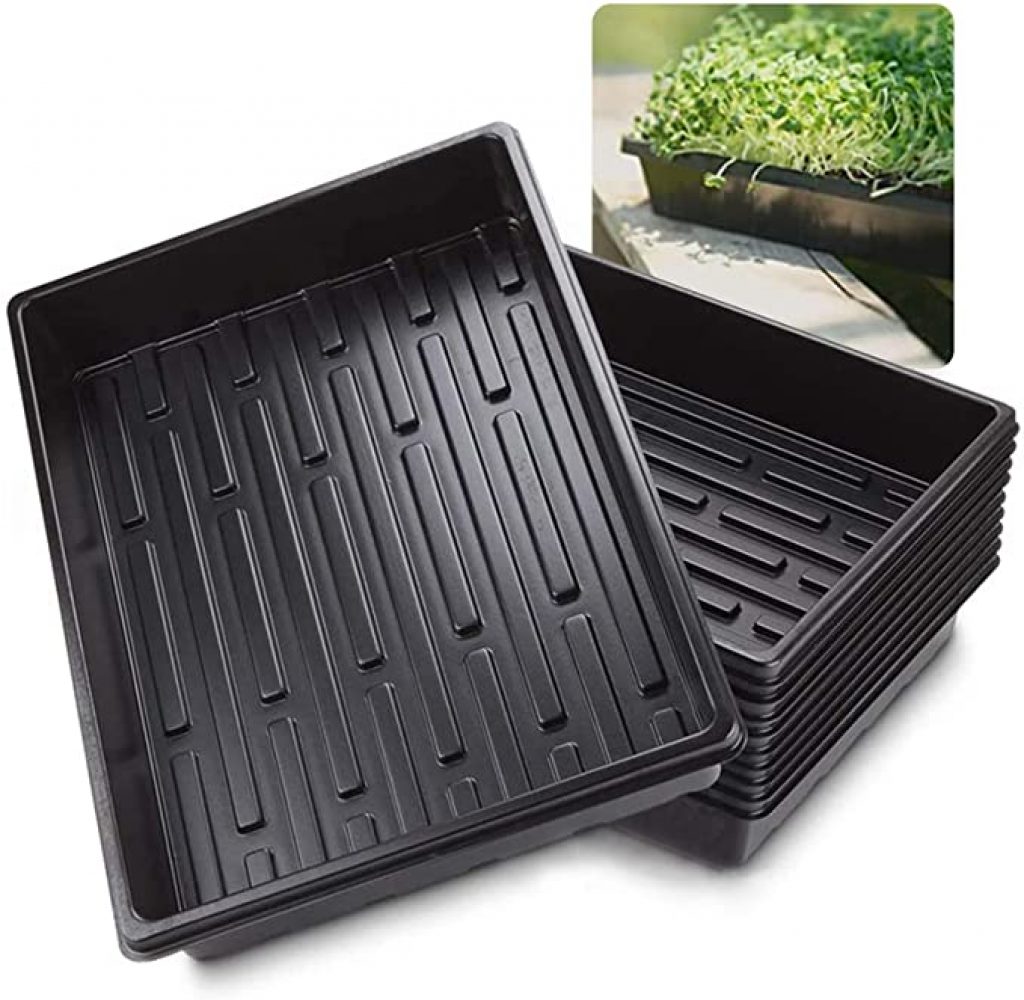
The trays are ideal for a stacking-type hydroponic system (a vertical design) or a horizontal layout.
You can find your hydroponic plastic trays readily available online or, most likely, at a local gardening outlet.
The Hydroponic Microgreens Growing Medium
Seeds and roots need something to grab on to; this is where your growing medium comes into play.
Growing mediums need to absorb a decent amount of water and nutrients for your microgreens to be successful.
Imagine the growing medium as the first layer of cement over the foundation of your house!
For a small-scale budget-friendly option, you can try starting with folded paper towels. However, if you are looking to start with a more productive system, buying manufactured growing mats (or micro-mats) is ideal.
Growing mediums can be covered by humidity domes or grown in grow tents if you want to develop a denser environment for your germinating gems.
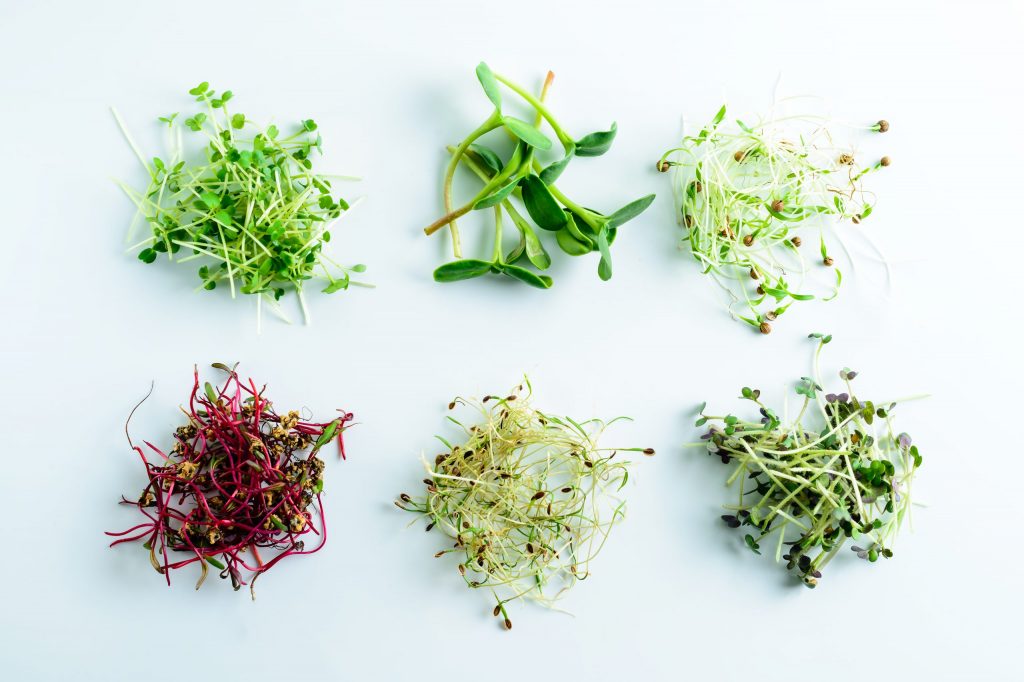
Step 2. Choosing Your Greenery
Now for the fun part — choosing what to grow!
If you’re starting out and find yourself wanting hydroponic microgreens that are easier to grow, then you should consider:
- Basil
- Radish
- Kale
- Collards
- Kohlrabi
- Clovers
- Alfafa
When you’ve become more adept, you can look at carrots and beetroot varieties.
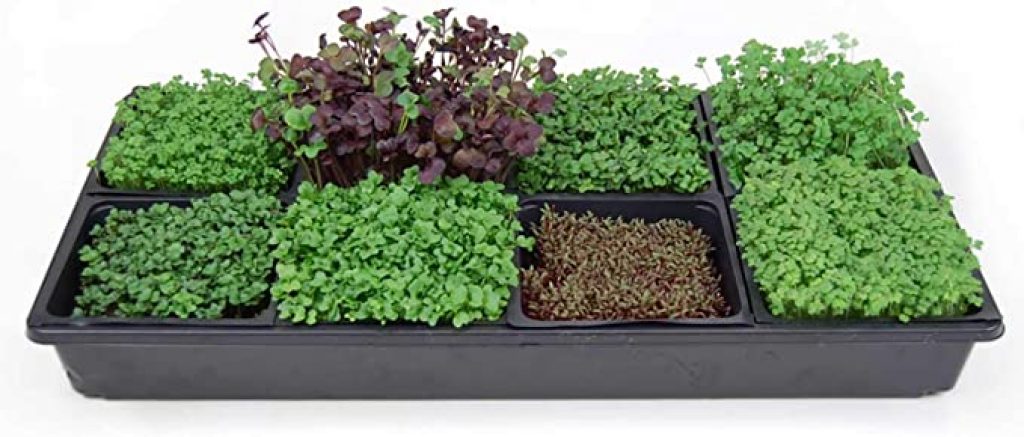
Hydroponic microgreens can be grown in separate sections on the same tray. If you browse online, you will be sure to find specified trays allowing you to do exactly that!
Step 3. Sowing The Seeds
Before you place your seeds down, you must prepare your trays and growing mats.
Start by filling the trays without holes with water. After that, place your grow mats into the dry trays with holes and place them over the water-filled trays.
This allows your growing medium to become soaked and moist enough for your seeds.
Once your growing medium is saturated, sprinkle your seeds evenly with enough space over the mat (or paper towel).
Yes, just like sprinkling sprinkles on a birthday cake!
The wet growing medium should create the ideal surface where the seeds can successfully stick. However, you can also spray the seeds on top if they refuse to stick.
Step 4. Irrigation And Watering
The technique mentioned throughout this article is called bottom watering, —where you fill your bottom tray with water for the grow mats and roots to absorb.
Once you’ve filled your bottom tray with water the first time, it won’t be necessary for you to refill again. However, misting your maturing microgreens is a must!
Using a spray bottle, gently mist your trays every 12 hours.
If you do happen to notice that the water in your tray below has leaked out or disappeared, then replenishing it to the root tips is necessary.
Step 5. Lighting
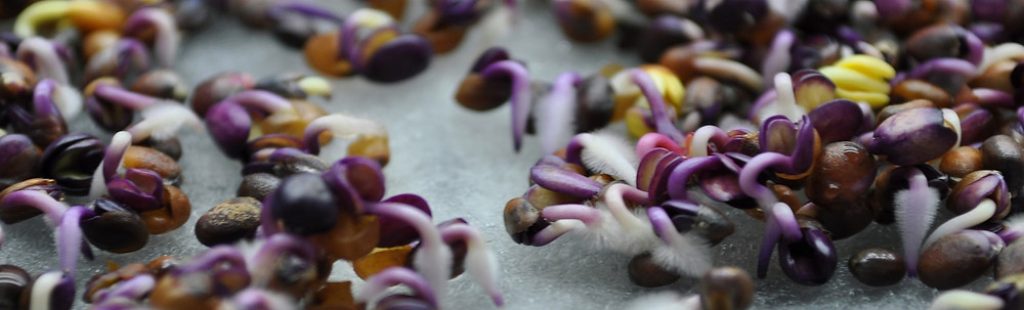
After your hydroponic microgreens seeding is done, they must stay in the dark for about four to five days.
“But, don’t plants need light?”
This is true. However, by keeping seeds in a dark and warm environment, you’re forcing them to start germinating in search of light.
Source: OnTheGrow
After roughly five days comes the big reveal — you may now uncover them and give them adequate light to grow.
The best light includes direct sunlight through a window, LED grow lights, or fluorescent lights.
Step 6. Harvesting Your Hydroponic Microgreens
At this point, you’ve probably checked your greens a few times a day — anxiously awaiting that very first harvest!
After roughly ten days, the time has finally come — you can now move your trays into a shady area and allow them to cool down completely (this is to retain the fresh crispiness you have been eagerly searching for!).
To harvest your microgreens, grab a handful of them at a time and slowly pull them from their growing medium.
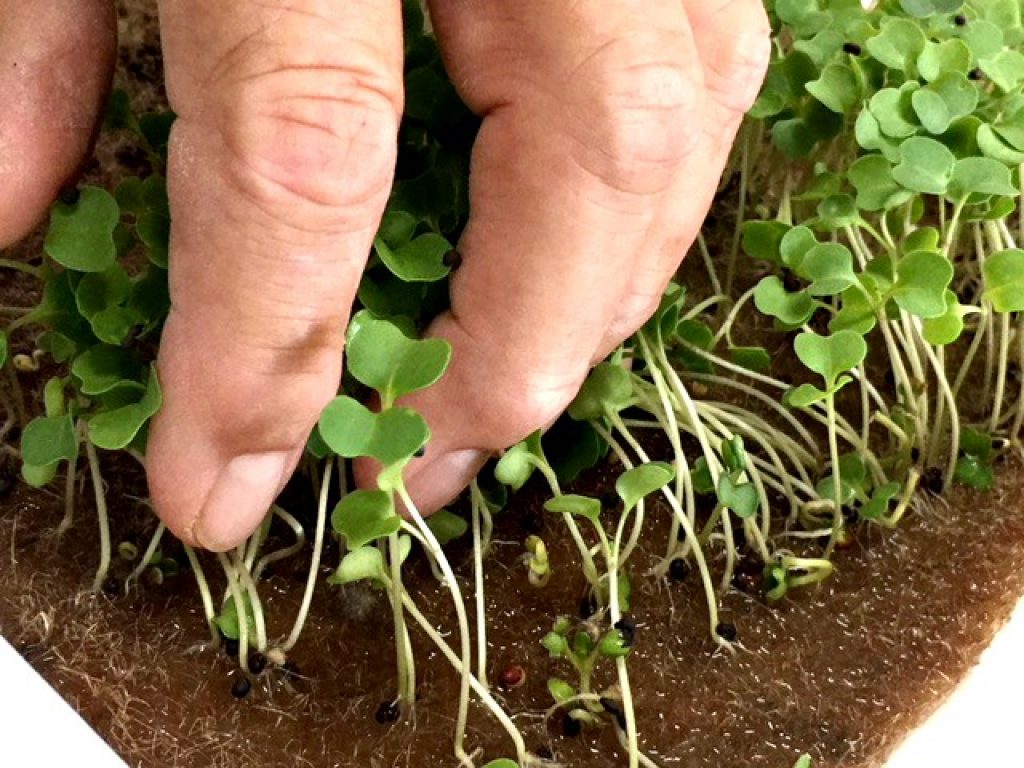
Source: HydroponicsForHouseplants
You can also use a pair of scissors to cut the roots off for a clean harvest — pretty much like trimming the ends of your hair.
Now that you’ve harvested your crop rinse them under gently flowing cool water and spread them out to dry.
You can now store them in your fridge (only once completely dry).
Keep in mind, microgreens are best served fresh.
Final Thoughts
Hydroponic microgreens certainly are a highly nutritious way for you to get in your greens. Bursting with an array of vitamins, this type of horticulture holds a great deal of promise!
What comes to light here is that growing microgreens hydroponically is clean, relatively low maintenance (on a small scale), and much more environmentally friendly.
You can expect a much lesser hassle with critters, the need for pesticides, or dirtying the inside of your home.
If you find yourself interested in doing this, then go for it — you are more than capable!
After all, why not take on a healthy challenge for the year?
If you have any questions or comments, please leave them down below!