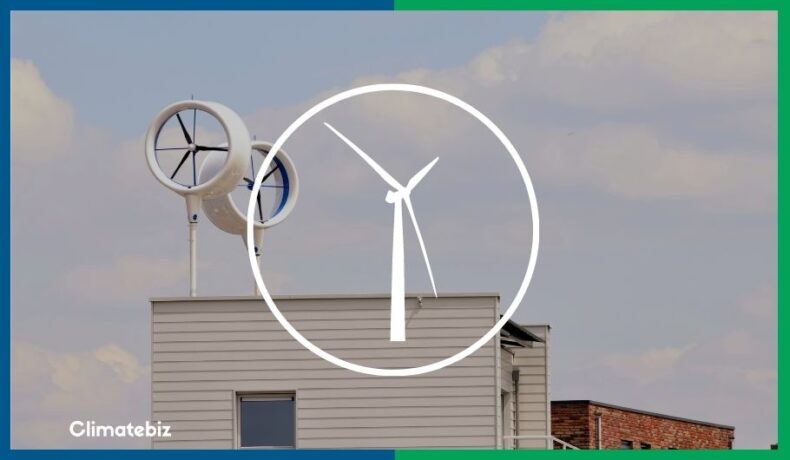
A DIY wind turbine is perfect for anyone wanting to invest in wind energy — you’ll be able to reap the benefits of wind power at home without breaking the bank on expensive, pre-built turbines.
Going this route can help you decide if a manufactured turbine is worth it, as you’ll be able to test out your turbine and measure your site’s wind speeds and power outputs.
Sure, we understand that building your own wind turbine sounds daunting, but we’re here to help! This article serves as a guide to the DIY construction process, step-by-step.
We’ve read multiple research papers about wind turbines, from small-scale turbines for school projects to in-depth case studies. We’ve combined this knowledge into an all-you-need-to-know package.
After reading this, you’ll better understand DIY wind turbines and be ready to tackle your own project.
Table of Contents
Tools Needed To Build A DIY Wind Turbine
Before starting a new project, ensure that you have the right tools. We’ve compiled a list of what you’ll need for this DIY wind turbine.
Bear in mind that you won’t necessarily have to go out and buy each tool. Many hardware or power tool stores rent out tools per hour/day. Renting a tool might be the cheaper option if you don’t plan on using it again.
| Tool | Description | Purchase |
|---|---|---|
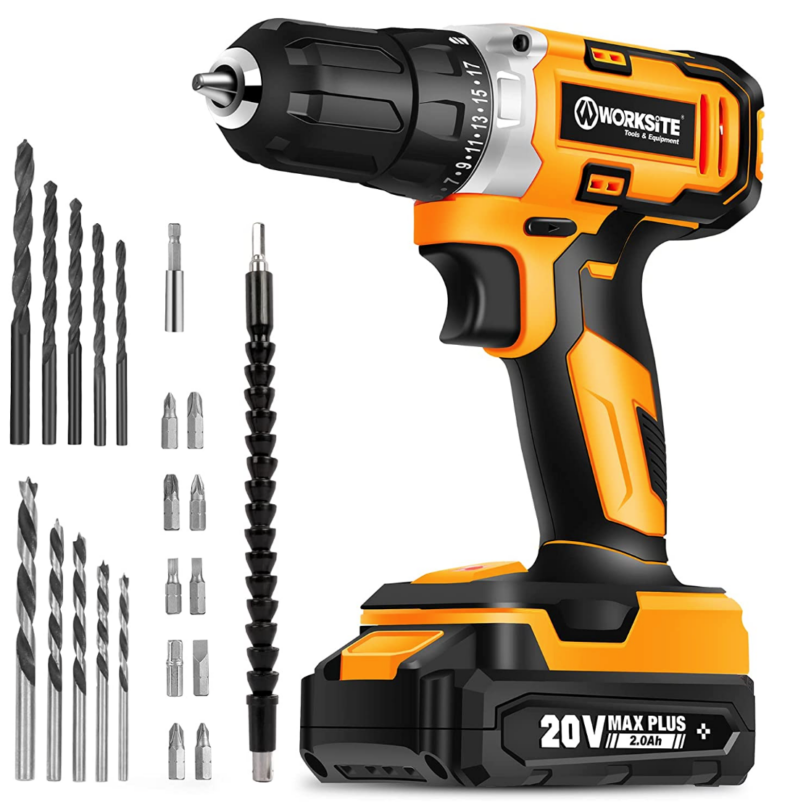 | Cordless Drill/Screwdriver — this is necessary for every DIY construction project. We recommend investing in a good set that includes different bit sizes. You’ll need the drill to fix components and mount the brackets to a wall. | View On Amazon |
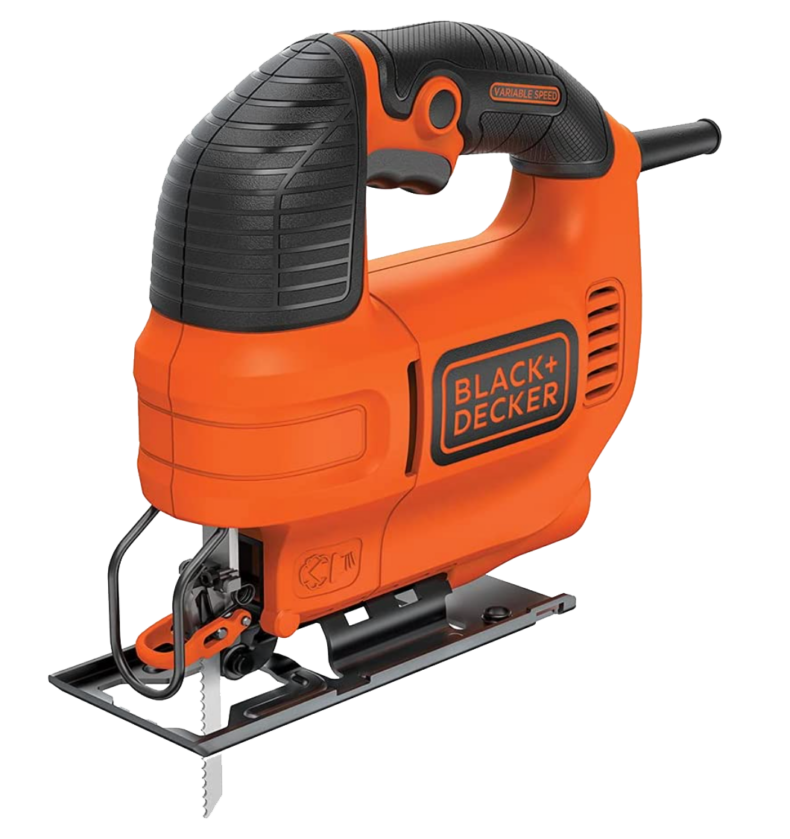 | Jig Saw — this tool isn’t found in everyone’s garage and might not be used as much as a cordless drill. However, using this tool will make the difference when cutting your turbine blades. | View On Amazon |
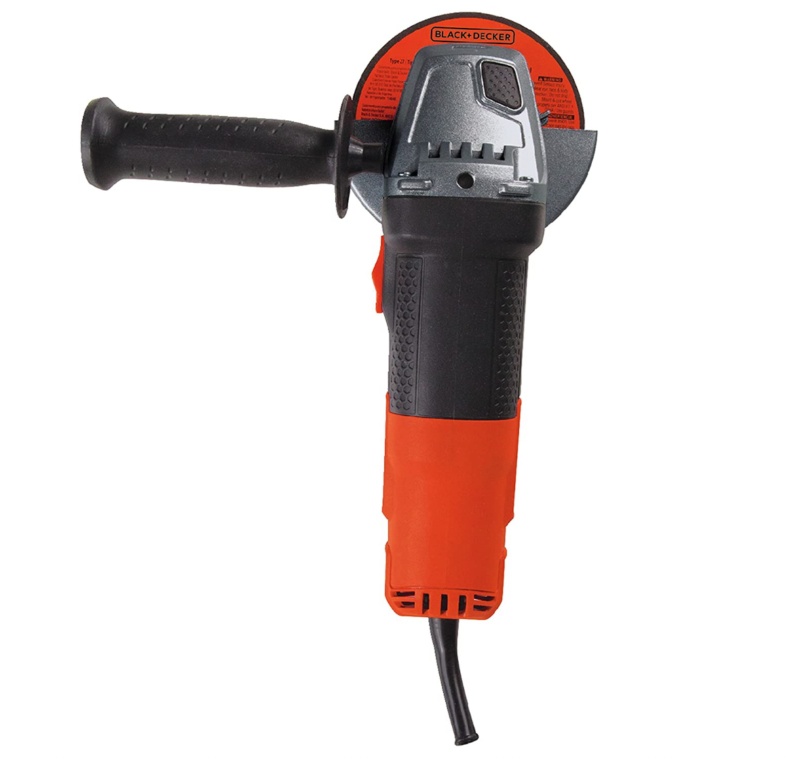 | Angle Grinder — steel channels and conduits often come in standard sizes. To cut your pieces to the required size, you need an angle grinder. Again, you can always rent this tool if it’s not worth buying one. | View On Amazon |
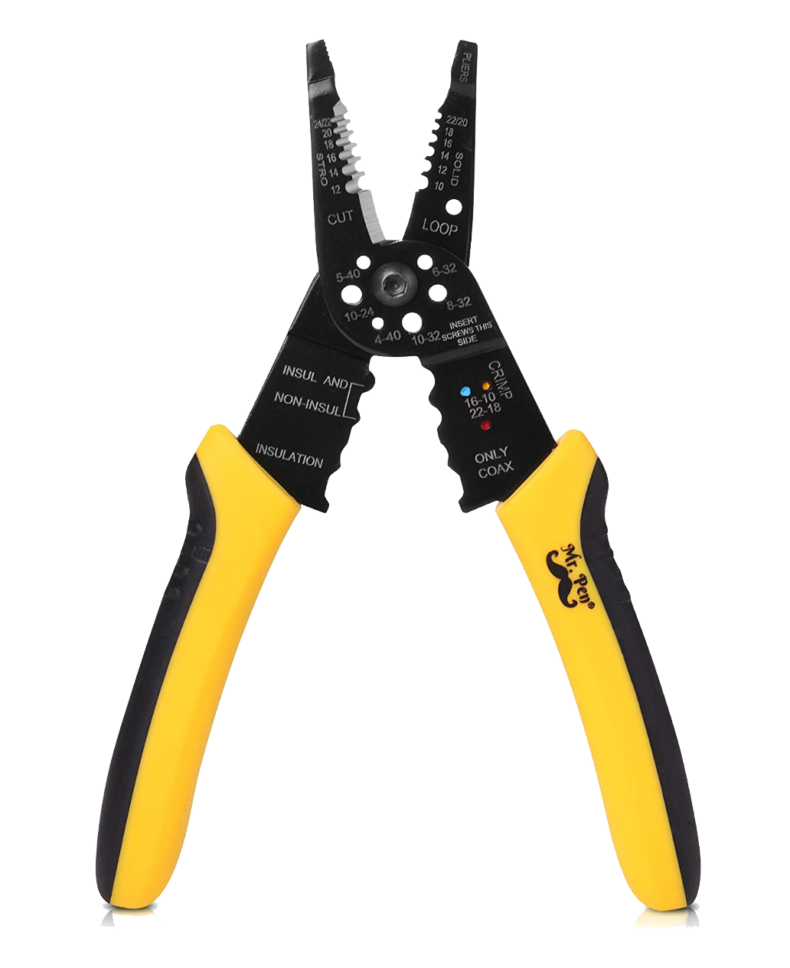 | Wire Strippers — electrical wires come with a protective coating. To attach the wires to an electrical component, you’ll have to strip the protective layer off. If you plan to work with a wind turbine system, these are worth the buy. | View On Amazon |
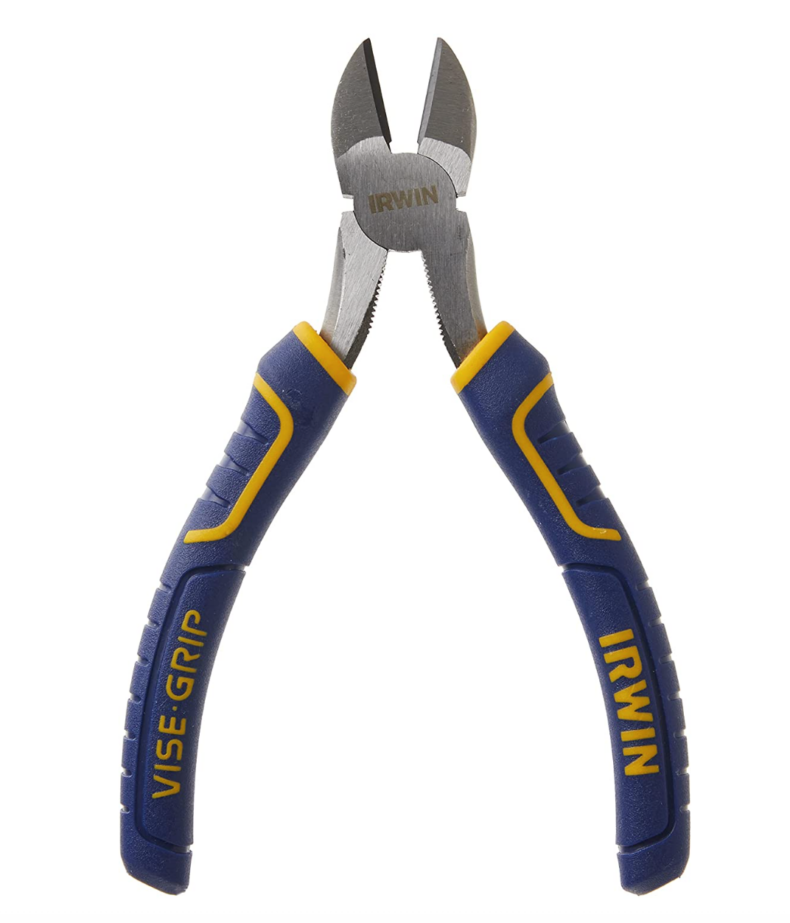 | Side Cutters — this handy tool is used to clip wires. However, if you’re precise enough, you can also use these to strip wires. | View On Amazon |
 | Ratchet and Socket Kit — a ratchet and socket is an easy tool for tightening nuts and other fixtures. We recommend this tool, but you can also use a set of spanners. | View On Amazon |
There are also a couple of non-specific tools that you’ll need for this DIY wind turbine:
- Safety Gloves (For wiring and cutting)
- Pencil/Marker
- Paper for sketching and measurements
- Ruler
- Long Ladder
How Much Does It Cost To Build A DIY Wind Turbine?
It’s hard to say how much it would cost to build a DIY wind turbine. But depending on the model you use, it can cost between $150 and $700.
While this cost analysis may not be 100% accurate, it does give you a rough idea of how much the components will cost. It also doesn’t reflect the cost of the tools required or the battery system.
| Components | Cost |
|---|---|
| Permanent magnet DC motor | $35 |
| PVC piping for blades | $15 |
| Tower conduit | $20 |
| Fixings and fasteners | $50 |
| Steel Channels | $60 |
| Wiring | $20 |
| TOTAL | $200 |
It’s also important to note that you always have the option to buy a manufactured wind turbine. Manufacturers offer warranties and have all the parts necessary to set up your turbine. The only downside is that manufactured wind turbines are more expensive than DIY wind turbines.
The average manufactured turbine costs around $1,000. That’s an $800 difference!
How To Build A DIY Wind Turbine
Now that you have your budget and tools ready let’s look at building the turbine step-by-step.
We’ve broken the process into seven parts. Tackling each step one at a time will break down the complex project into bite-sized chunks.
These steps are:
- Determine your wind resource availability
- Collect your components
- Creating the blades
- Mount the turbine hub
- Wiring the turbine
- Creating a support structure
- Connecting your turbine to the system
We recommend reading over all the steps first before carrying out your build. It’s always better to have the bigger picture before diving into the small stuff.
Step 1. Determine Your Wind Resource Availability
Before you start, you’ll need to determine wind availability. An easy way to do this is to look up a wind map for your area. Alternatively, contact a local turbine supplier for more information, even if you don’t buy a prefabricated turbine.
The available wind speed will determine the size of your blades and the height of your turbine. For example, if your land has many trees, you’ll need to install the turbine above the treeline. If that’s not possible, try placing your wind turbine on the other side of the property.
The goal is to place the wind turbine in a location with the least interference and drag; drag is when the wind loses speed because of the friction between it and other surfaces.
Lastly, you should consider the cut-in speed of the average turbine — this speed is how fast the wind needs to blow before the turbine starts generating power. The typical turbine needs between 6 and 9 mph wind to get moving.
Step 2. Collect Your Components
Now let’s gather all the components together to ensure you have everything you need.
Here is a complete list of all the materials you’ll need:
- The tools mentioned above.
- A permanent magnet DC motor.
- 8-inch schedule 40 PVC piping.
- A flywheel or pulley to fit into the motor/generator.
- Bolts, nuts, and washers.
- 8-inch vent cap (Dome-shaped).
- A small piece of PVC piping (Roughly 4-inches in diameter).
- 4 ft of 2 x 1-inch steel channel.
- Steel plate the size of your motor.
- Heavy sheet aluminum for the tail.
- 1-inch pipe floor flange.
- 1 1/4-inch iron conduit as the tower.
- 10-inch pipe rod (1-inch to fit into the floor flange).
- A piece of plywood or steel plate for the base.
- 2 x 90° 1-inch pipe fittings.
- Steel brackets.
- Guy wires.
You’ll find most of these at your local hardware store.
Step 3. Creating The Blades
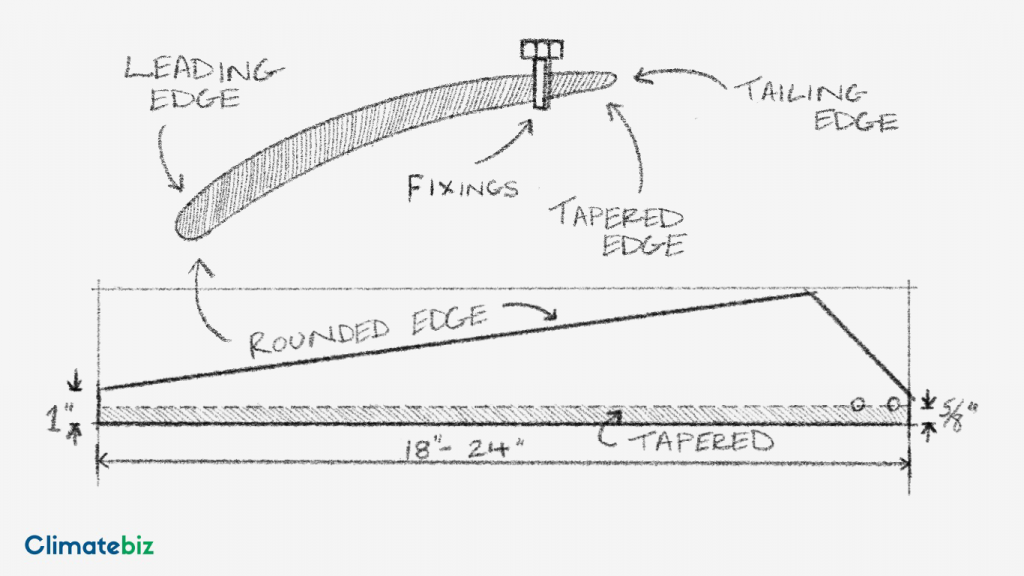
This step aims to turn the 8-inch piping into blades and fix them to the motor. First, it’s good to establish a blade design. Then, you’ll need to cut the PVC pipe and fix the blades to a flywheel. We’ve included a sketch below.
Cutting The Blades
Start by measuring the preferred length of your blades. Two factors influence this:
- The turbine’s height;
- The amount of power you’d like to generate.
The blades need to be long enough to catch as much wind as possible but don’t make them too large. If the blades are too large, they may cause an imbalance in your system or even become dangerous — this is especially true for roof-mounted turbines.
The general length of DIY turbine blades falls between 18 and 24 inches. Use your average wind speed to determine the correct size. You can learn how to do that by reading our homeowners guide.
Cut the pipe to the desired length and divide the tube into three equal parts. Then, using a ruler, cut out a design similar to the below.
Next, sand down the edges. The leading edge should be rounded, while the trailing edge needs to be tapered.
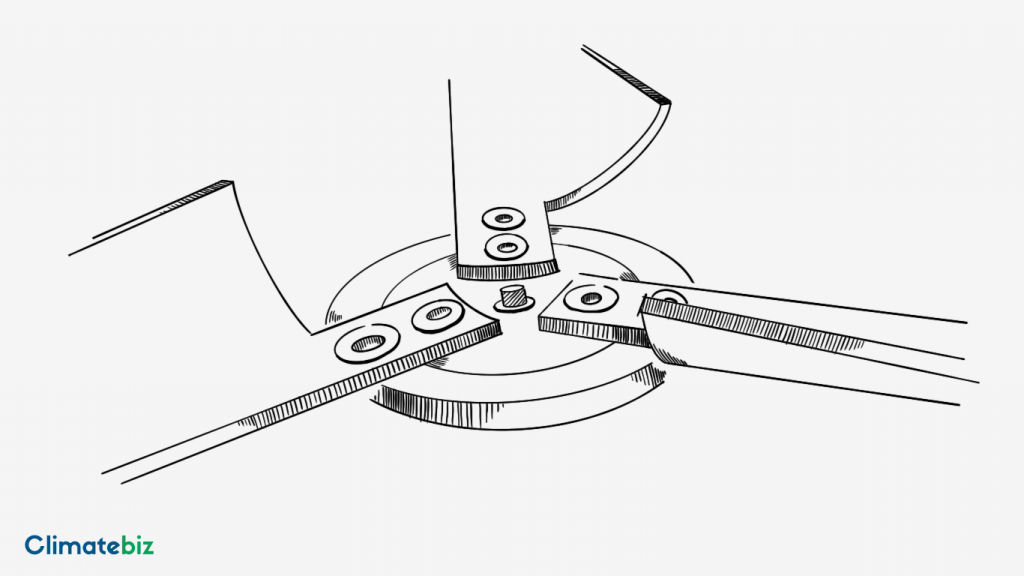
Assembling The Turbine Hub
The next part can be tricky. Depending on the size of your motor, you can use a flywheel or a pully. However, we recommend a flywheel as its design purpose suits this project better.
Mark where the blades will fit onto the flywheel and drill and tap hole where needed. The inner fixings should be through bolts, while the outer fixings are machine screws. If you’re not sure how to drill and tap the flywheel, take it to your local metal workshop for assistance.
The final step is to test how the flywheel would fit onto the motor. We don’t recommend attaching the two parts just yet. It’s better to mount the motor first and then attach the flywheel.
Step 4. Mount The Turbine Hub
We’ve cut 2 feet of 2″ x 1″ lipped steel channel for this project. But the length of the mount is up to you and the size of your blades.
Cut the tail for your wind turbine using aluminum sheet metal. The tail can look however you’d like. However, keep aerodynamics in mind, so think along the lines of a plane tail.
On one end, attach the tail to the mount with any technique you’d prefer. One way is to drill pilot holes into the channel before bolting the tail down.
Next, cut a base plate for the motor — this isn’t 100% necessary, but it’ll give the hub a little more support.
Using steel straps, attach the motor to its base. Then, bolt the base plate onto the mount on the opposite end to the tail.
Now you can attach the wind turbine blades to the motor.
Congratulations, you’ve mounted the turbine hub!
Step 5. Wiring The Turbine
Ultimately, the motor will act as a generator and send power down to a controller. The electricity will be redirected from the controller to the deep-cycle batteries and a dump load.
But first, we’ve got to look at how we’ll get the electricity down to the controller.
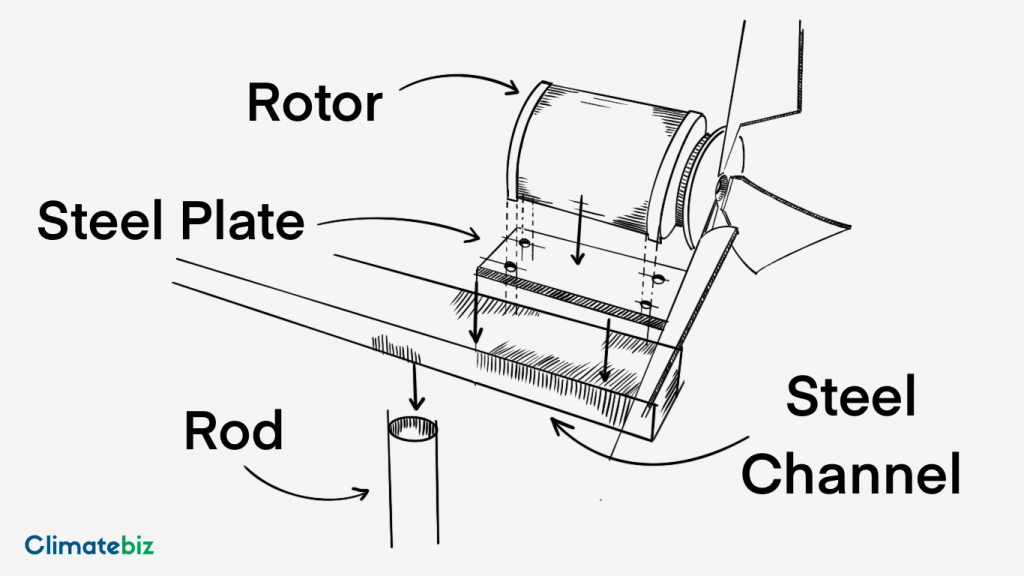
We recommend using a hollow steel pipe as the tower of your turbine. That way, you can run the wires from the motor, through the steel channel, and into the pipe.
We’ve highlighted a path for the cables to be laid in the image below.
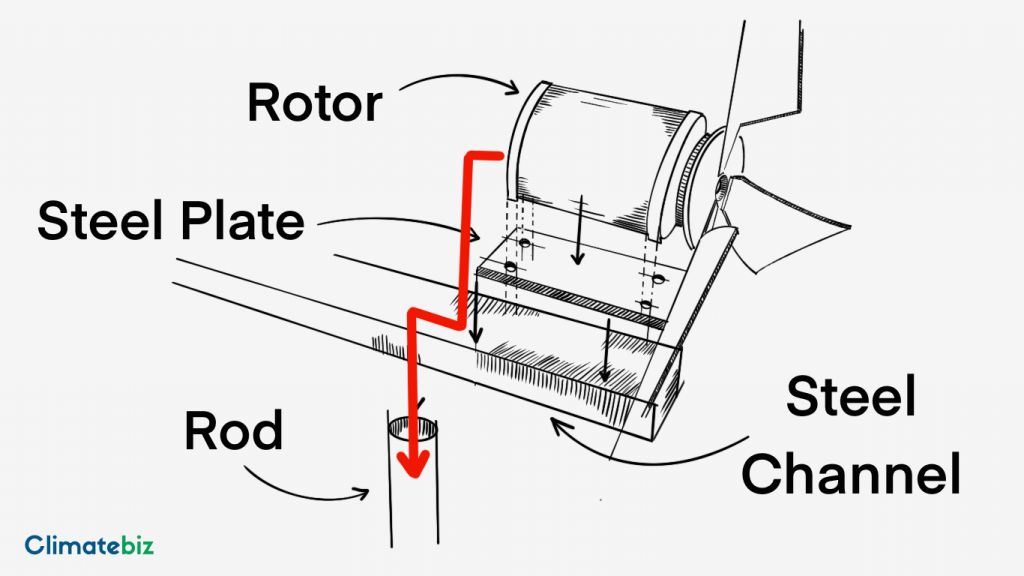
When hooking up the motor, be sure to use it in reverse. That way, it’ll generate power and not consume it. It’s also a good idea to use a piece of PVC to create housing for the motor and its wires.
Connecting The Turbine Mount To The Tower
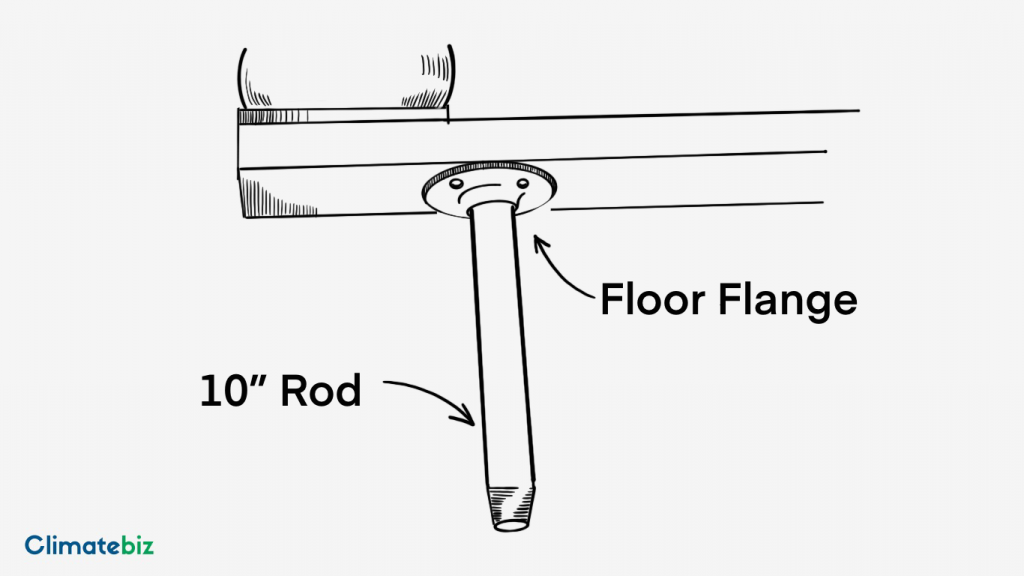
To allow the mount to swivel on the tower, you’ll need to attach a rod to the turbine head. The road would sit neatly inside the tower piping, allowing the wind to turn the turbine.
First, attach the floor flange to the underside of the channel. Place it just behind the motor, roughly 8 inches from the front of the mount. Then, fix the 10″ by 1″ rod into place. Once it’s finished, it should look something like this:
Passing the cables through the tower conduit means they won’t get tangled as the turbine swivels.
Lastly, slide the turbine mount and rod into the tower pipe — your prior research will determine the tower’s length. The general DIY wind turbine uses a 1 1/4″ steel conduit.
Step 6. Creating A Support Structure
If you’re building your DIY wind turbine in a residential area, remember there is a building height limit. Most residential areas have a height limit of 35 feet so check with your local authorities to ensure you’re not encroaching on any building limits. After determining the height of your tower, you’ll need to cut the piping to size.
You’ll either be fixing your turbine to your roof or down to a base/foundation. Let’s assume we’re fixing it to the ground for this project. We’re also going to use an example height of 26 feet.
Placing Brackets
The best way to brace your tower is to fix it to the side of your home. Then, divide the tower’s length by four to determine where to place the brackets. For example, we’ll set one bracket at 6.5 ft from the ground and the next at 13 ft. The third bracing would be above roof height (a single-story building) and will need guy wires.
Take 1″ of the steel channel for a brace and use masonry bolts to fix it to your wall. This will distribute the force from the tower evenly into the wall.
Fix the steel bracket to the bracing and when ready, fasten the tower to the bracing. Repeat this for the bracket at 13 ft.
At 19.5 feet, we’ll need to fasten guy wires to the tower to give it upper support. This could be to an adjacent building, your roof, or support in the ground. You can use guy wire clamps and then fix the wire to three different points.
If you’re ever unsure, contacting a builder or contractor can help clarify what you need to fix the tower.
Creating A Tower Base
Depending on how permanent you want the turbine to be, you can make a temporary base or a foundation.
Either way, using a square piece of steel or plywood can work as a base. Use the steel pipe elbows to create the bottom of your tower. Let the tower attach to a tee joint, and then use the elbows as feet on each end. Lastly, attach the elbows to the base plate.
If you’re sure about the placement of your turbine, you can set the base into concrete.
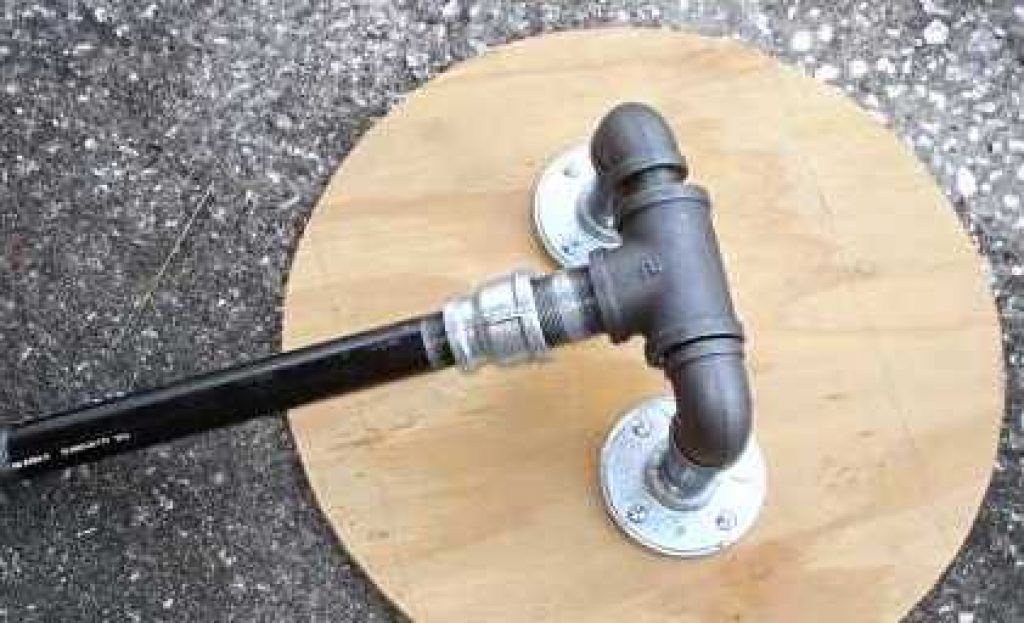
Source: mdpub.com
Step 7. Connecting Your DIY Wind Turbine To The System
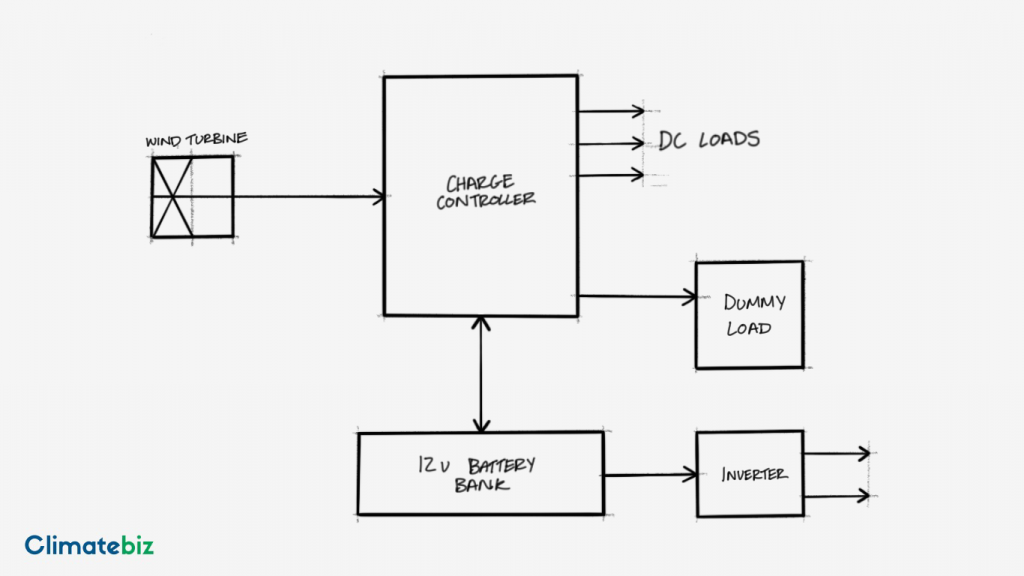
Now that the construction stages are behind you, it’s time to focus on the electrical stuff. To best convey this, we’ve created this block diagram.
The power from the turbine will need to go to a controller. When the batteries are fully charged, the controller will switch off the connection to the turbine. Instead, it will direct the electricity to a dump load or other DC appliances.
Since the motor will generate electricity in DC, you’ll need an inverter to swap the current to AC.
You might already have a system set up, or you might be starting from scratch and need to set up a whole new system. Either way, this stage of the DIY project will require the most amount of trial and error.
Creating a new system is almost a DIY project in itself. We recommend reading some of our other articles to help you along the way.
Final Thoughts
Building your own DIY wind turbine can be a fun project and save you money. In fact, you can save up to $800 by making your own.
However, it’s important to note that the wind turbine you make probably won’t be perfect. It will take trial and error to increase the efficiency and output of the turbine.
Either way, creating your own turbine can be an affordable way to test out wind power.
We hope that you’ve found this article helpful. If you have any questions or would like to share your turbine, feel free to join our community!