Whether you’re going on a camping trip or living off-grid, a DIY solar shower is a perfect way to give yourself a good ol’ cleaning.
If you’ve found your way here, chances are you’ve already heard about these fantastic, self-heating shower systems -they truly are a great way to have a warm shower without a geyser or serious plumbing.
But how do they work, and can you build one yourself?
In this guide, we’ll tell you just how they work and how you can DIY a solar shower. Here, you’ll find a list of tools and components, how much they cost, and an easy-to-follow explanation of how these units work.
Table of Contents
How Does a DIY Solar Shower Work?
A typical DIY shower consists of a water storage container that uses the heat from the sun to raise the temperature of the water inside of it. This storage container is linked to a hose and shower head, allowing the user access to hot water when showering.
There we have it, people, it’s as simple as that!
Types Of Solar Showers
However simple solar showers may be, there are different types, some more complex than others.
You would find most showers outdoors, the water source being directly above or next to the shower. However, you’ll also find that there are indoor solar showers.
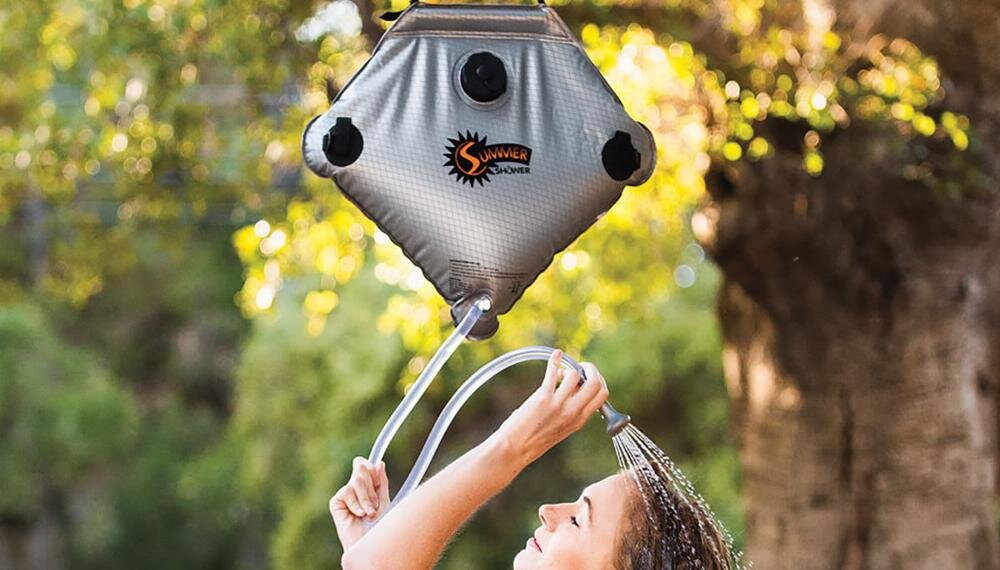
Outdoor Solar Showers
Source: modernmississauga
Solar showers are often found outdoors. They provide warm water for those on long hikes, camping trips, or a day spent at a lake.
However, many homesteads and ecological homes have begun using solar showers as an off-grid solution.
Outdoor solar showers are less complicated and easy to install. All you really need is some rope, a bucket, and a tree.
The sun warms the water up passively, and within an hour or two, you have a warm shower waiting for you.
Indoor Solar Showers
Indoor solar showers are slightly more complicated as they require more plumbing fixtures and planning.
The shower can be built like a regular shower, with a shower pan, mixer, and showerhead. The only difference is that the water supply comes from a tank that relies on solar heat.
These shower systems vary in complexity – from some buckets left out in the sun to solar thermal panels used for heating water.
Solar thermal panels are so efficient that you can even use them to heat your pool!
If solar thermal panels can heat 20,000 gallons of water, imagine how effective they would be as part of a DIY solar shower.
What Kind Of DIY Solar Shower Are We Making?
This article will explain how to build your very own outdoor solar shower.
You’ll be able to place this DIY solar shower on the roof rack of your car. Alternatively, you can attach this to your northern facade and install an indoor solar shower with a bit more plumbing.
Please note: This shower only holds around 4 gallons of water. You can increase its volume by adding another unit or using a 5-gallon bucket instead.
Tools and Components Needed For DIY Solar Shower
Tools Needed

Cordless Drill
Most persons interested in DIY projects would have a drill at home already. However, if you don’t own one, we suggest you invest in one ASAP.
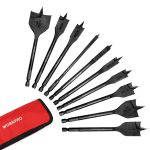
1/4″ & 1/2″ Flat Bit (Paddle Bit)
This flat bit set comes with all the standard sizes and is a great investment. You’ll need these bits to drill holes into the PVC caps.
Components Needed
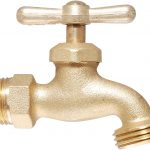
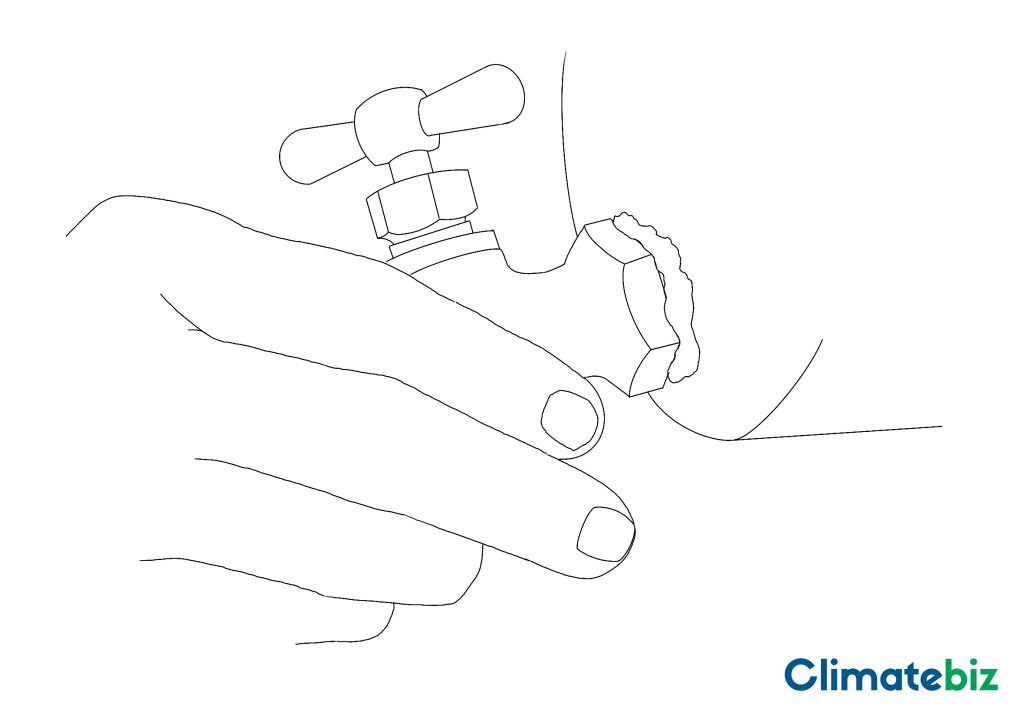
1/2″ Hose Bib
The hose bib will attach to the PVC cap to allow water to run out. This can be any tap or valve – this is just what we suggest.
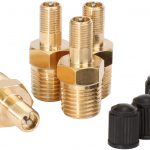
Schrader Valve
You will need a Schrader valve to pressurize the system. You can use a compressor or bicycle pump – just make sure they’re compatible.
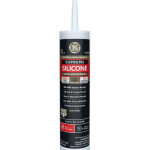
Waterproof Sealant
Waterproof sealant is needed to seal the small gaps between the hose bib and the PVC cap.
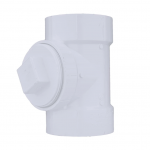
4″ PVC Clean-out Tee with Plug
The clean-out tee will be in the middle of the system. You will use the opening to fill the pipes up with water and close it after.
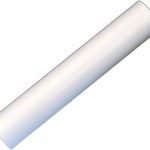
3ft x 4″ PVC Pipes
You will need two 3ft x 4″ pipes for this project. You will fit these pipes on each end of the tee. They will hold the water for your DIY solar shower.
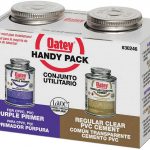
PVC Primer & Cement
For the PVC pieces to seal together, you’ll need to prime the ends and use PVC cement. Again, Oatey has this convenient pack for you.

Black Spray Paint
You’ll need black spray paint to paint the pipes black. We suggest spray paint for indoor and outdoor use. It’s also best that the colour is matte and not shiny.
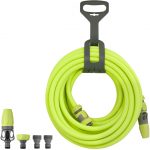
1/2″ Garden Hose
The garden hose is used as a shower. We’ve selected this hose, but you can use whichever one you’d prefer!
How Much Does it Cost To Build A Homemade Solar Shower?
So what’s the damage to your wallet?
Here’s a rough estimate of how much your DIY solar shower will set you back:
| ITEM | QTY | COST |
| Cordless Drill | 1 | $45.69 |
| 1/4″ & 1/2″ Flat Bit (Paddle Bit) | 1 | $21.99 |
| 1/2″ Hose Bib | 1 | $6.99 |
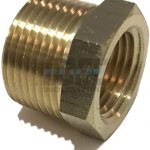
| 1/2″ x 3/4″ Bushing | 1 | $7.90 |
| Schrader Valve | 1 | $9.79 |
| Waterproof Sealant | 1 | $11.49 |
| 4″ PVC Clean-out Tee with Plug | 1 | $8.38 |
| 3ft x 4″ PVC Pipes | 2 | $101.61 |
| PVC Primer & Cement | 1 | $40.36 |
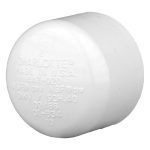
| 4″ PVC Cap | 2 | $17.06 |
| Black Spray Paint | 1 | $10.33 |
| Garden Hose | 1 | $26.42 |
| TOTAL | $271.26 |
We recognize that green technology projects such as this can be rather pricey. We can however assure you that this is a solid investment.
Please note: The prices above relate to the specific products we’ve provided. Amazon always has sales, and perhaps you’ll be able to find the components at a lower price.
How To Build a DIY Solar Shower (Step-by-step)
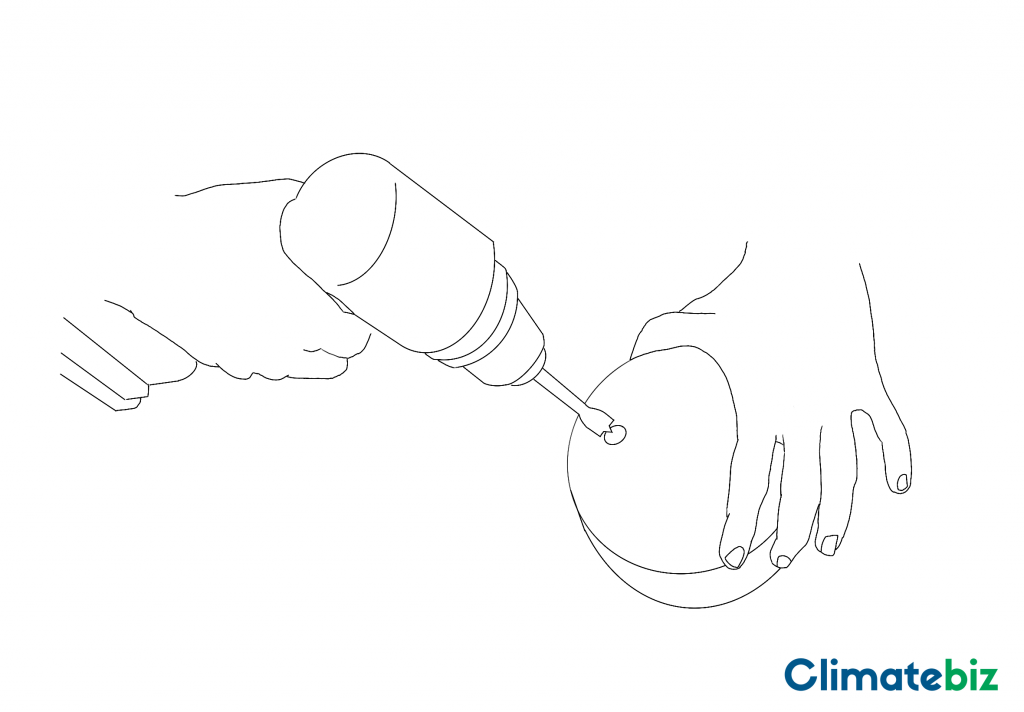
Step 1 – Drill 1/4″ hole into PVC cap
Take your two PVC caps and put one to the side.
Drill a 1/4″ hole towards the top using your cordless drill and flat bit in the one cap. This hole is where you’ll be placing the Schrader valve.
Step 2 – Install Schrader Valve
Install the Schrader valve into the cap by pushing it through the cap, ensuring the proper use of the washers. Then, on the inside of the cap, simply tighten the bolt. Use a spanner if necessary.
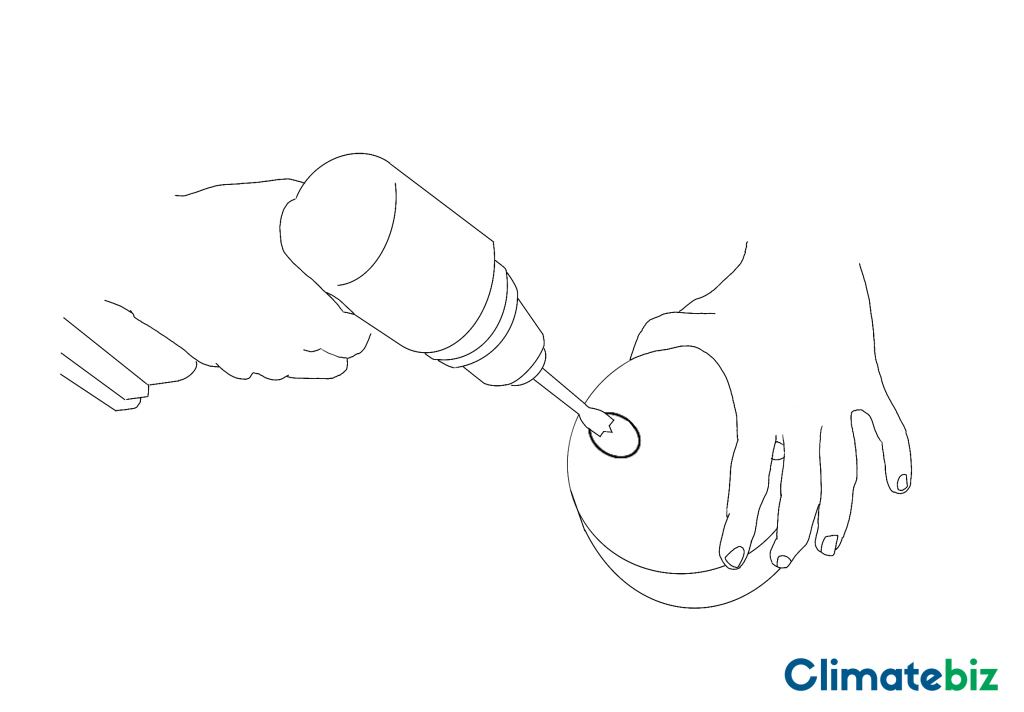
Step 3 – Drill 1/2″ hole into PVC cap
In the same cap, drill a 1/2″ hole. This whole should be in line with the valve but towards the bottom of the cap.
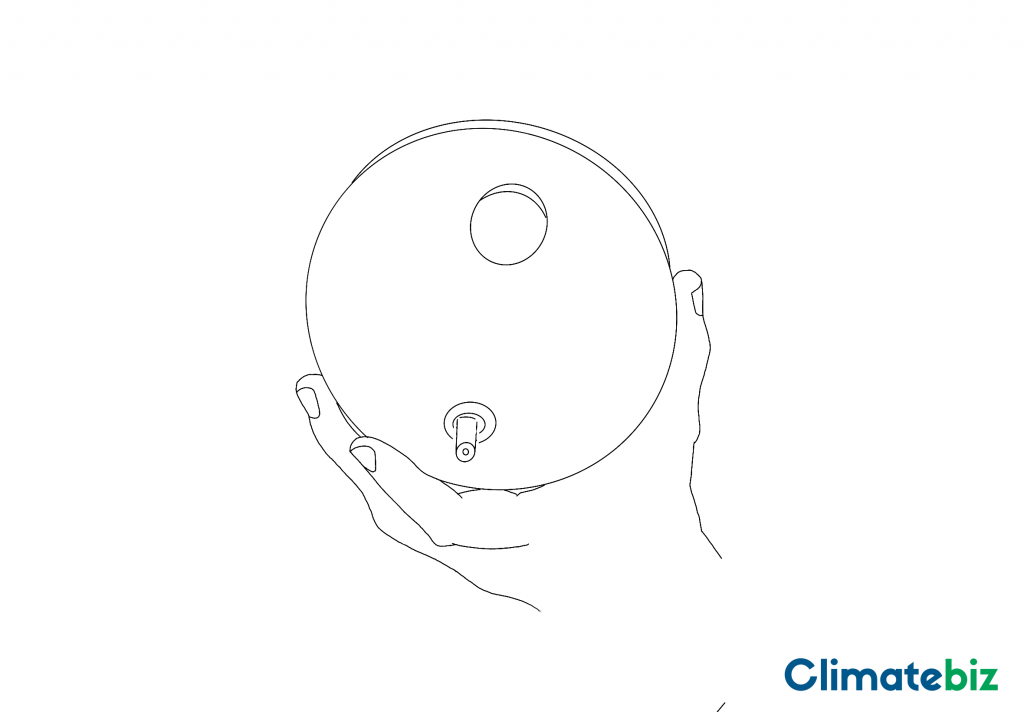
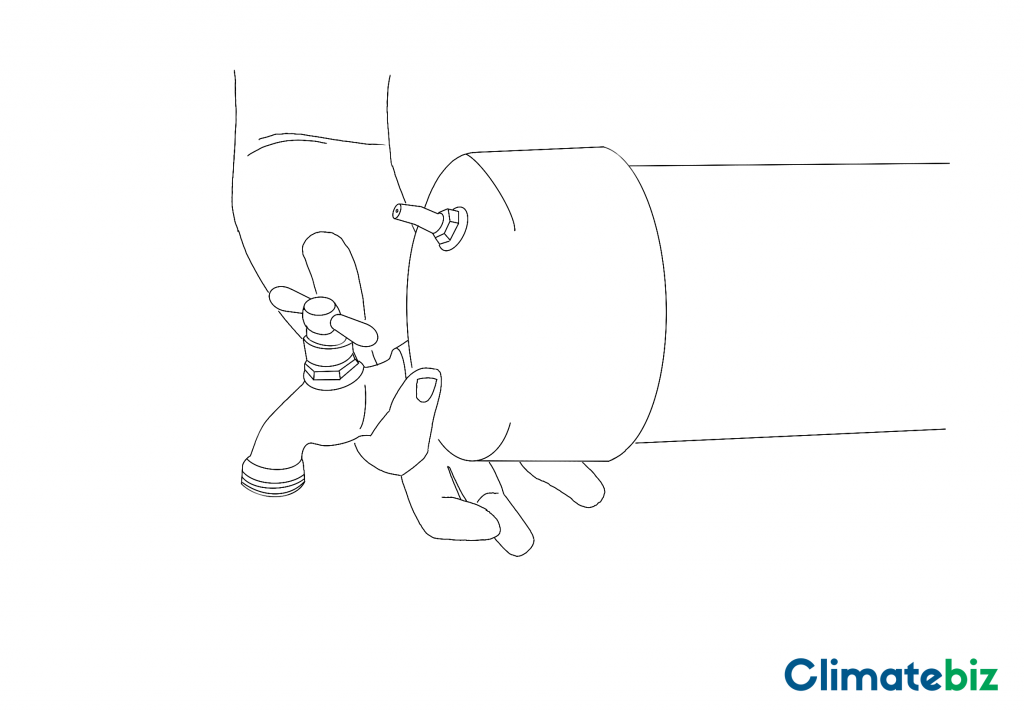
Step 4 – Connect Hose Bib
Place the hose bib through the cap. On the inside of the cap, screw on the bushing and tighten with a spanner if necessary.
On the outside of the cap, you’ll want to seal any small gaps between the bib and the PVC. Take your sealant and just pipe it around the bib to do this.
The sealant should be quick-drying, but it can take up to 24hrs to dry.
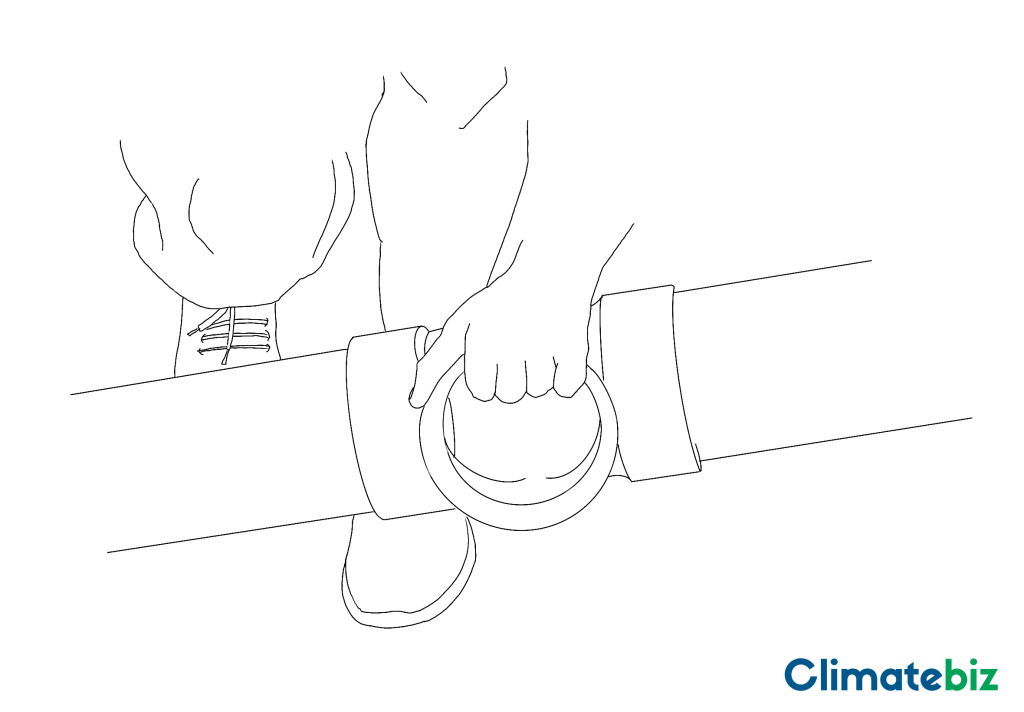
Step 5 – Connect The Pipes To The Clean-out Tee
Set the cap aside and gather your pipes, and clean-out tee.
The tee has three ends. You want to line the pipes up, so you’ll add the pipes to the opposite ends of the tee. The 3rd end will be where you’ll put the plug. This is where you’ll fill the system with water.

Doing one pipe at a time, add the primer and cement before pushing the pipe into the tee. Hold the pipe in place for 30 seconds. This will allow the cement to bond. It will take 15 minutes to set completely.
Step 6 – Close The Pipes With The Caps
Next, you’ll repeat the process with the caps. Close the pipe openings with the caps using primer and cement.
The only thing to note in this step is the hose bib and tee plug. You’ll want the bib to face downwards and the tee plug to face upwards.
Step 7 – Paint The System Black
As we’ve already discussed, painting the pipes black will allow the water to heat up faster. You can leave the system white or use a different darker color of your choosing.
Step 8 – Fix The System To Your Roof Rack
Now is the perfect time to fix it on your roof rack.
Every roof rack is a little different, so you’ll know how to do this best.
However, it might be a good idea to take a piece of foam and cut a semi-circle out of it. Then, you can use this foam as feet for your system.
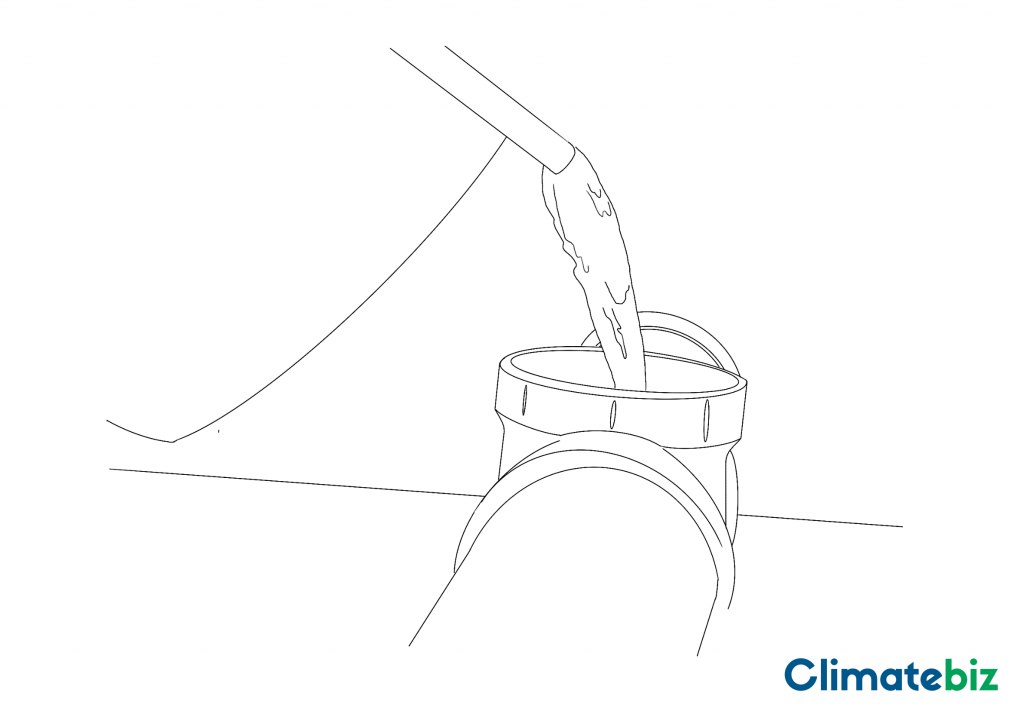
Step 9 – Fill The System With Water
Now that your system is ready, you can fill it up with water. Screw on the plug to close the system.
Attach the garden hose to the bib, which will act as your shower head.
Step 10 – Enjoy!
That’s it! You now have your DIY solar shower!
Leave the system in the sun for about 2 hours. Then, use a compressor or bicycle pump to pressurize the system through the Schrader valve.
Enjoy your comfortable and warm shower!

Source: literoflightusa
Do DIY Solar Showers Work In Winter?
Yes, DIY solar showers can function in winter. However, they will require a high-efficiency flat plate or evacuated tube collector as part of their setup for optimal results. These solar collectors will ensure that the storage container utilizes the limited amount of winter sun available to its full potential.
With that being said, a simpler, less expensive setup that lacks sufficient insulation will struggle to absorb and retain enough heat to make these showers as effective as they could be in colder temperatures
All in all, while showering outside during winter isn’t exactly ideal (here’s hoping that you don’t do this for fun), you can have peace of mind that your solar shower will in fact work throughout winter.
This will be especially pleasing to those of you who continue to enjoy camping adventures during the winter months.
DIY Solar Shower Tips And Tricks
There are some tips and tricks that’ll help make your DIY solar shower more efficient.
For example, keeping the water in a black container would heat the water quicker. Without diving into the science behind it all, the color black reflects less heat. Thus, black is a color that absorbs heat faster than, let’s say, white.
Another trick is keeping your solar shower in direct sunlight. Leaving the container out in the sun will provide you with a hot shower in just two hours.
Another option is to install your DIY solar shower on the northern facade of your home.
Final Thoughts
Using a DIY solar shower is the perfect way to wash yourself, whether you’re on a camping trip or living off-grid.
An estimated cost of $271.26, and an hour of building time, make it a perfect, eco-friendly showering method.
We hope that this guide has been helpful. If you have attempted this project before, or are looking to, feel free to share your experience in the comment section below.