With the arrival of modular lithium battery technology, building a DIY battery bank is now accessible to non-specialists at a fraction of the cost of a commercial product.
In this article, we provide a complete guide to building your DIY battery bank based on our experience designing systems for off-grid projects.
We divide the build into seven steps to make things easier for you. Moreover, we list all the tools and parts you’ll need for a safe and reliable DIY battery bank.
Lastly, we show you how to save even more money using second-hand battery modules.
Table of Contents
What is a DIY battery bank?
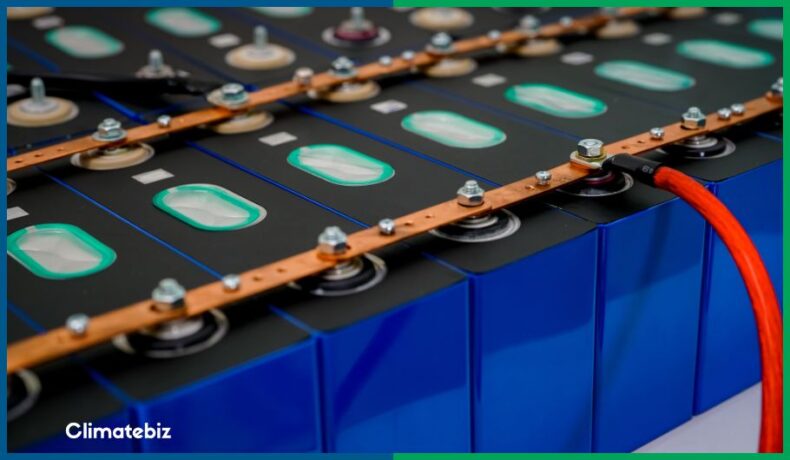
A DIY battery bank combines several battery modules that form a larger storage battery often used for solar applications.
Originally, battery banks were designed by assembling several lead-acid batteries and connecting them in parallel (+ with +, – with -) or series (+ with -).
For example, if you connect two 12V, 50Ah batteries in parallel, you’ll create a 12V, 100Ah battery. However, if you link them in series, you’ll create a 24V, 50Ah battery.
Nowadays, the dominance of lithium batteries has caused lead-acid battery banks to become obsolete.
For the sake of this article, we focus on a lithium-type DIY battery bank design.
DIY lithium battery bank
A DIY lithium battery bank consists of the following:
- Multiple lithium battery modules (also called battery cells).
- A Battery Management System (BMS).
- A battery balancer.
It also has three battery module variations:
- Prismatic: Prismatic modules are more common in electric buses and stationary applications such as solar energy storage.
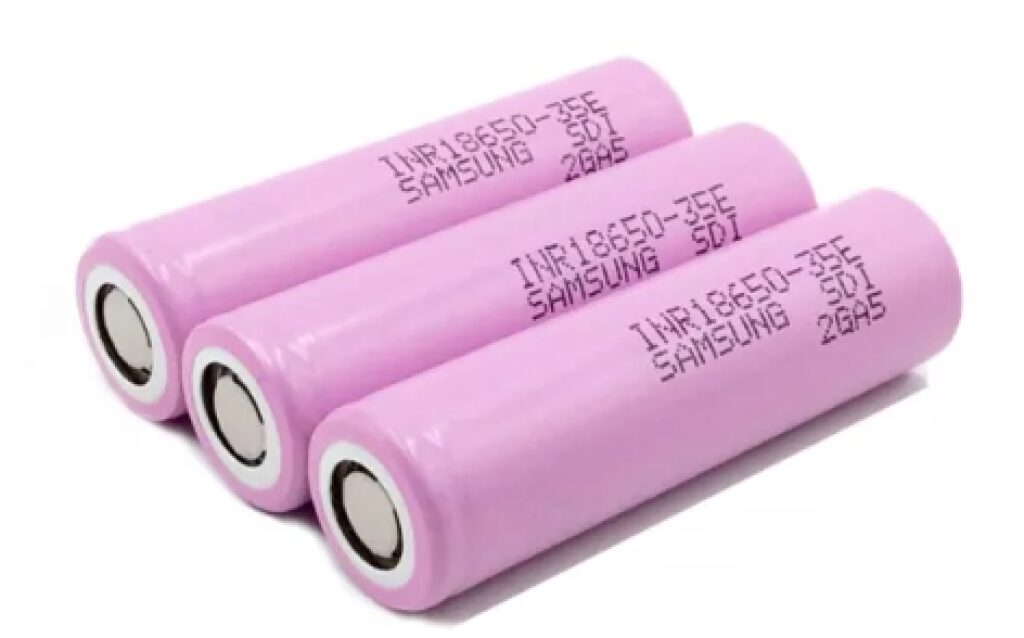
- Cylindrical: Cylindrical cells are used for portable electronics and power tools. They’re also frequently used in the electric vehicle (EV) industry to build large batteries (up to 100kWh). For example, Tesla integrates the type 18650 cell in its Powerwall and EVs.
- Pouch: Pouch modules are well adapted to portable applications and micro-storage, such as mobile phones and power banks.
Cylindrical and prismatic cells
Many DIY projects and commercial products, such as the Tesla Powerwall, employ cylindrical cells. That said, we recommend using prismatic cells for your first build.
In our opinion, prismatic cells have the advantage of simplicity over cylindrical cells. The latter requires you to assemble them by the thousands to achieve a decent storage capacity.
Increasing a system’s complexity often leads to a higher chance of complications, thus more maintenance.
So, let’s keep things simple and modular with prismatic cells.
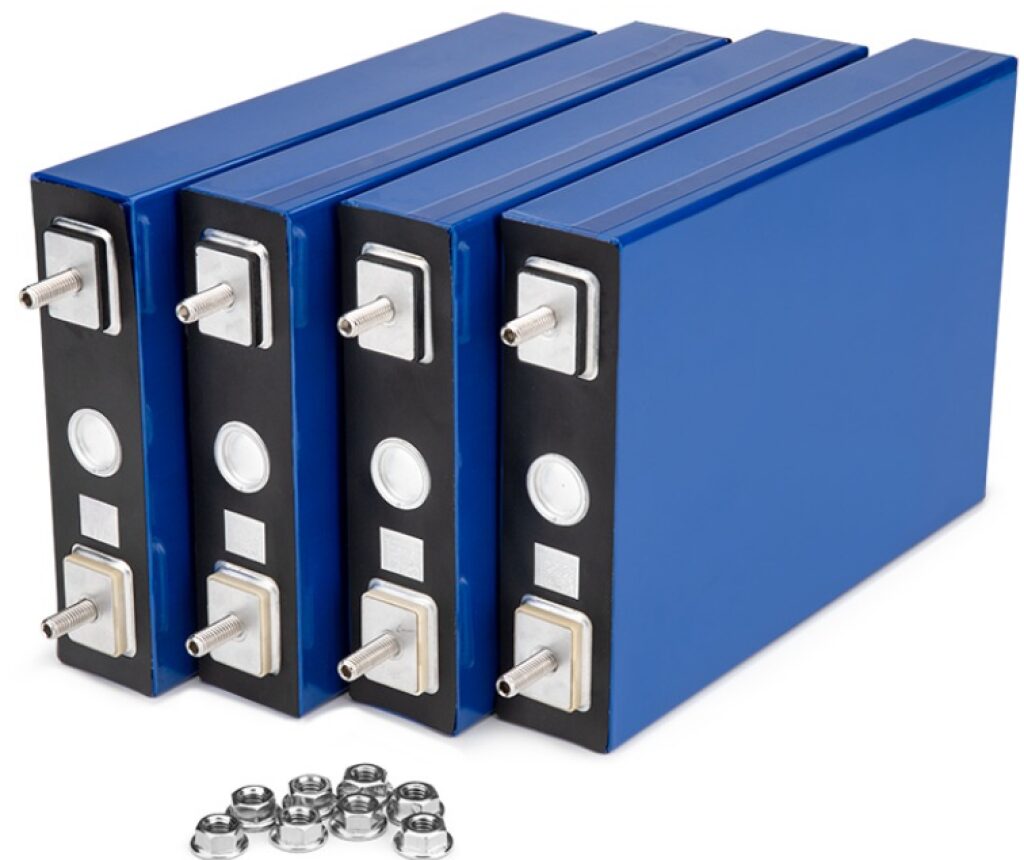
DIY prismatic cell battery bank
A prismatic module comprises a solid rectangular enclosure with two terminals on the top. The module’s size depends on its capacity and the larger the capacity, the bigger the module.
Here are the key specifications:
- Rated voltage: 3.2V (maximum threshold of 3.8V, minimum threshold of 2.5V).
- Capacity: 10Ah to 280Ah, 32Wh (3.2 x 10) to 896Wh (3.2 x 280).
- Charge/discharge speed: Charging current 0.5C, discharge up to 2C.
- Lifespan: 3000 to 5000 cycles at 0.2C.
Note to our readers: “C” represents the module’s capacity. For example, a 100Ah module rated at 0.5C charging current means the charging current is 100 x 0.5= 50A and discharge up to 2C: 2 x 100=200A.
Thanks to modular lithium batteries, you can create a DIY battery small enough to power an RV or boat or large enough to power an off-grid setup.
BMS and battery balancer
A DIY battery bank also includes a battery balancer and a BMS.
The BMS is a protection board that regulates each battery module’s charge and discharge process. Additionally, it prevents temperature and electrical damage.
The battery balancer ensures that the battery modules are charged and discharged equally (same voltage). This helps your battery bank maintain optimal performance throughout its lifespan.
Safety considerations before building a DIY battery bank
Building a DIY battery bank at home is safe. However, you must take all necessary precautions to avoid any potential accidents.
Here are some potential hazards you need to be wary of when manipulating lithium battery modules:
Fire
Lithium is a highly flammable metal when in contact with water or air. The battery cells are encapsulated in a sealed enclosure, meaning there’s little to no fire risk during normal use.
However, it’s still worth remembering to carefully handle your lithium modules. Doing so will help you avoid damaging their enclosure.
BMS: overvoltage and overheating
Lithium batteries are susceptible to overvoltage and heat. Never exceed 3.8V and 149°F (65°C) per module. At this point, there is a high risk of permanent damage, which could trigger a fire or even an explosion.
Your battery requires protection to avoid these situations. The BMS monitors the voltage and temperature of each battery module and regulates the charge and discharge process. Moreover, it’ll automatically disconnect the modules in case of overvoltage.
Electric shock
Batteries work with DC electricity and have a positive and a negative terminal.
Never touch both electrodes simultaneously. Doing so will result in a nasty shock.
You won’t shock yourself if you touch one electrode, but we still advise against it.
Tools & components needed to build a DIY battery bank
Let’s take a look at the tools and components you’ll need to build your DIY battery bank:
Tools
| Image | Tool | Product link |
|---|---|---|
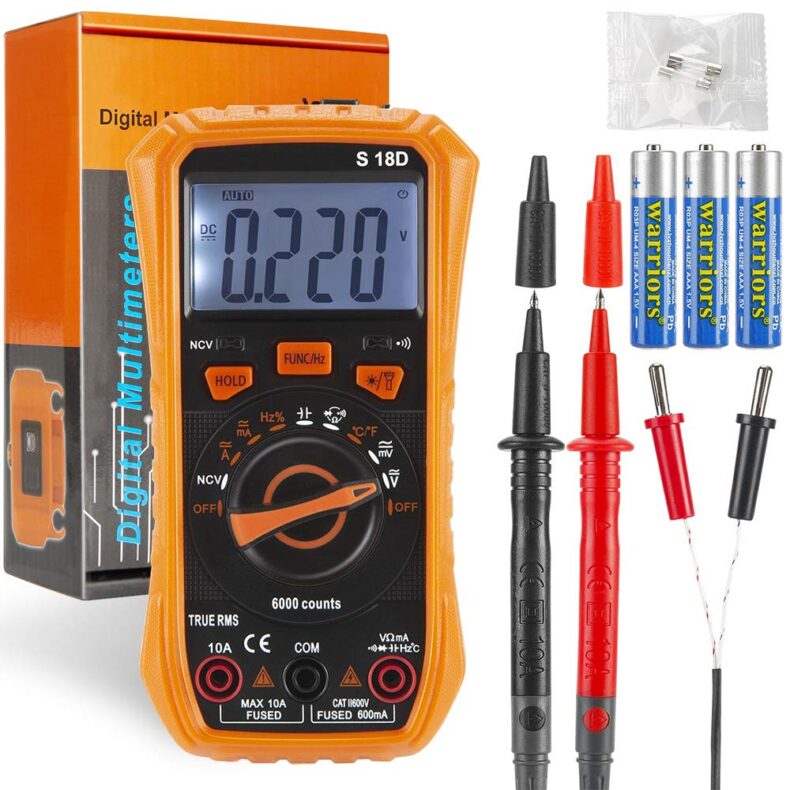 | Digital multimeter | View Price |
 | Wire stripping tool | View Price |
| | Combination plier | View Price |
 | Ratchet set | View Price |
 | All-purpose silicone sealant | View Price |
 | Screwdriver set | View Price |
Components
| Image | Component | Product link |
|---|---|---|
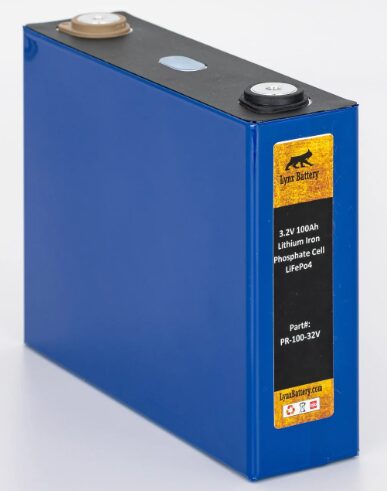 | Lithium prismatic module | View Price |
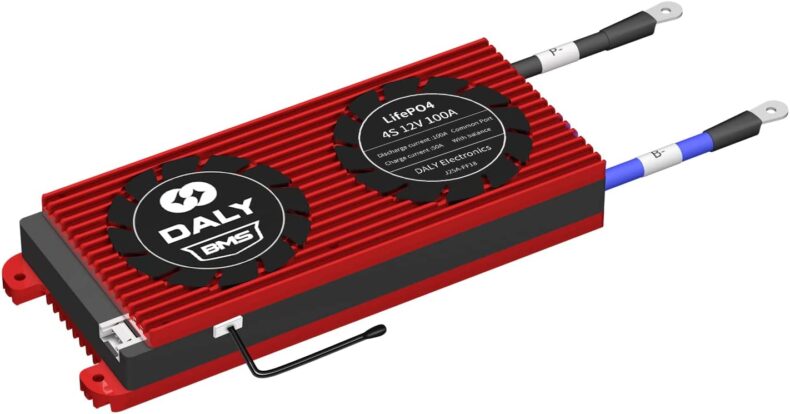 | Battery Management system (BMS) | View Price |
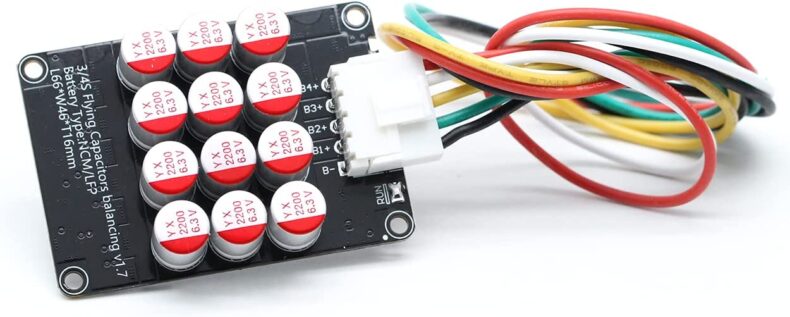 | Battery balancer | View Price |
 | battery voltage monitor | View Price |
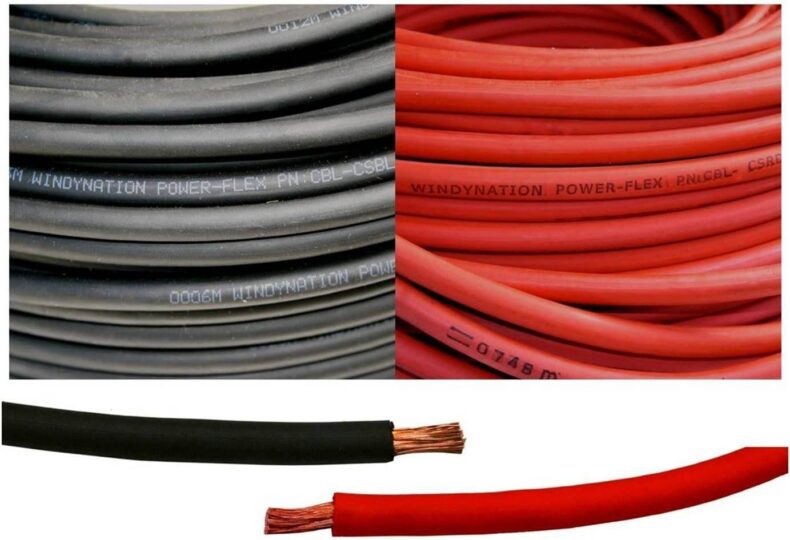 | Electrical wire 4AWG | View Price |
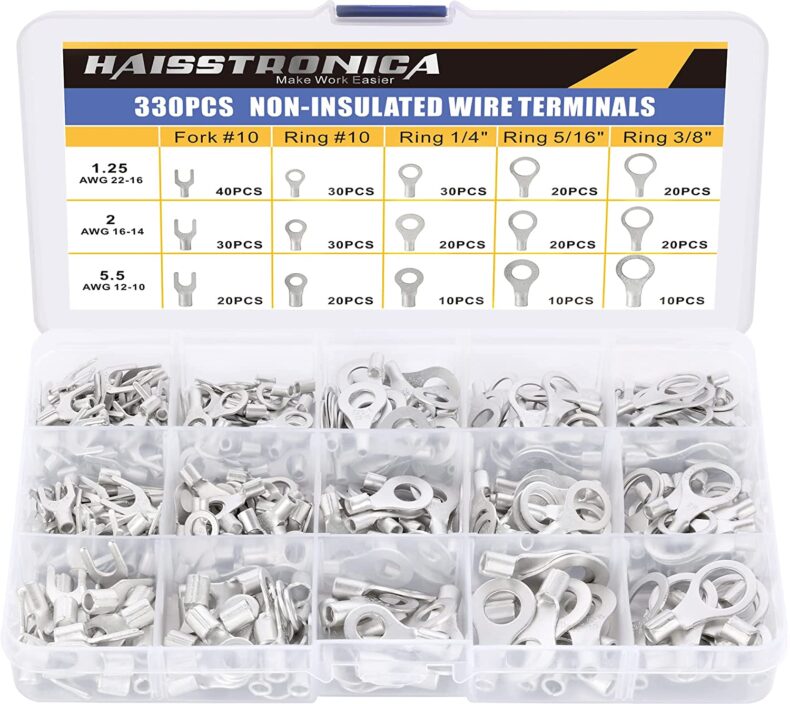 | Ring and fork terminals | View Price |
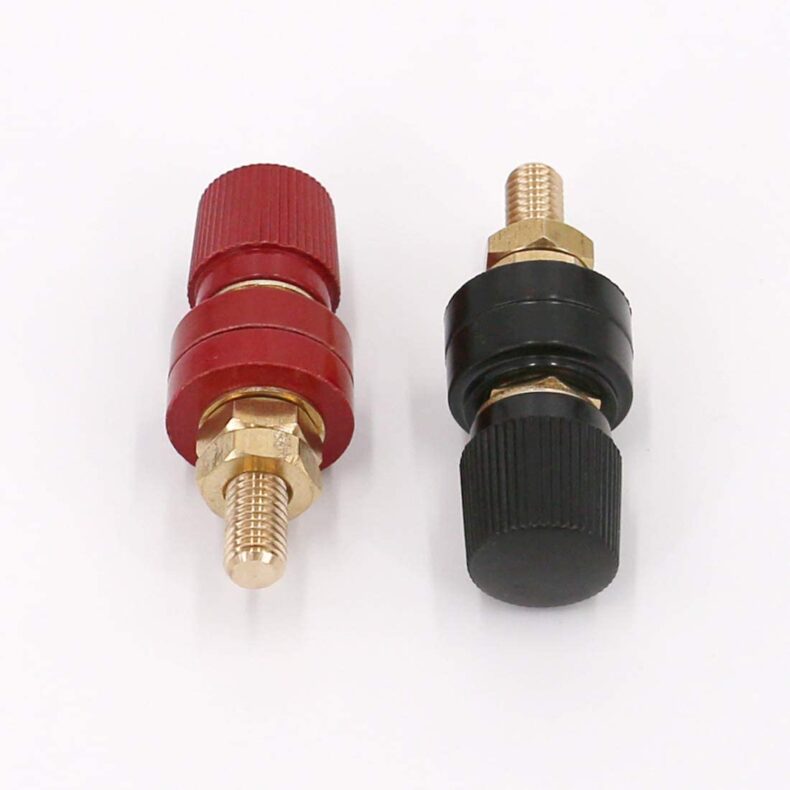 | Battery terminal | View Price |
 | Electric tape | View Price |
 | Battery strap or duct tape | View Price |
How to build a DIY battery bank
Now that you’ve gathered all the necessary parts and tools, it’s time for you to build your DIY battery bank.
This build is divided into 7 steps:
- Step 1. Establish the size and specs of your battery bank.
- Step 2. Design your lithium battery bank.
- Step 3. Combining the lithium battery modules.
- Step 4. Wiring the battery balancer.
- Step 5. Wiring the BMS.
- Step 6. Testing the voltage.
- Step 7. Adding protection to your battery bank
Step 1. Establish the size and specs of your battery bank
The most common voltages for a battery bank are:
- 12V: Comprises 4 prismatic modules in series: 3.2V x 4= 12.8V
- 24V: Comprises 8 modules in series (3.2V x 8 = 25.6V)
- 48V: Comprises 16 modules in series (3.2V x 16= 51.2V).
The correct voltage depends on your power output requirements:
- From 0.5kW to 1.8kW = 12V battery bank.
- From 3kW to 3.5kW = 24V battery bank.
- From 5kW to 6kW = 48V battery bank.
Our DIY project details how to build a 12V, 100Ah battery bank.
If you require a higher voltage, you’ll need to add extra modules and get a BMS and battery balancer of the desired voltage.
DIY battery bank quick specs
| Battery bank voltage | 12.8V |
| Capacity | 100Ah (1.2kWh) |
| Charging/discharging current | 100A/100A (1C) |
| Cycle performances | 3000 cycles @80%DOD |
| Protection boards | BMS and battery balancer for 12V battery bank |
| Weight | 22lbs (9.97kg) |
| Dimension | 7.48×1.96×11.8 in (19x15x30 cm) |
Step 2. Design your lithium battery bank
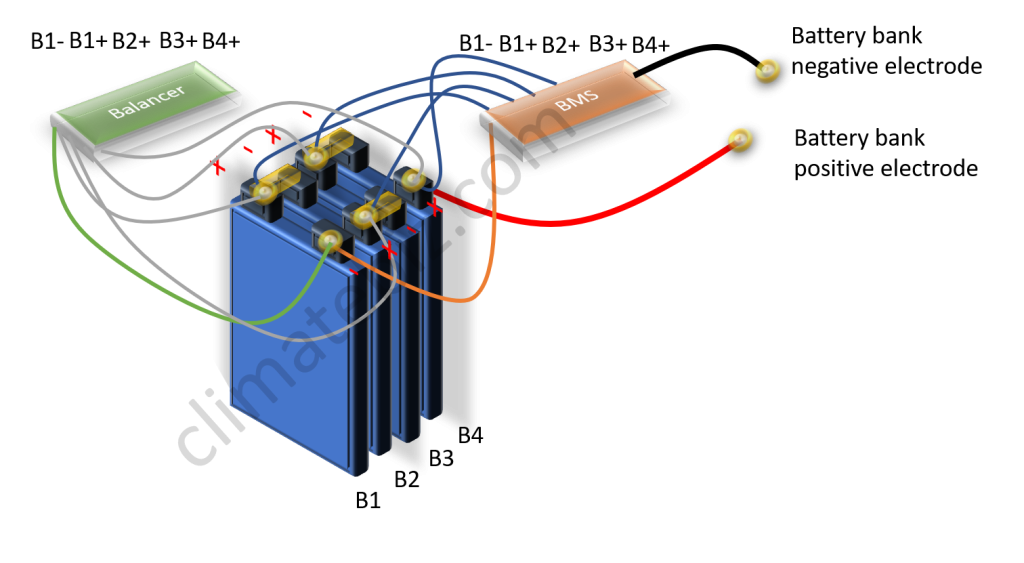
Let’s start with a simplified wiring diagram of the build.
- The BMS and balancer have 5 connections with the battery module terminals.
- The final DIY battery bank negative electrode is from the BMS.
- the positive electrode is from the last module (B4).
Step 3. Combining the lithium battery modules
Start by connecting the battery modules with their bus bars. Mark them from B1 to B4 and organize the modules as pictured: the positive terminal of one module should face the negative terminal of the next one.
This is a series connection. Each module has a rated voltage of 3.2V, four units in series equal to a 12.8V battery bank.
Measure each module’s voltage with a multimeter (+ on + and – on -); it should be around 3.3V.
Your battery modules come with a set of three busbars and nuts. At this point, position the busbars between each module:
- B1+ with B2-
- B2+ with B3-
- B3+ with B4-
Next, tighten the battery modules together with duct tape.
Step 4. Wiring the battery balancer
The battery balancer is an essential part of your build. It’ll keep your battery modules at an even state of charge, thereby extending the battery bank’s lifespan.
The balancer has 4 connections to B1+, B2+, B3+ and B4+ and 1 connection with B1-.
You’ll have to attach ring terminals on every wire of the balancer.
Now, this is important — only position each wire on its respective battery terminal but do not connect the string of wires to the battery balancer just yet.
Step 5. Wiring the BMS
The BMS is a protection board that controls and monitors each battery module. This piece of safety equipment is essential to your build.
Similar to the battery balancer, the BMS has 5 connections with the battery modules: B1-, B1+, B2+, B3+, and B4+. So, carry out the same process as in the previous step.
Attach ring terminals to each wire and position the wires on their respective battery terminals, but do not connect the string of wires to the BMS just yet.
Step 6. Testing the voltage
Add the battery LCD voltmeter – take a brief look at your DIY battery bank’s voltage.
Attach ring terminals to both wires. Position the positive wire of the voltmeter on B4+ and the negative wire on B1-.
Now you’re ready to tighten the nuts on top of each battery terminal (B1, B2, B3, and B4).
Time to read your LCDvoltmeter — it should be around 13V.
Next, test every wire connection from the battery balancer and the BMS.
Use the needle electrodes from your multimeter and keep the negative electrode of your multimeter on B1-. Then, move the positive electrode from B1+ to B4+.
You should read the following:
- B1+: 3.3V.
- B2+: 6.6V.
- B3+: 9.9V.
- B4+: 13.2V.
Repeat the same process for the BMS wires. If all voltages are correct, you can now connect the string of wires to the BMS and battery balancer.
Your DIY battery bank is operational at last! Its positive terminal is B4+, and its negative terminal is from the black wire of the BMS.
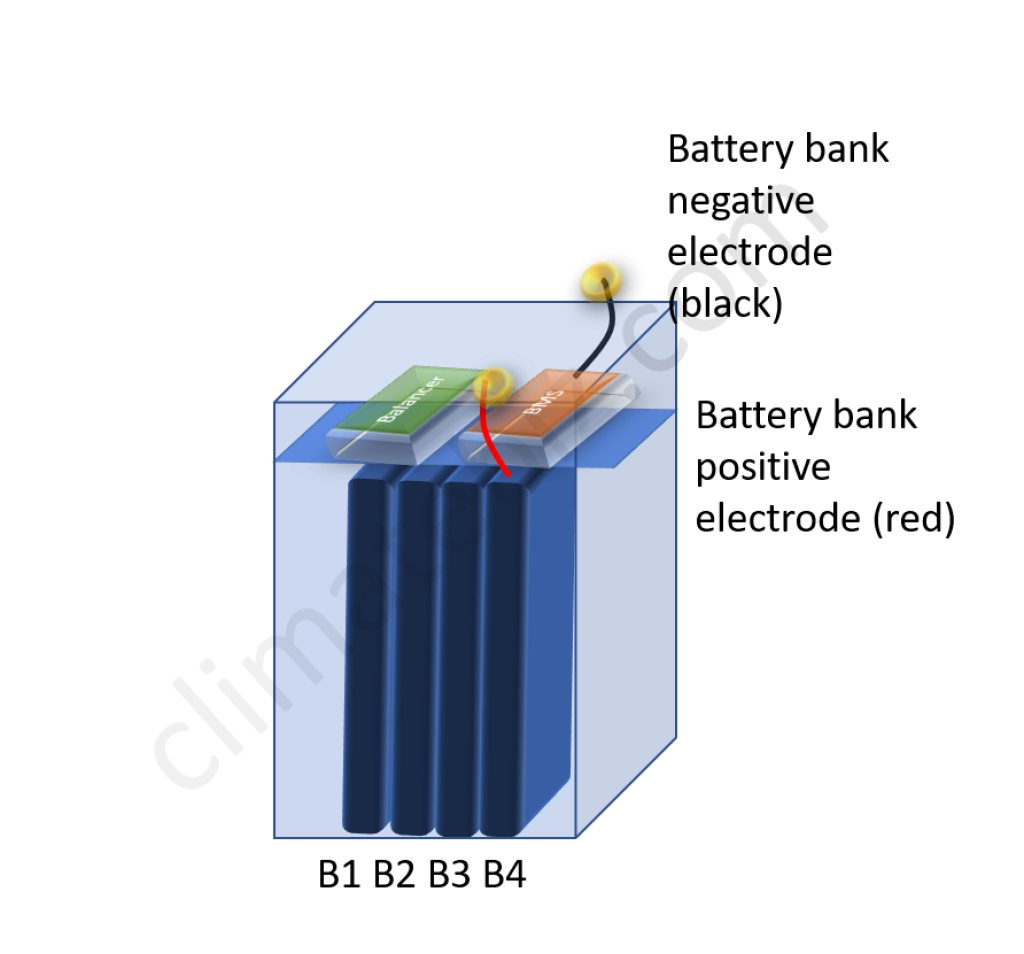
Step 7. Adding protection to your battery bank
It’s vital that you protect your DIY battery bank with a fire-proof enclosure. You can use cement boards for this purpose.
For this project, you must divide your box into two compartments: the bottom section is for the battery modules, and the upper section is for the BMS and balancer.
Cover the top and make two holes for your DIY battery bank terminals.
For the positive electrode, attach a 4AWG wire and a corresponding ring terminal to the B4+.
Then you can either keep the original wires with their ring terminals or connect them to a regular battery terminal attached to the box cover.
How to reduce the cost of your DIY battery bank
The most expensive element of your build is the battery modules. You can reduce this expense by going the second-hand route.
Tons of lithium prismatic cells are being sourced from electric buses. Although these batteries are not new, they’ll still perform well as domestic batteries for the next 5 to 7 years. Moreover, they are about three times cheaper than a new module.
Source your second-hand batteries on Alibaba or specialized websites. Always ask for the production date and the rated capacity when doing so. Usually, lithium batteries are dismantled when they reach 90 to 85% of their initial capacity.
Final thoughts
Here are our key takeaways:
- You don’t need to be a professional to follow this DIY battery bank project. It’s more than accessible to amateur DIY enthusiasts. Just make sure you follow the basic electrical safety measure
- Thanks to the modularity of lithium batteries, you can adjust their capacity from a few Wh to a large battery bank suitable for an off-grid cabin.
- We always recommend selecting a high-quality BMS. This protection board is essential safety equipment for the build.
- Second-hand lithium battery modules are your best option if you have a low budget. These modules are not yet ready for recycling and offer around 5 to 7 years of good use for stationary applications.
Now that you’ve got all the necessary information at your fingertips, it’s time for you to take a crack at making your DIY battery bank.
Please feel free to let us know how the process is coming along in the comments section below.