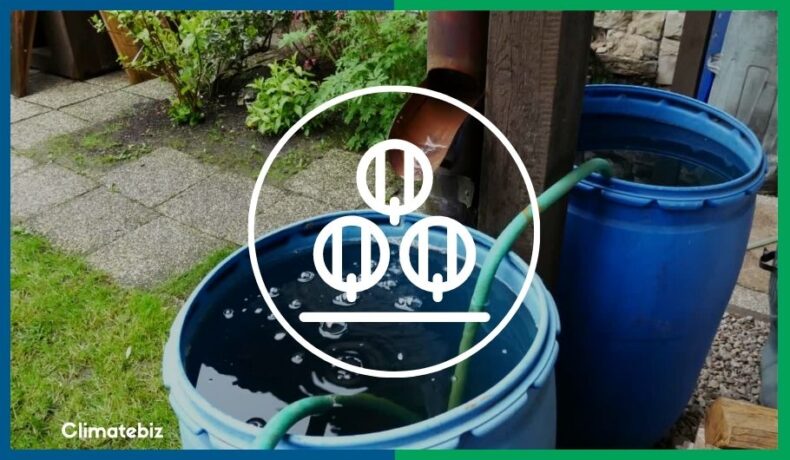
Using a rainwater barrel is a simple way to store rainwater for reuse; what’s more connecting rain barrels can provide you with more storage space.
Not only are rain barrels easy to install, they can also fit into virtually any space.
However, these barrels do come with a significant disadvantage; they can only hold an average of 50 gallons of water.
Thankfully connecting your rain barrels can double or even triple your storage space. This can give you between 100 – 150 gallons of rainwater to use as you please!
The following guide explains how to connect your rain barrels and what tools you’ll need!
Table of Contents
Tools Needed To Connect Rain Barrels Together
Just like any project, you’ll need to make sure you have the right tools. Unfortunately, you probably won’t have these lying around at home.
Fortunately, we’ve provided you with some handy links to start connecting your rain barrels!
| Tool | Information | Purchase |
|---|---|---|
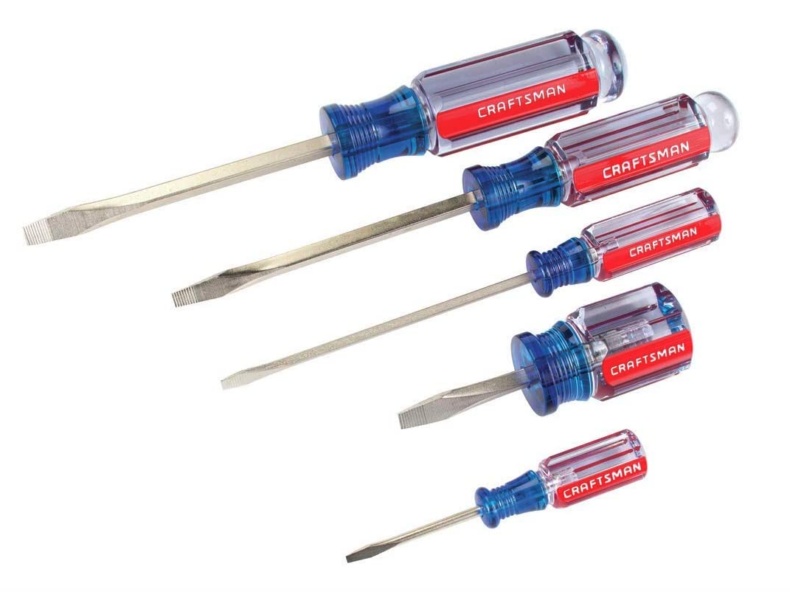 | You’ll need one small-medium-sized flathead screwdriver. | Buy Now |
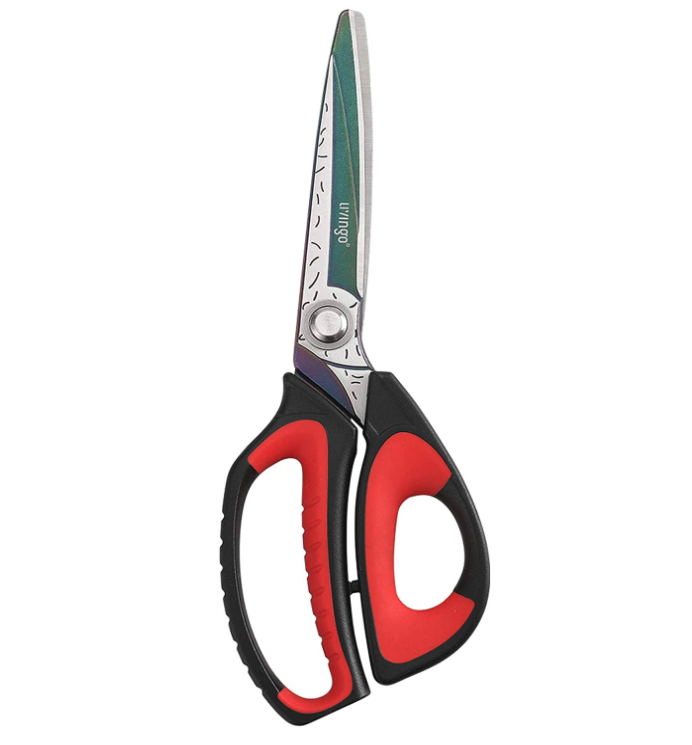 | For this project, you’ll need to connect different outlets with a piece of hose. To cut the hose to length, we recommend a pair of heavy-duty scissors. | Buy Now |
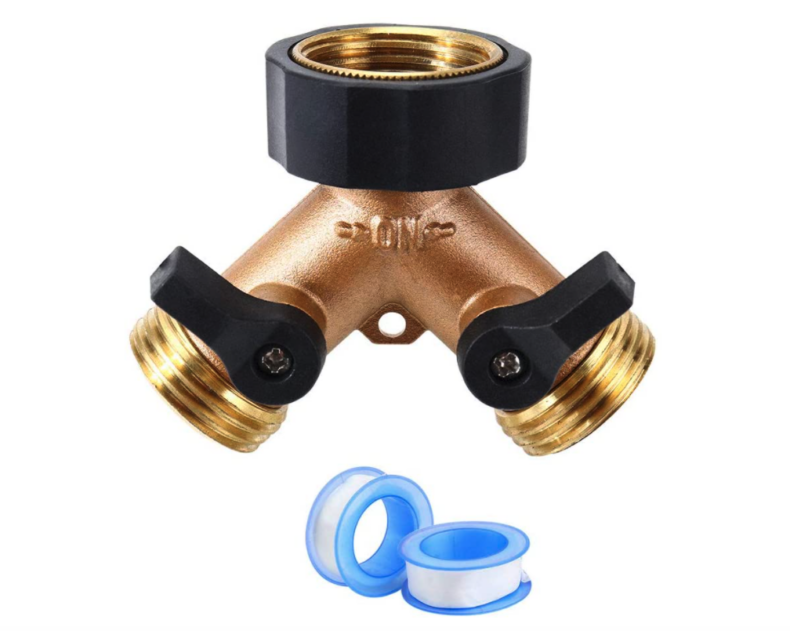 | You’ll need 1 x 3/4″ hose thread Y splitter per barrel. | Buy Now |
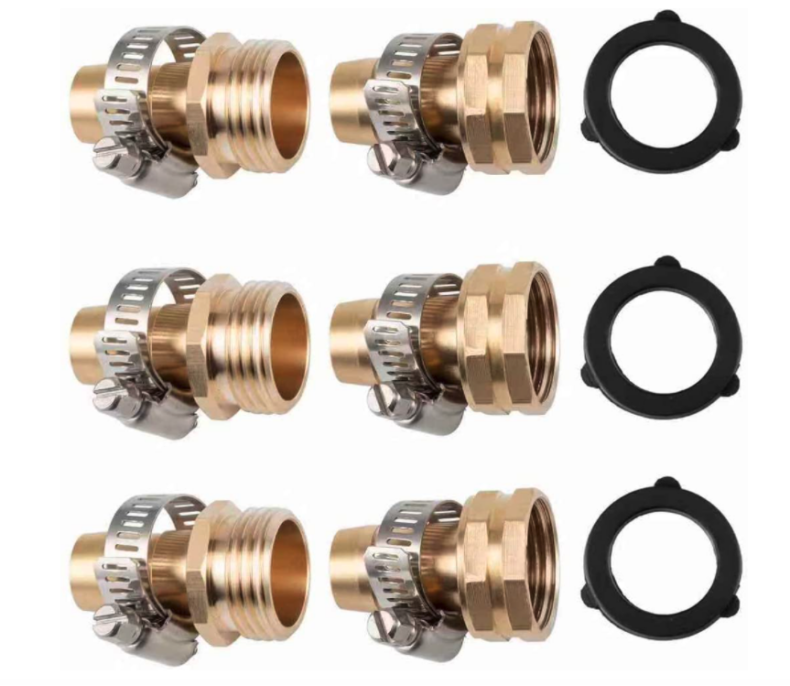 | In addition, you’ll need 2 x 3/4″ female mender kits for each barrel. | Buy Now |
 | You’ll need at least 5ft of garden hose to connect the rain barrels. | Buy Now |
 | Lastly, you’ll need rain barrels with overflow valves. Most barrels come with these, but keep an eye out for this. | Buy Now |
What Are The Different Ways You Can Connect Rain Barrels Together?
As my construction professor used to say, “water can be very naughty. It always goes where you don’t want it to.”
Luckily, connecting rain barrels is an easy DIY project for you and the family.
Water will consistently distribute evenly until each barrel is at the same level. Thus, there are two ways to use gravity to connect your rain barrels.
- The overflow to overflow method. (for two barrels)
- The daisy chain method. (for two or more barrels)
Overflow To Overflow (Two Barrels)
If you’re looking for a small barrel system, this method is for you. You can easily connect two barrels by linking their overflow valves.
- Place your ‘mother’ barrel under the downspout. This barrel will collect most of the water.
- Then, place another barrel alongside your main barrel. It would be best if the mother barrel were slightly higher than the secondary barrel. You can achieve this by placing the main barrel or a breeze block.
- Then, using the tools mentioned above, connect the mother barrel’s overflow to the secondary barrel’s overflow. It will overflow into the second barrel when the main barrel fills up, doubling your storage.
- Lastly, connect your hose to the secondary barrel and use that water first. Then, if you need more water, connect your hose to the main barrel.
Daisy Chain (Two Or More Barrels)

Daisy chain is a term typically used to describe an electrical system. But in summary, it means that multiple elements are connected in a chain, like a daisy garland.
In this case, your connecting rain barrels will fill up evenly. So you won’t have to wait for the main barrel to fill before using the second barrel.
Additionally, the water will drain evenly when connecting a hose to any barrel. This means that you won’t have to change hose connections.
This method is best used when two or more barrels connect in a chain. The following section will explain how you can set this system up within an hour or two.
How To Connect Two Or More Rain Barrels Together?
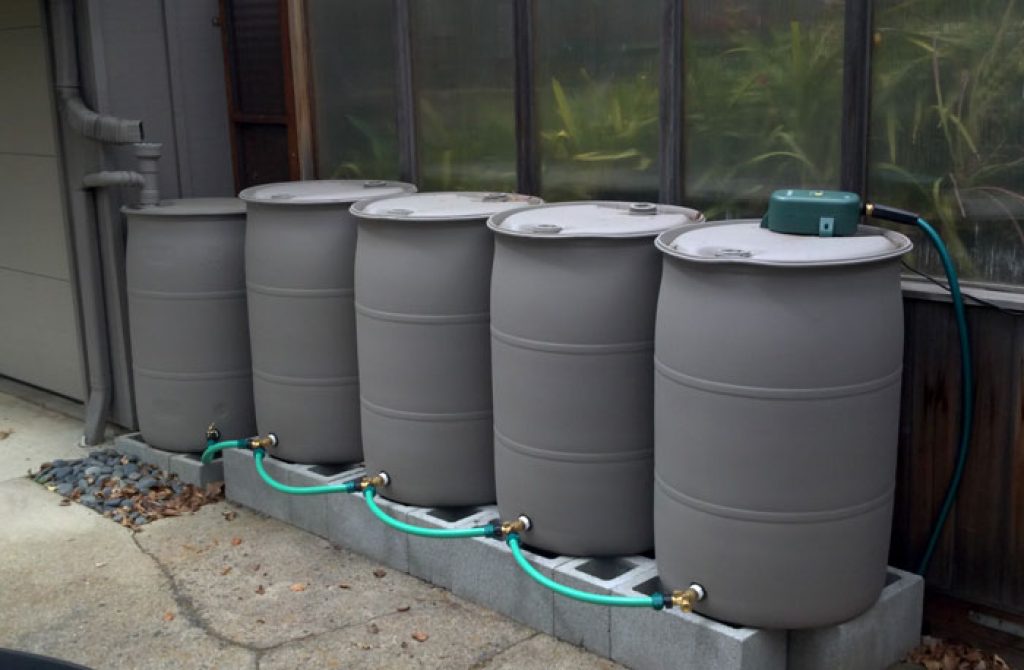
Source: gradybarrels
Let’s look at connecting rain barrels using the daisy chain method.
Setting Up Your Rain Barrels
The first step is to position your rain barrels in a straight line, preferably against a wall for weather protection. This system works best if you have two or more barrels. But a good starting point is three barrels.
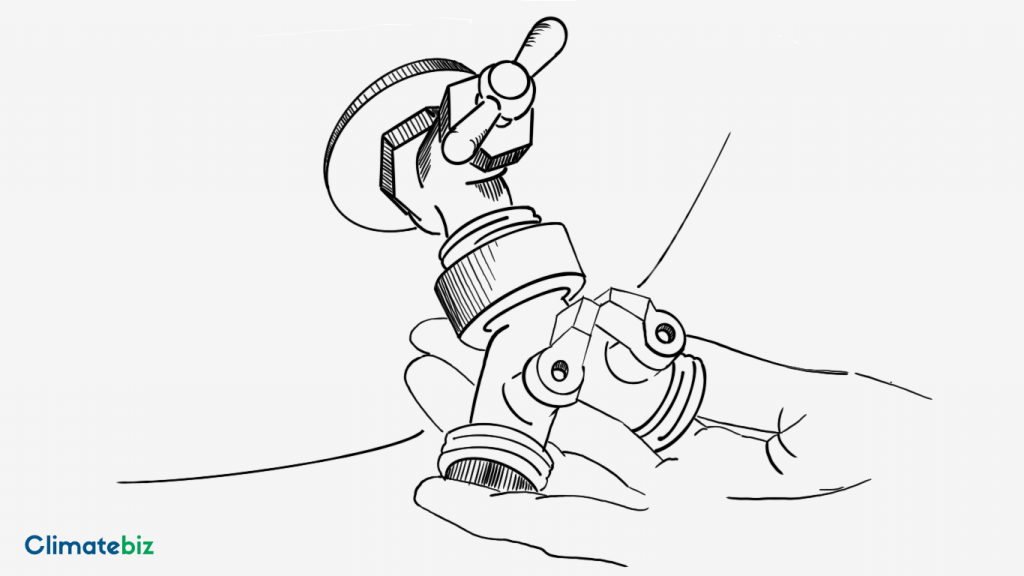
Next, you’ll fit the Y valves to the outlet of each barrel. Note that this isn’t the overflow outlet, but the outlet you’d use to water your garden.
The Y valve will allow you to split the connection. This means that the water will flow in from one side and out the other side.
Connecting The Rain Barrels
Additionally, each connecting rain barrel will fill up simultaneously due to gravity. As a result, all three barrels will have the same water level.
Cut your garden hose to size. The hose needs to span from one Y valve to the other, so measure it out before using the scissors to cut the pipe.
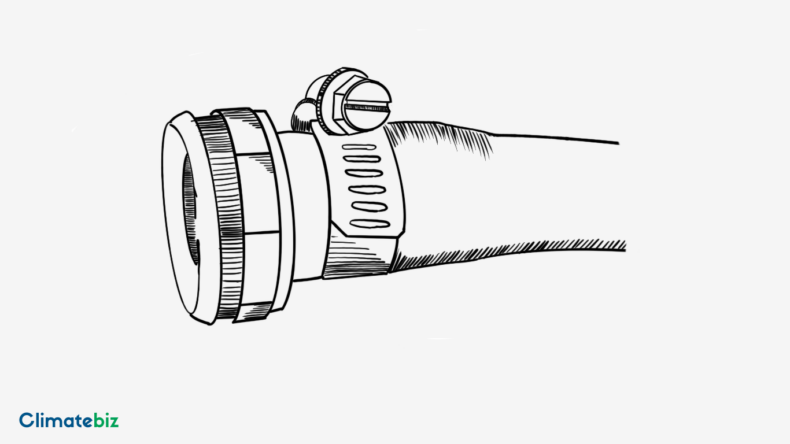
Once you cut your garden hose, attach the female mender to each end of the pipe. Use your screwdriver to fasten the clamps to ensure the hose doesn’t slip off.
Screw one end into the Y valve of your main barrel and the other to your secondary barrel. Note that the hose should connect to the valves closest to each other.
You’ll repeat each step for each barrel; you can make the chain as long as you’d like.
On your last barrel, make sure that the overflow valve is clean and attach another piece of hose. When all your tanks are full, the water will flow out this hose and into a drain or garden bed.
Using The Water
Lastly, you’ll connect your garden hose to the open valve on the main tank. Ensure all the valves are open; the water will drain evenly from the tanks.
If you’d like pressure in your hose, you’ll need to either lift your barrels or install a pump. If you’d like to know more, check out our article on making a DIY rainwater system.
What’s The Damage To Your Wallet?
The cost of connecting rain barrels depends on how many barrels you’d like to connect. However, it does work out cheaper than installing a more extensive system.
The following cost table is based on amazon prices for a 3-barrel system.
| Tools/Component | Price |
|---|---|
| Female Mender Kits | $19 |
| Hose Thread Y Splitters | $10 |
| Garden Hose | $15 |
| Heavy Duty Scissors | $25 |
| Rain Barrels | $510 |
| Total Cost | $579 |
The average connecting rain barrel system will cost you $579. But this depends on the components you use and the rain barrels you choose.
However, creating a connecting rain barrel system will save you money in the long run.
How much money exactly? Well, we’ve done some calculations based on information from EPA and Move.org.
The average American home uses 210 gallons of water for outdoor use. This means that if you offset this usage, you can save up to $56 a month.
How To Connect A Single Rain Barrel To A Downspout?
If your main barrel isn’t connected to a downspout, you can’t use either of the above methods. However, connecting rain barrels to a downspout is pretty simple but will take more time and effort.
Shorten Your Downspout
The first step is to shorten your downpipe — you’ll need an additional tool for this.
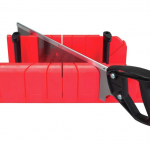
A miter saw will do the trick, regardless of whether you have a steel or PVC downspout.
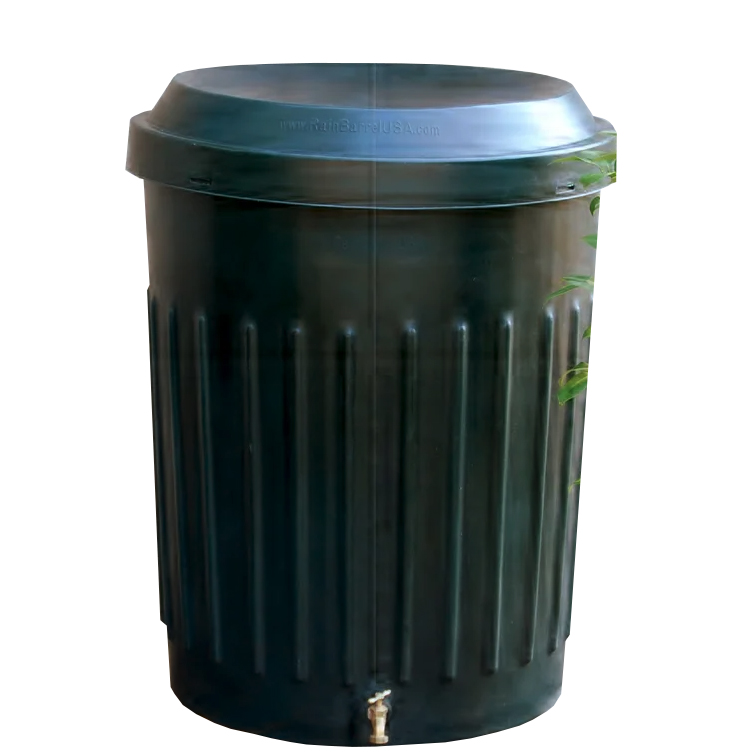
First, you’ll need to measure the height of your rain barrel. This will depend on your barrel, but the average size is 34″ tall.
Using a measuring tape, measure from the bottom of your downpipe to the 34″ mark. Then, remove your downspout from the wall for easy access and secure it to a workbench.
Next, draw a guideline with a pencil and saw the bottom half of the downspout off. You can reuse the downspout elbow or purchase a new one to finish off the downspout.
Fix the downspout back to your wall using the brackets you removed when taking the spout off. Try placing a bracket near the bottom of the downspout to secure it.
Position The Rain Barrel
Place your rain barrel under the downspout to finish this part of the project. Ensure that the opening lines up with the downspout elbow.
We recommend buying a filtering mesh to cover the top of your rain barrel. In fact, many states require this when collecting rainwater.
Final Thoughts
Building a connecting rain barrel system can double or triple your rainwater storage space.
Having a more extensive tank system without breaking the bank on a large tank has its benefits. For one, you’ll be able to offset your outdoor water use, saving you up to $56 a month.
Secondly, it prevents stormwater runoff which helps keep our rivers clean and prevents soil erosion.
Installing this system is easy to turn your home into an eco-home.
If you need any further advice or you’d like to share your experience, please feel free to reach out to us in the comments section below!