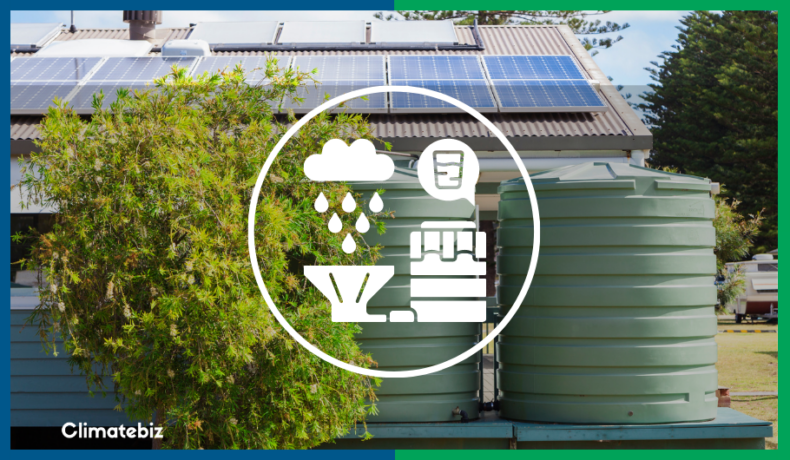
“It’s been raining so much lately and I’m letting it all go to waste. Maybe it’s time that I build a DIY rainwater collection system?” Sound familiar? Then you’ve come to the right place!
Finding DIY tutorials has never been easier. From youtube videos to blog posts, there is an abundance of resources out there. But not all of them are worth following.
Fortunately for you, we’ve put our expert knowledge to use and crafted an easy-to-follow DIY rainwater collection system guide!
We break down everything you need to know, from a list of materials and tools to a step-by-step process with sketches!
By the end of this post, you’ll be more than equipped to build your own rainwater collection system and reap all of the benefits these systems have to offer!
Table of Contents
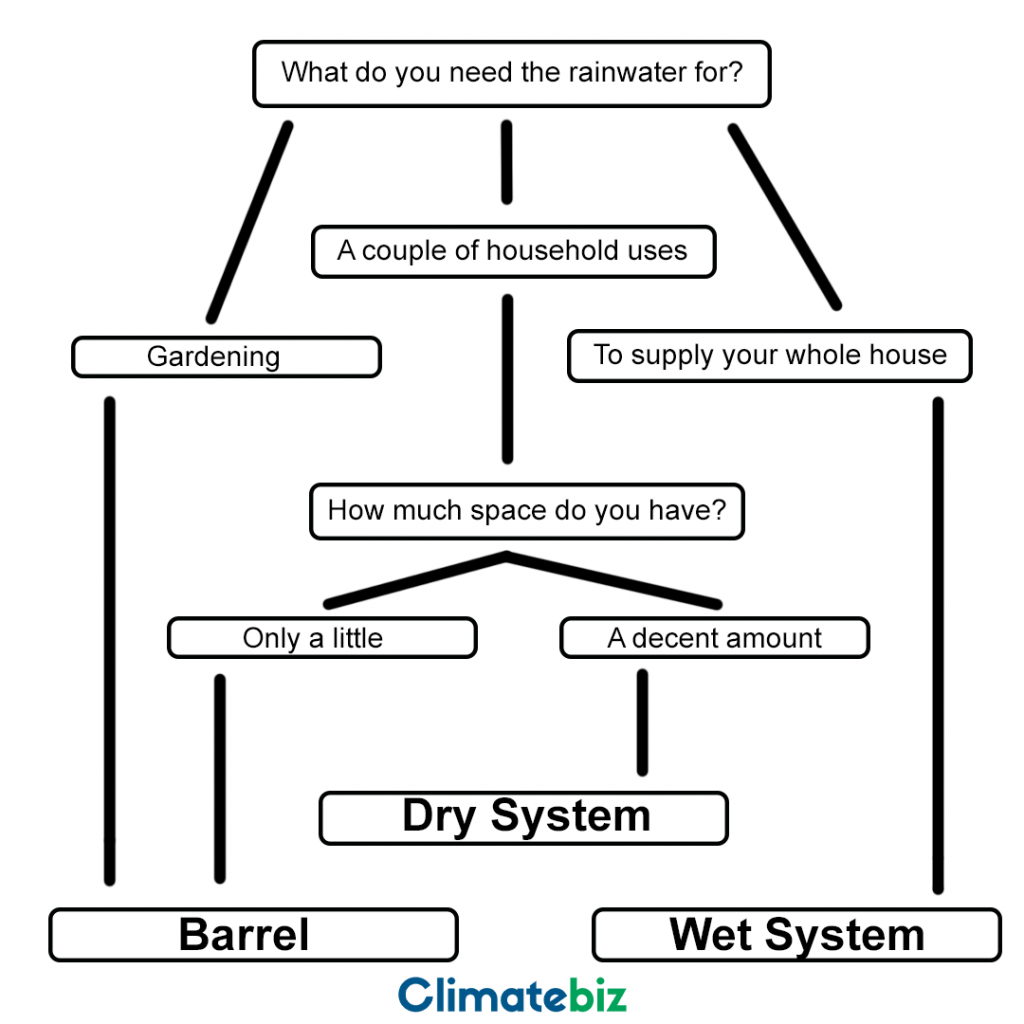
Which Type Of Rainwater Collection System Is Best For DIY?
If you’ve been keeping up with our rainwater articles, you’ll know the importance of choosing a system that is right for your needs. In our opinion, though, we believe that the best DIY collection system is a ‘dry’ system.
A dry system is efficient and effective for watering your garden and off-setting your household water consumption. In addition, it allows you to use the rainwater you’ve collected for your washing machine or dishwasher.
Keep in mind that there are other systems you can use. For example, a more extensive ‘wet’ system works well for large homesteads. Otherwise, a simple water barrel would be enough for quaint cottage living.
That said, if you’re not sure which system to choose, we’ve made this flow diagram to help you decide:
Why We Chose A ‘dry’ System
A dry system is versatile in size and capacity. It’s efficient enough to water your garden without having to stop halfway because you’ve run out of water.
It’s also an easy DIY system that requires a few parts; you can set it up in a day or two.
Here’s the thing with our design — it’s great for watering your garden but not for household use. There aren’t enough filtering devices in this system to use your water inside.
Additionally, using the rainwater inside may require permits or other regulations you’ll need to follow.
Equipment Needed To Build a DIY Rainwater Collection System
Tools

Power Drill
You’ll need a power screwdriver/drill to fix the brackets to the walls and the pump to the base.
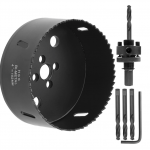
4″ Hole Saw
Some tanks don’t come with an opening hole or a too-small hole. You’ll need a hole saw to drill an opening for your 4″ PVC pipe.

Steel Saw
You’ll probably need to cut your PVC pipes to size. A simple steel saw would be best for this job.
Piping For Your DIY Rainwater Collection System

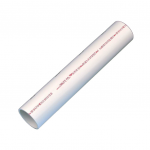
4″ PVC Piping
The amount of PVC piping you’ll need depends on how far away your storage tank is away from the gutters. Remember that PVC pipe is easy to cut to size.
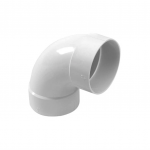
4″ 90° PVC Elbow
You will use PVC elbows to divert your water from the main pipe and the storage tank. Additionally, when connecting your gutter to the system, you’ll need an elbow to correct the direction of water flow.
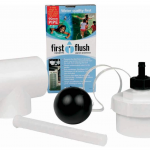
First-Flush Diverter Kit
In our design, we include a first-flush diverter kit. These can be tricky to build, but luckily we’ve found this kit on Amazon!
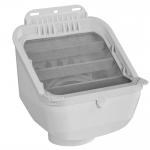
Leaf Eater
The leaf eater will stop any debris from entering your system. Make sure you choose one that fits your pipe size. This one is both 3″ and 4″ compatible.
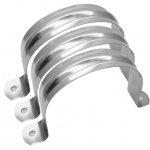
4″ Steel Brackets
These brackets will allow you to fix your PVC piping to the wall. The number of brackets you need will depend on your DIY rainwater collection system.
Storage Area
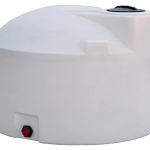
550 Gallon Water Tank
We used 400w solar panels in this project because they’re an outstanding balance between yield and price.
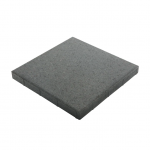
24″ Cement Pavers
To create a flat base for your water tank, you can use 16 x 24″ cement pavers.
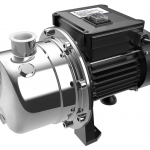
Booster Irrigation Pump
To have pressure in your garden hose, you’ll need a booster pump.
Please remember that you’ll need extra piping to connect the pump to your storage tank. Consult your nearest home depot for the right kind of piping for your system.
How To Build A DIY Rainwater Collection System (Step-By-Step)
Now that we’ve covered the materials and tools that we’ll need, we can start to design and plan our system.
Your design will depend on the following factors:
- Where are your home’s gutters?
- How close would you like the tank to your home?
- How many downpipes do you want to connect to the tank?
Below we’ve sketched what our design would look like:

Step 1: Divert Your Gutter
The first step in this DIY rainwater collection system is to divert your gutters.
Your gutters will have existing downpipes. You’ll need to remove these and connect your PVC elbows. Then, use your PVC pipes to direct the water to where your first-flush system will be.
We’ve used 90° PVC elbows, but you might need 45° elbows instead. Either option would work — keep the size of your PVC piping in mind.
For example, our piping is 4″ in diameter, so you’ll need a 4″ elbow.
Additionally, you’ll need to cut your PVC piping to size. Make use of the steel saw and a workbench to cut your pipes.
Step 2: Position Your Water Tank
In the initial design, you found a place to put your tank. The best thing to do with the storage area is to put down cement pavers.
Placing the pavers allows you to create a level area. This is important when placing your tank as it can affect the water gauge.
You can use river sand to level the area out or use soil from your garden. Make sure you compact the ground; otherwise, your tank may sink over time.
That said, your tank won’t disappear underground, but it can displace up to 2 inches. While this doesn’t seem like much, it will affect your pipe connections.
After you’ve placed your pavers, you can position your tank. Ensure that the outlet is facing away from the wall and that your inlet is close to the wall.
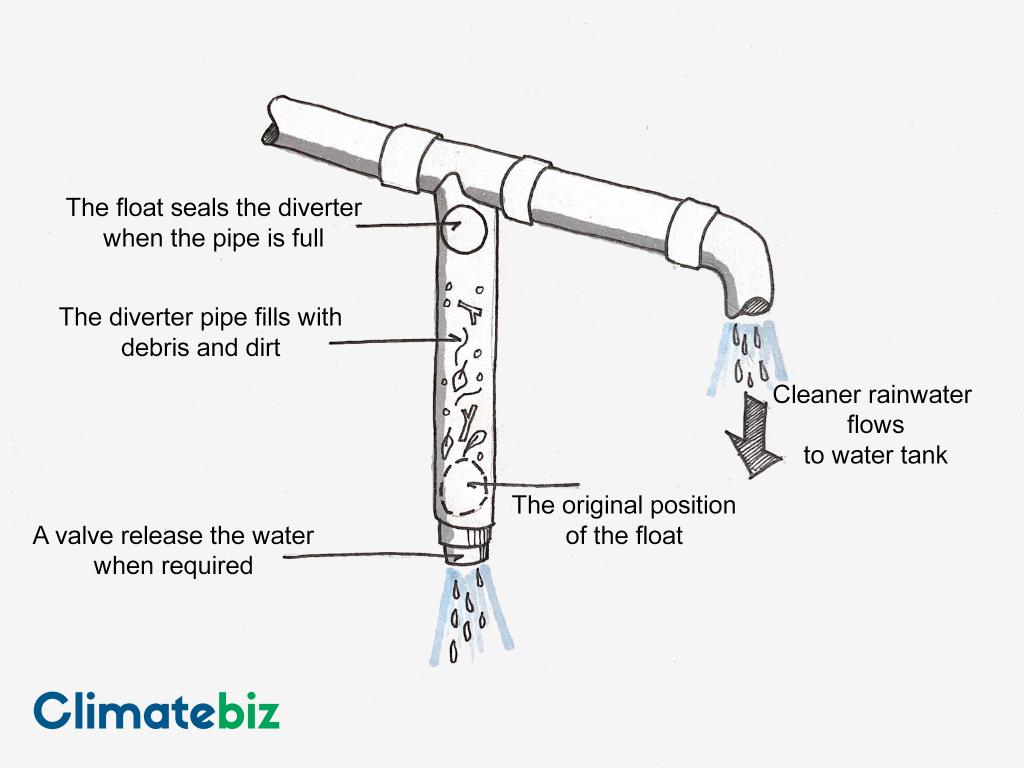
Step 3: Connect Your First-Flush To The Collection System
Buying a first flush kit is the best option for this step. It comes with all the components you need except for the PVC pipe.
To install the first flush, take a three-foot PVC pipe and connect it to the tee using PVC cement. Then, place the ball into the PVC pipe and screw on the cap.
The ball float will rise when the pipe fills with water, rerouting the water into the tank. The first flush collects dust and other dirt from the first bit of rain.
Fix the piping to the wall using the U-brackets in the kit.
Congratulations! You’ve just installed a first flush onto your DIY rainwater collection system!
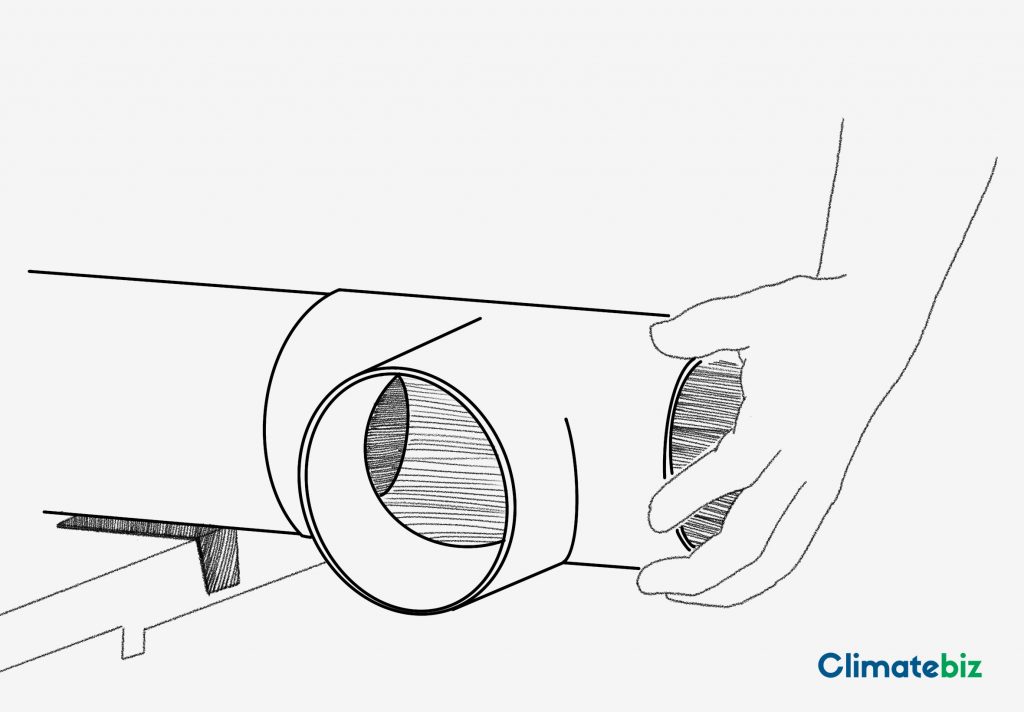
Step 4: Install The Leaf Eater Onto The First Flush Section
Install a filtration system. In this design, we’ll use a leaf eater.
The leaf eater will be attached to the PVC pipe that leads to the diverter — the water will filter through the leaf eater first, then it’ll flow through the diverter.
The leaf eater will catch all the large debris from your gutters before entering the rest of the system.
Please do not skip this step! If you don’t filter the water, leaves, and twigs will get stuck in the diverter or, worse, in your tank.
We built the diverter first so that you’d know exactly where the leaf eater would go. Additionally, the diverter is already fixed to the wall, making the leaf eater installation easier.

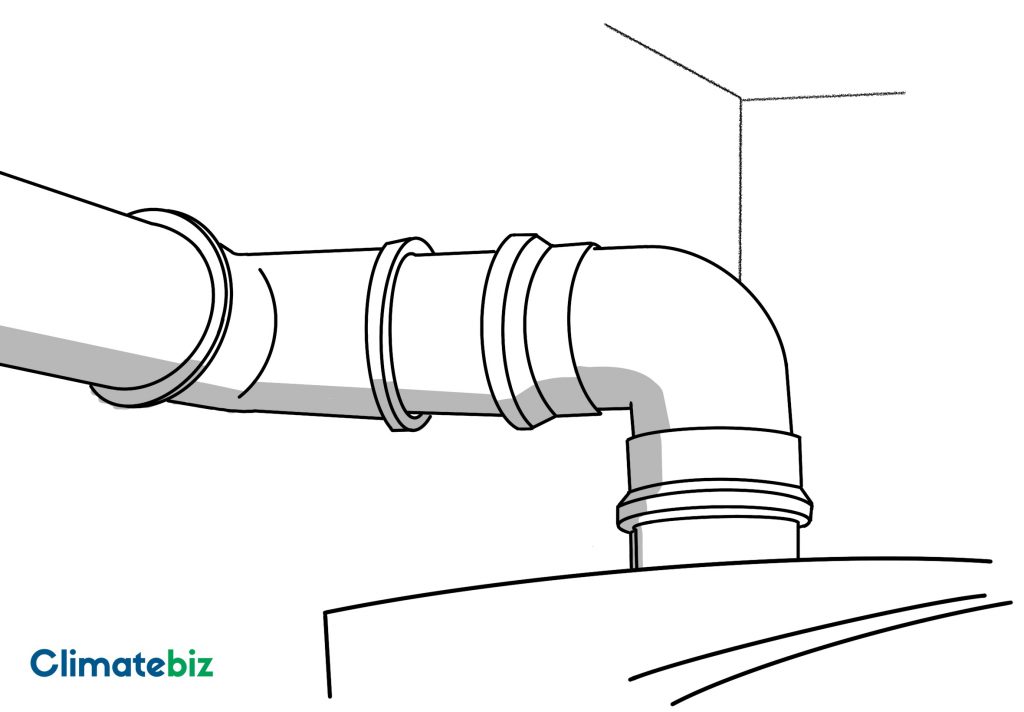
Step 5: Divert The Water To Your Tank
Next, you need to attach a PVC pipe to your wall to attach the diverter to your storage tank.
You’ll need to fix the pipe at a slight angle — this allows the water to flow through the pipe correctly. The water will stagnate and attract bugs and mosquitoes if the pipe is straight.
The easiest way to do this is with a chalk line. Set one end of the line where the outlet pipe of the diverter is and the other where the tank is. Pull the string back and snap it onto the wall. This will leave a line on the wall that you’ll use as a reference.
Using the U-brackets, attach your PVC to the wall. Use PVC cement when connecting the pipe to the first-flush tee.
Step 6: Connect The Piping To Your Tank
By now, you’ve installed 90% of your system!
All that’s left is to connect the pipe to your storage tank. Chances are, the pipe you just fixed to the wall doesn’t line up with your tank 100% correctly.
Using your 90° elbows, create a connection that will span from your PVC pipe to your storage tank.
Use PVC cement to fix all the pipes together and allow them to dry for 24hrs before using water.
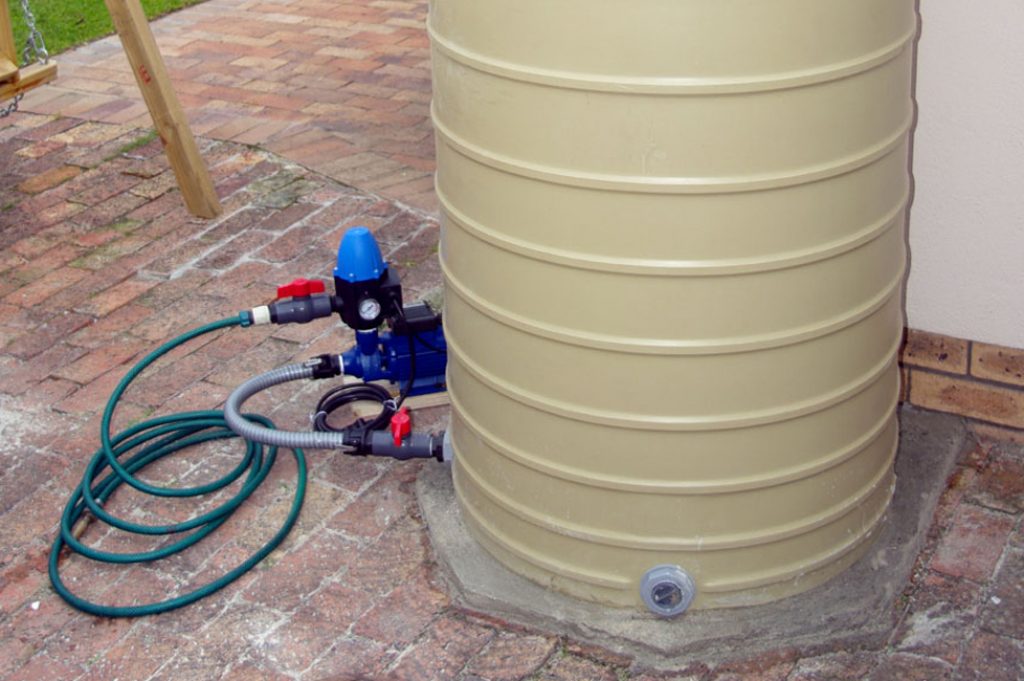
Step 7: Install Your Pump
The final step of creating the system is to install your pump. This will depend on the type of pump you have and the tank’s outlet.
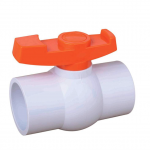
However, one universal step is to install a ball valve between the tank and the pump. Additionally, you’ll need to install one between the pump outlet and your hose fitting.
The ball valves ensure that the water system is air watertight and prevents any leakages.
You’ll use the ball valve by the tank to stop water from entering the pump. You’ll use the second ball valve to prevent water from entering the hose.
Source: Mica
Step 8: Connect And Water
That’s it! You’ve completed a DIY rainwater collection system!
Hook up your hose to the system, turn on the pump and open the ball valve, and presto! You’ve got a pressurized garden hose.
Final Thoughts
Building a DIY rainwater collection system isn’t an easy feat, nor is it difficult; it’s the perfect project for an intermediate handy-person.
The project is relatively cheap compared to other rainwater systems, and it’s efficient! Running the pump will use energy, but you can power it with a solar panel.
Constructing your own rainwater collecting system will save you money and reduce stormwater runoff.
Additionally, it’s an easy step to take to turn your house into a sustainable and eco-friendly home.
Good luck with your project, and feel free to ask us any questions you may have in the comments!